Hey, Elle’s Studio friends! This is Marsha, and I’m excited to share a layout in my memory planner! For my project today, I documented the first full week of August using the August kit and add-ons. The release this month was absolutely perfect for this week of back-to-school activities!
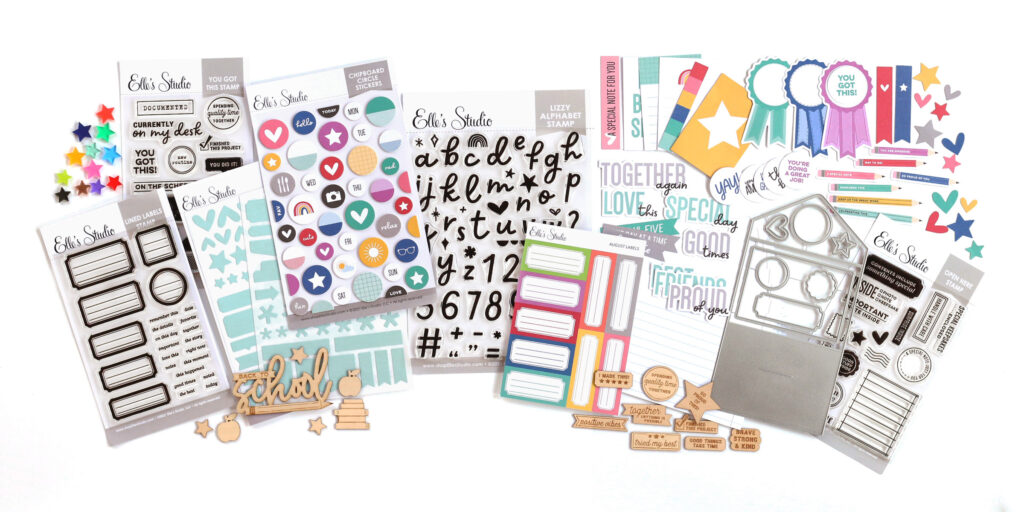
Supplies | August 2021 Kit, Proud Of You Die Cuts, Chipboard Circle Stickers, Tiny Shapes and Dots Puffy Stickers – Neutrals, Navy Puffy Alphabet Stickers, Good Times Paper Stack, Lizzy Alphabet Stamp, You Got This Stamp, Jane Alphabet Stamp, Pocket Envelope Metal Die
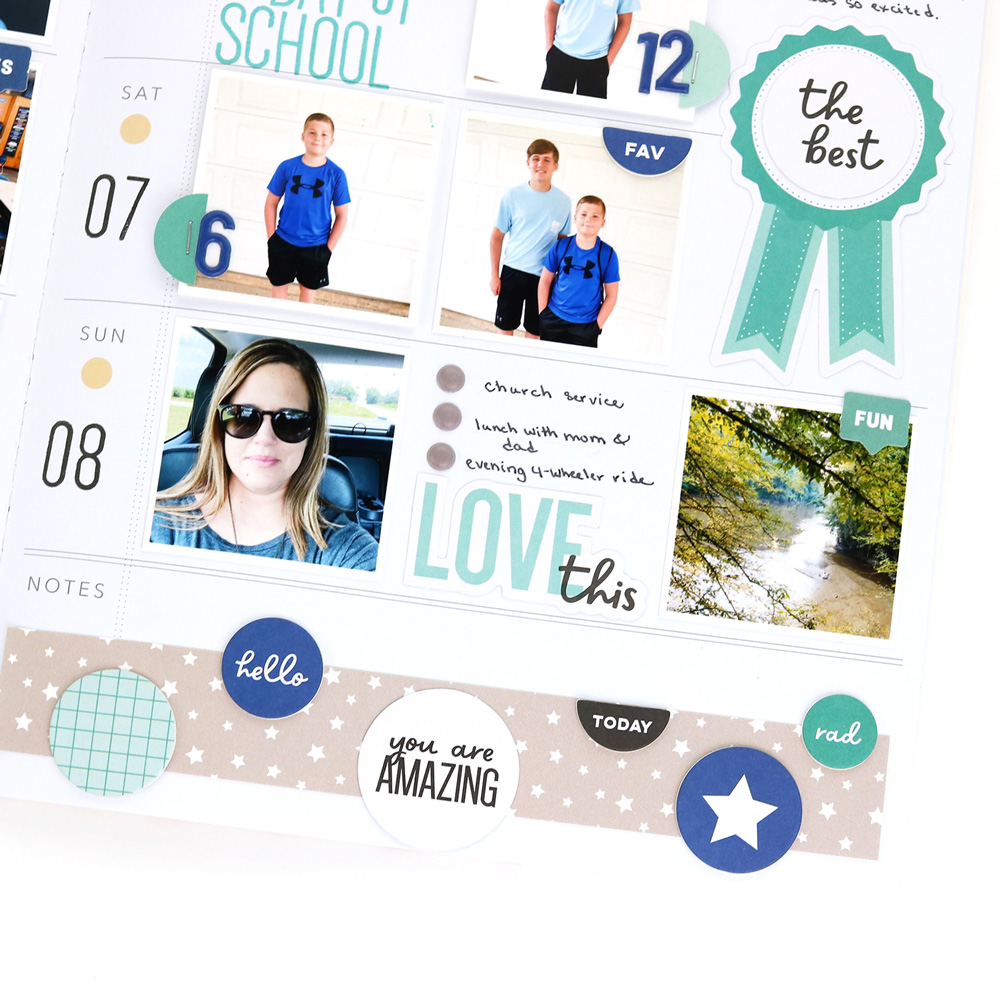
I began the layout by stamping the month with the new Lizzy Alphabet Stamp. I just LOVE this stamp! It is such a fun, whimsical font and works well with so many different types of projects. I used the Jane Alphabet Stamp and black ink to complete the dates on the pages. Then, I printed my photos and arranged them on the layout, roughly according to the date they were taken.
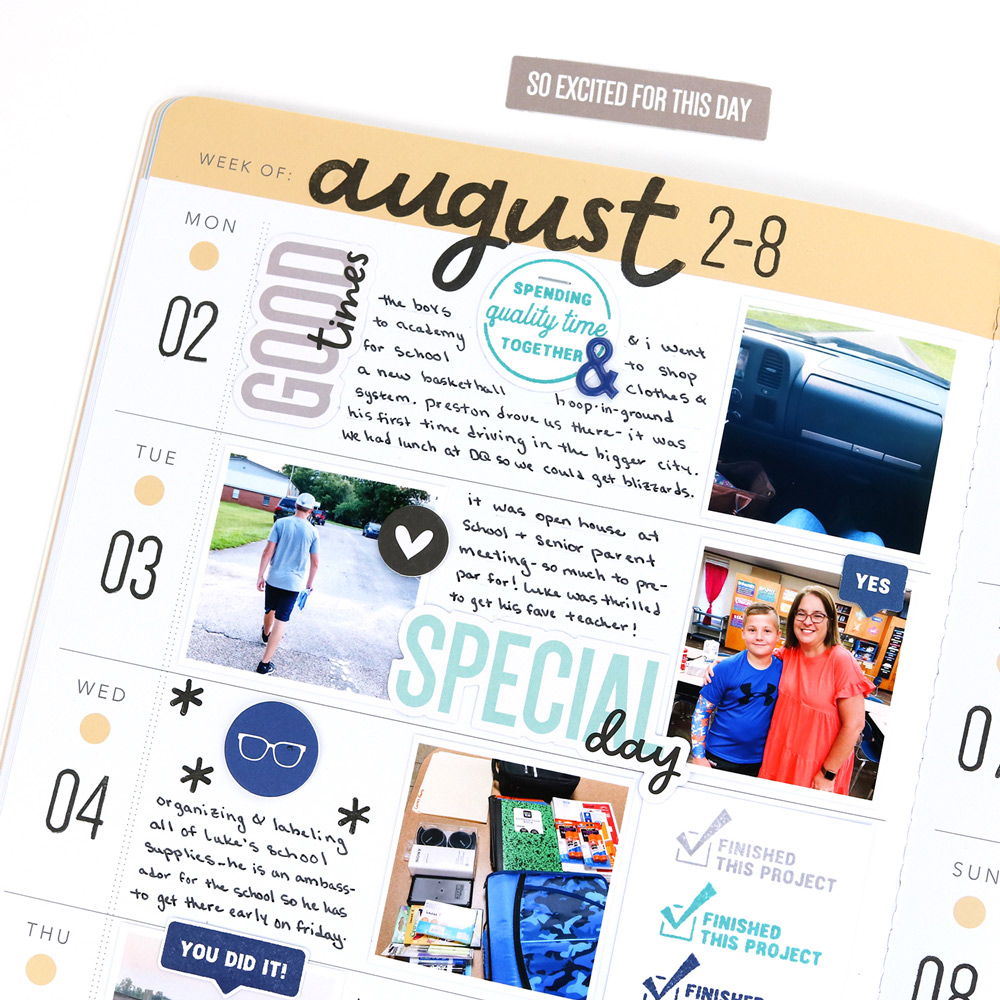
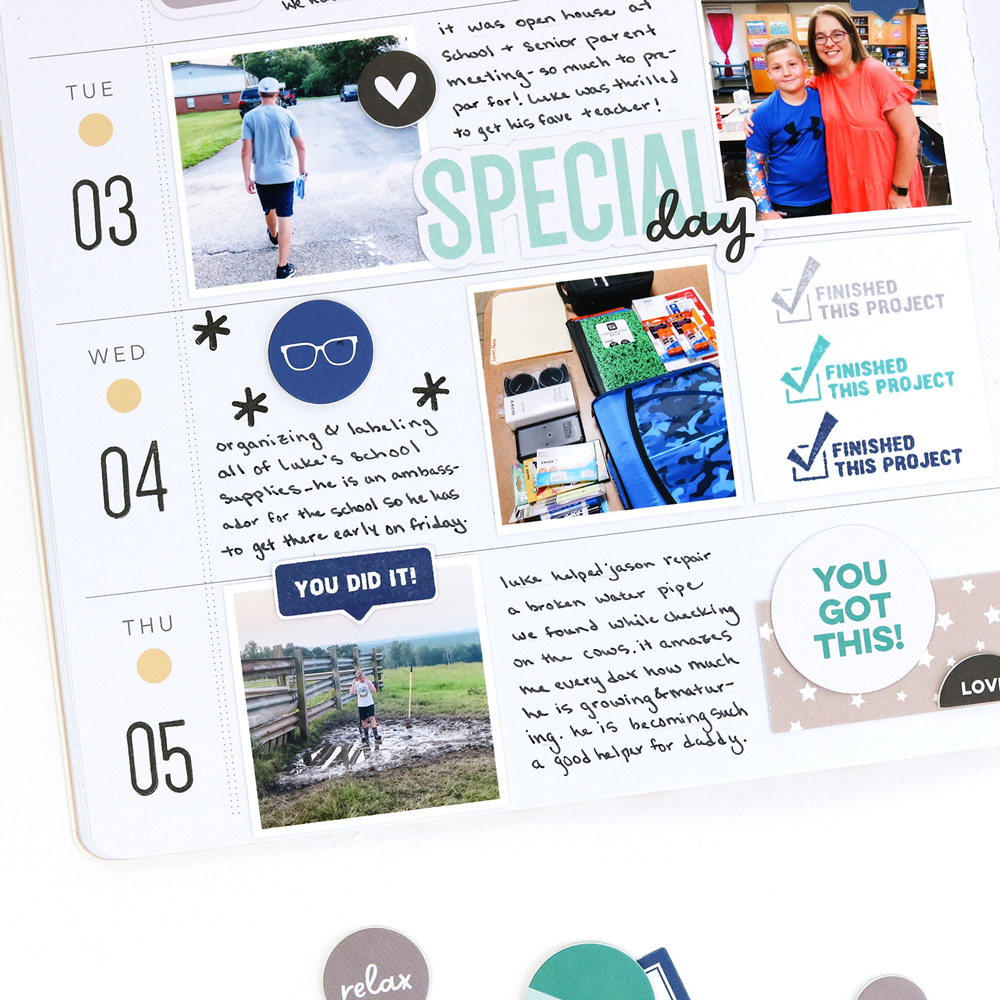
Next came the fun part: the embellishing! I chose a few of the Proud Of You Die Cuts in coordinating colors and used them to embellish several areas of the spread. The sentiments and designs matched well with this week’s photos. Using the You Got This Stamp and teal ink, I stamped a circular-shaped stamp and cut it out using a circle punch. I also repeat-stamped another sentiment using three ink colors. It is a simple technique, but I just love this little detail! Using the same stamp, I stamped another phrase in navy ink, trimmed it out, and added it to one of the photos. To complete this page of the spread, I added Chipboard Circle Stickers to a few areas of the layout.
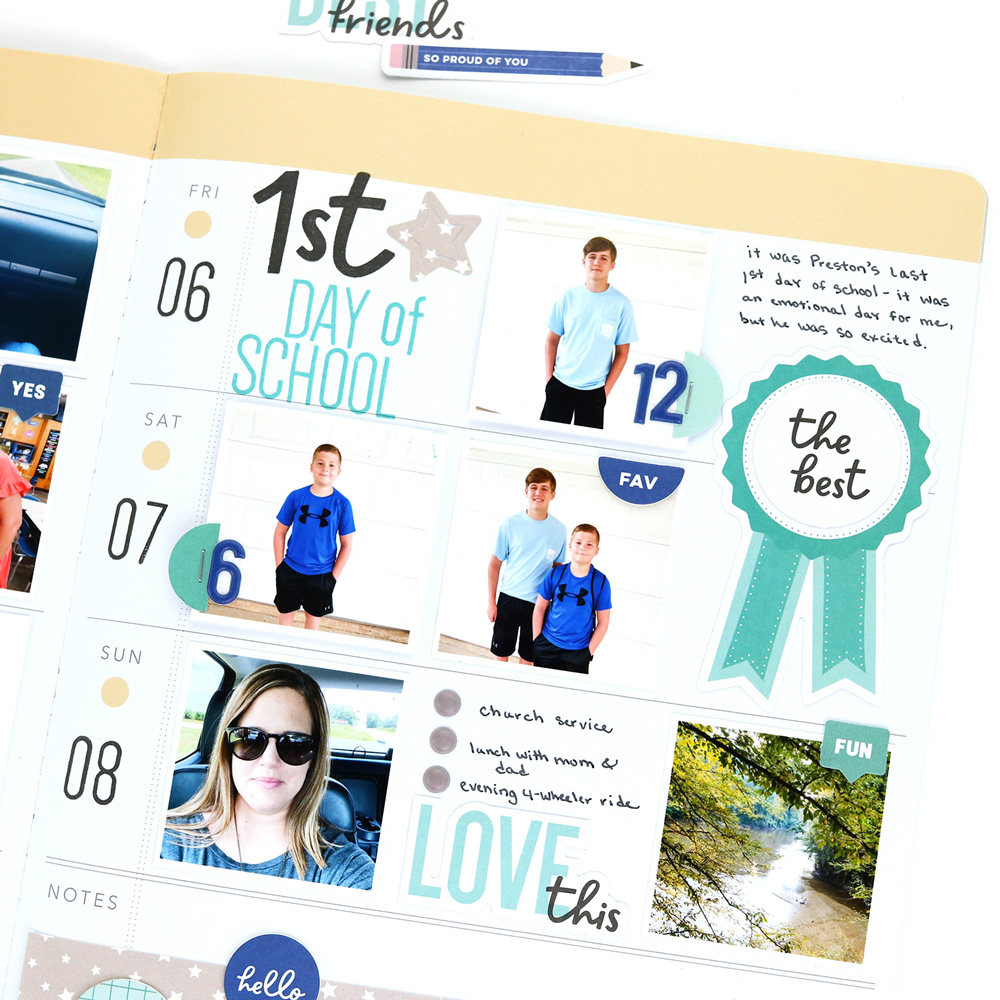
I did more stamping with the Lizzy Alphabet Stamp and the Jane Alphabet Stamp using black and teal inks. I always love the look of a mixed alpha stamped title! Using a gray patterned paper from the Good Times Paper Stack and the Pocket Envelope Metal Die, I cut out a star to embellish the title area. I added my sons’ grade numbers on their first day of school photos with Navy Puffy Alphabet Stickers.
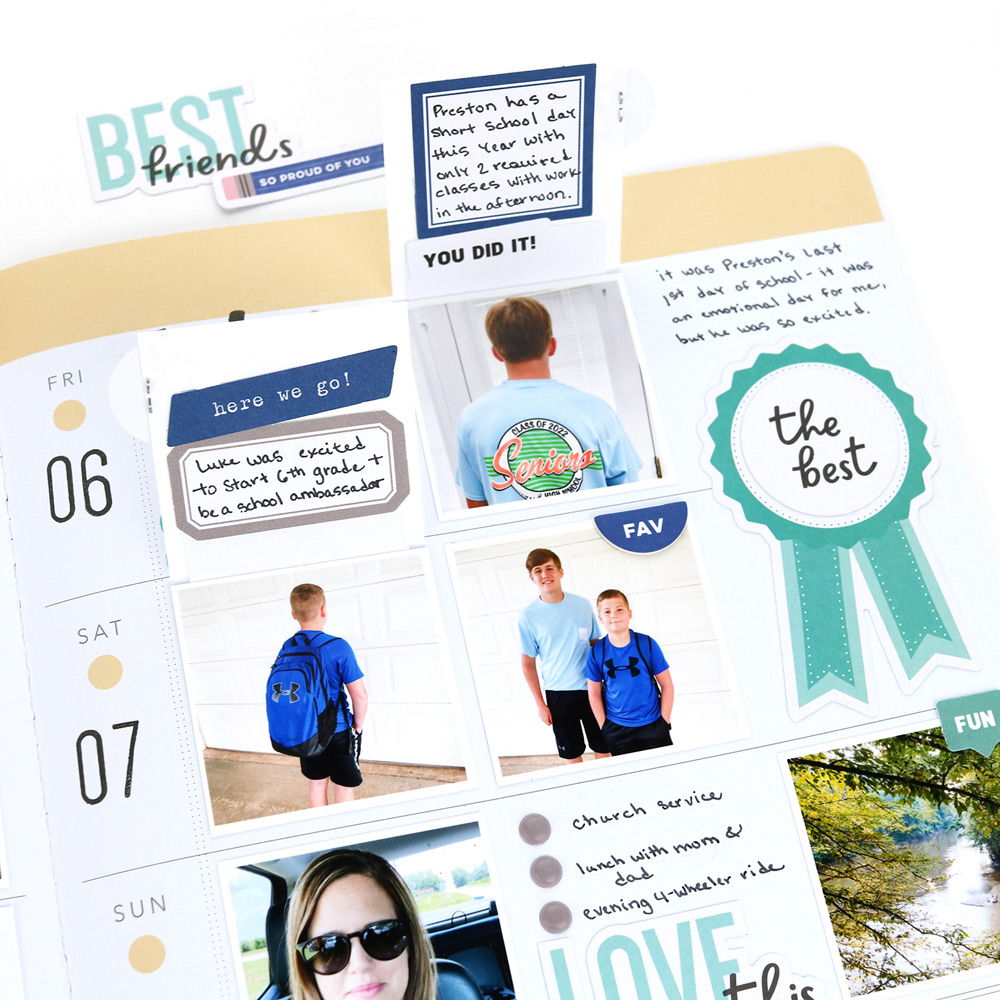
Because I had additional photos I wanted to include, I created two flip-ups. This also allowed space for additional journaling. I created little tabs for the flip-ups by trimming a circular die-cut tag from the August Kit in half and using mini staples to attach the die-cut pieces to the photos.
I added a trimmed piece of the same gray patterned paper from the Good Times Paper Stack to the bottom of the spread. I used the Proud Of You Die Cuts and Chipboard Circle Stickers to create a fun design element that spanned both pages. The last step in my memory planning process was filling in my journaling for each day. I always try to include the little details I will enjoy looking back on in years to come.
I hope I have given you some ideas for using the August kit and extras in your memory planner! Thanks so much for stopping by today! Happy creating!

Show us how you’re using our August products to complete your memory planners! Post your planner pages to our Elle’s Studio Facebook Group or share on Instagram using the hashtag #EllesStudio!
Pingback: Memory Planner Pages – Scrap Booking
Pingback: Reminiscence Planner Pages – Scrap Reserving - Beadiebuddysbonanza
Pingback: #Memory Planner Pages
Pingback: Memory Planner Pages – Scrap Booking – Household Attire