Hiya, scrappy peeps! It’s Suzanna here today for a “Teach Me” Tuesday! If you know me, I love a good ol’ grid layout. I find they work really well with my Elle’s Studio kits in particular as those 3″ x 4″ tags inherently are made for a grid. Today, I would like to teach you how to incorporate labels into your layout for a different look to a grid-based layout. Are you ready? Let’s dive in!
Here’s what I created using the October kit and add ons including lots of the Neutral Die Cut Labels:
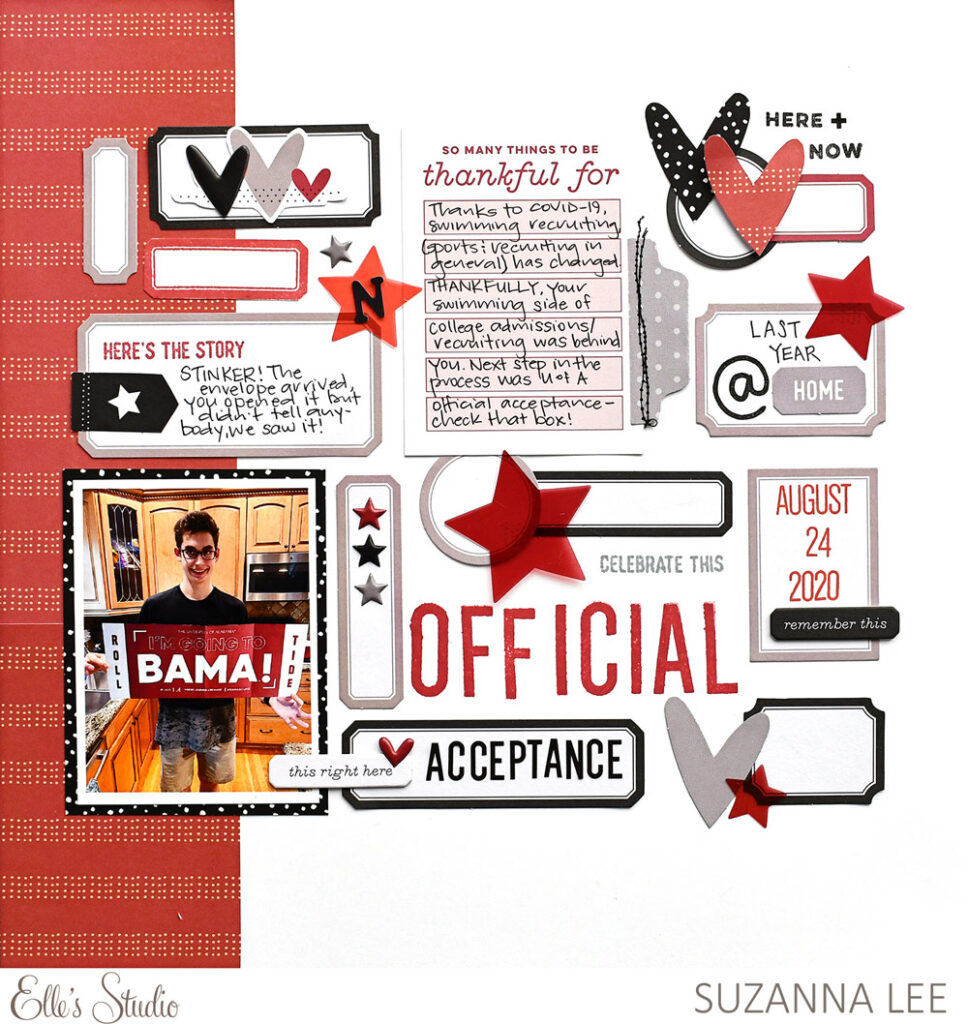
Supplies | October 2020 Kit, Neutral Die Cut Labels, Thankful Chipboard Label Stickers, Autumn Tiny Shapes and Dots Puffy Stickers, Acetate Stars, Autumn Days 6 x 8.5 Inch Paper Stack, Medium Jane Alphabet Stamp — Solid Documented Stamp
This particular color combo of labels was a no brainer for this layout as maroon, black and grey are University of Alabama colors—all I had to do was supplement with crimson. Or maroon, if you weren’t talking specifically about Bama and the Crimson Tide! You don’t have to confine yourself to this color palette—any third color that complements your photos would be perfect!
When you create such a layout, arrange the labels around your photo(s) in blocks or rectangles. Don’t worry about containing all four sides as that will likely result in frustration and objects tossed across the room. Think of the general “box”. Be sure to leave a space for a title if you won’t be adding that to a label, or labels. If you want, if there is room, a 3″ x 4″ tag from the kit looks great and provides a great space for journaling, as I have done.
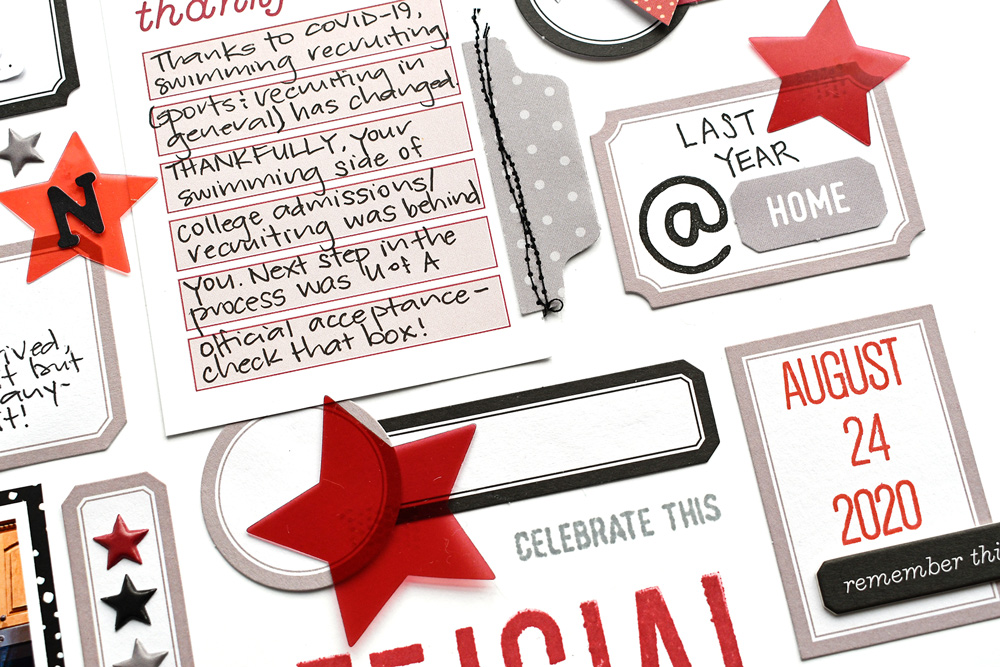
Once you have the general boxes arranged into a giant box, in this case a rectangle, then look at your embellishments as fillers. Stamps (such as this month’s Documented Stamp) are perfect to fill in those gaps. The Thankful Chipboard Label Stickers very much resemble the Neutral Die Cut Labels and are small; thus perfect gap fillers, too.
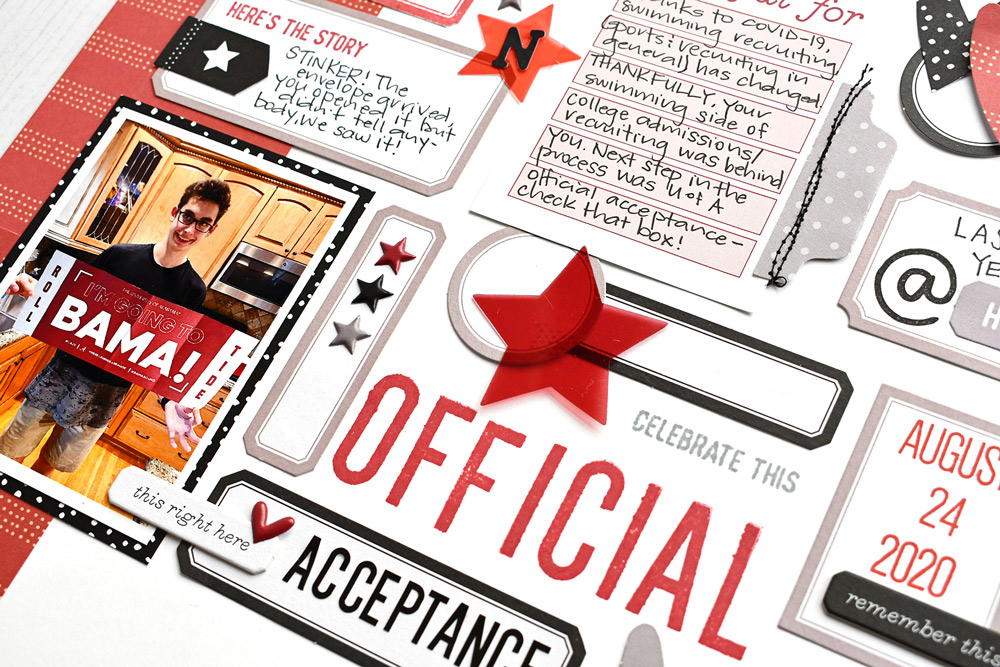
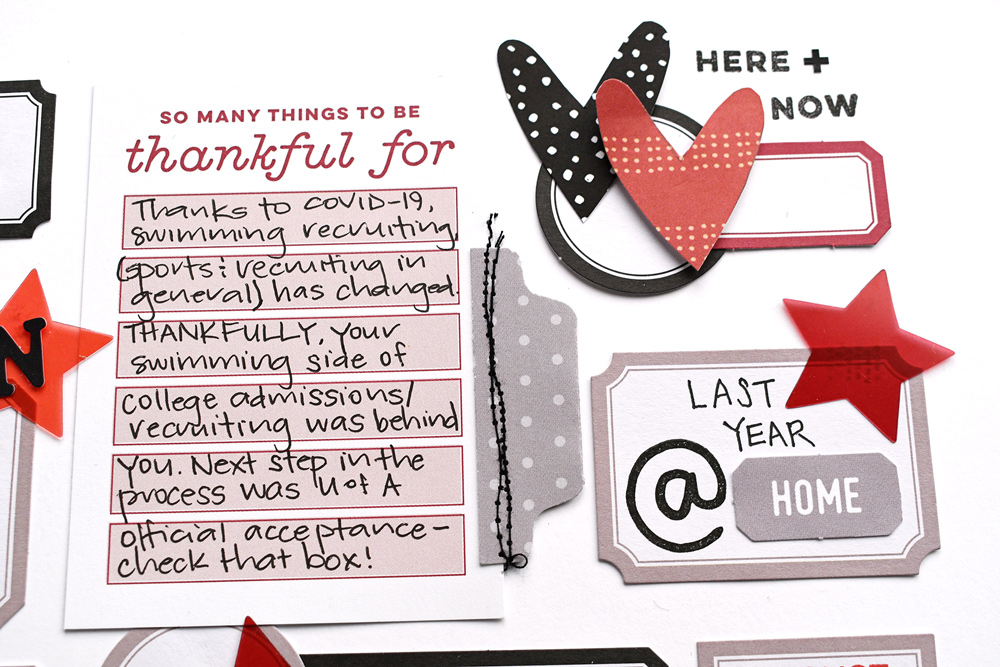
Don’t forget to incorporate some of the round labels as well! They are “soft” and take the hard edges from the grid. Overlapping them with a traditional rectangle label aid in ease of incorporating them. Further embellishment, such as the Acetate Stars and die cut hearts also provide great grid fillers and softer edges.
Now, treat each of the labels as a bit of a canvas of it’s own. Fill them with subtitles, titles, journaling, dates—any number of things. But also think of balance and leave some of them open for white space.
What do you think? Totally doable and a little different, right?! Break out of the grid and have some fun!
Thanks for stopping by the blog today! I hope you are inspired to try this and perhaps step out of your comfort zone and see a different use other than the traditional for your labels!
Show us your grid layouts—whether created with labels or any of our tags! Post on Instagram using the hashtag #EllesStudio or in our Elle’s Studio Facebook Group!