For the past few days, we’ve been sharing inspiration from our design team using different Title Builder volumes combined together to create amazing titles, and customized elements like page backgrounds, borders and more! Today, design team member Marsha Farris is going back to our latest release, Title Builder Vol. 4, to show us how she used it to create a beautiful, springtime traveler’s notebook spread, which we know you will love!
Hey, Elle’s Studio friends! It’s Marsha and I’m excited to share a traveler’s notebook layout featuring the new Title Builder Vol. 4 Stamp! This is such a versatile set, perfect for adding fun stamped titles to your layouts!
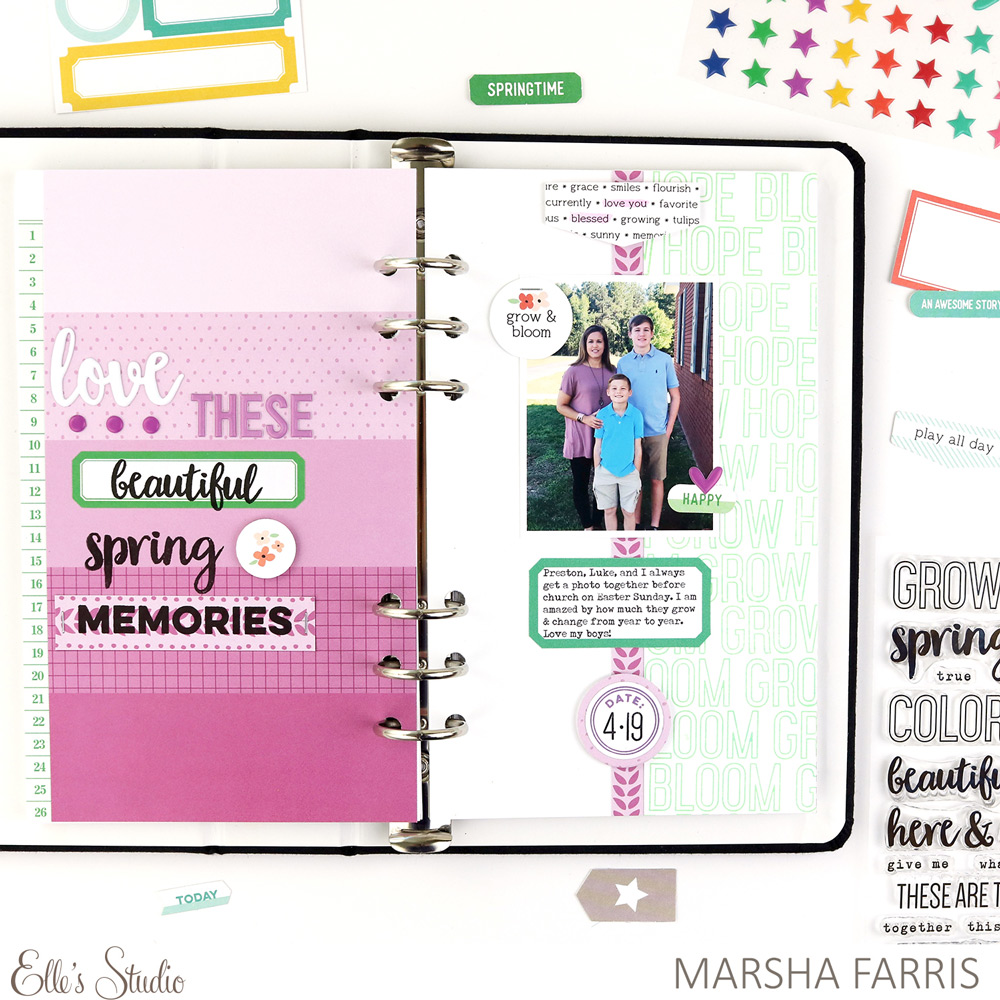
Supplies | March 2020 Kit, March 2020 Print and Cut Labels, March Label Stickers, Tiny Shapes and Dots Puffy Stickers, Title Builder Vol. 4 Puffy Stickers, Fuchsia Puffy Alphabet Stickers, Flourish 6 x 8.5 Paper Stack, Title Builder Vol. 4 Stamp, Mini Dated Extras Stamp, Everyday Tabs Metal Die
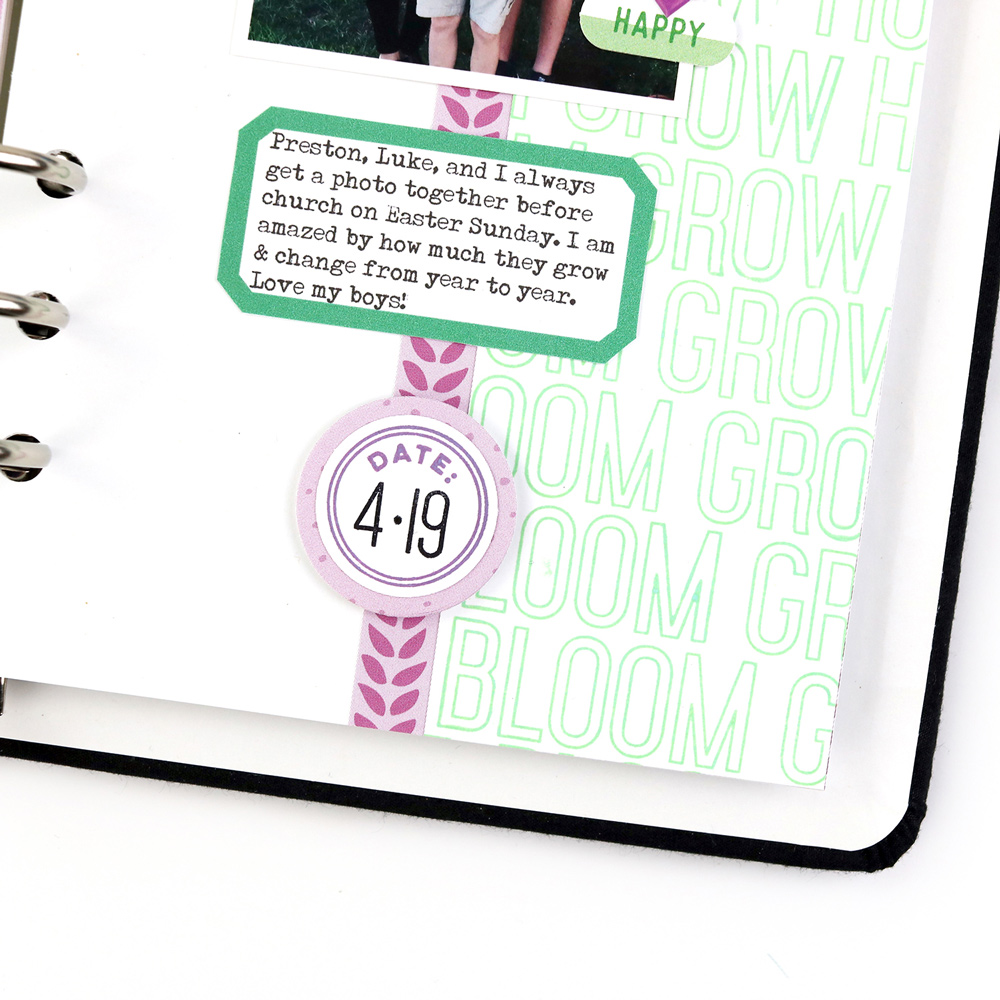
This layout began with a photo of my sons and me, taken last Easter morning. We have a tradition of taking photos every Easter and I am always excited to see how much they change from year to year. I knew the bright, springy colors in the March 2020 Kit, along with the Flourish 6 x 8.5 Paper Stack would work perfectly with this photo. To start the layout, I used several stamps from the Title Builder Vol. 4 Stamp to do some repeat stamping onto a piece of white cardstock, using a light green ink. The words in this stamp were perfect for my spread! I trimmed a strip of patterned paper from the Flourish Paper Stack and adhered it with the stamped piece down the right edge of the layout. Next, I added my photo and used some die cuts from the March Kit as embellishment, along with a heart from the Tiny Shapes and Dots Puffy Stickers. For the area above my photo, I used the Everyday Tabs Metal Die and a patterned paper from the Flourish Paper Stack to create a tab. I used a bit of fuchsia watercolor to highlight two of the words on the patterned paper tab before adhering it to the layout.

Below the photo, I typed my journaling onto a label from the March 2020 Print and Cut Labels and adhered it to the page. I stamped the date using the Mini Dated Extras Stamp and used a circle punch to cut it out. I also layered it with another punched circle from the Flourish Paper Stack.
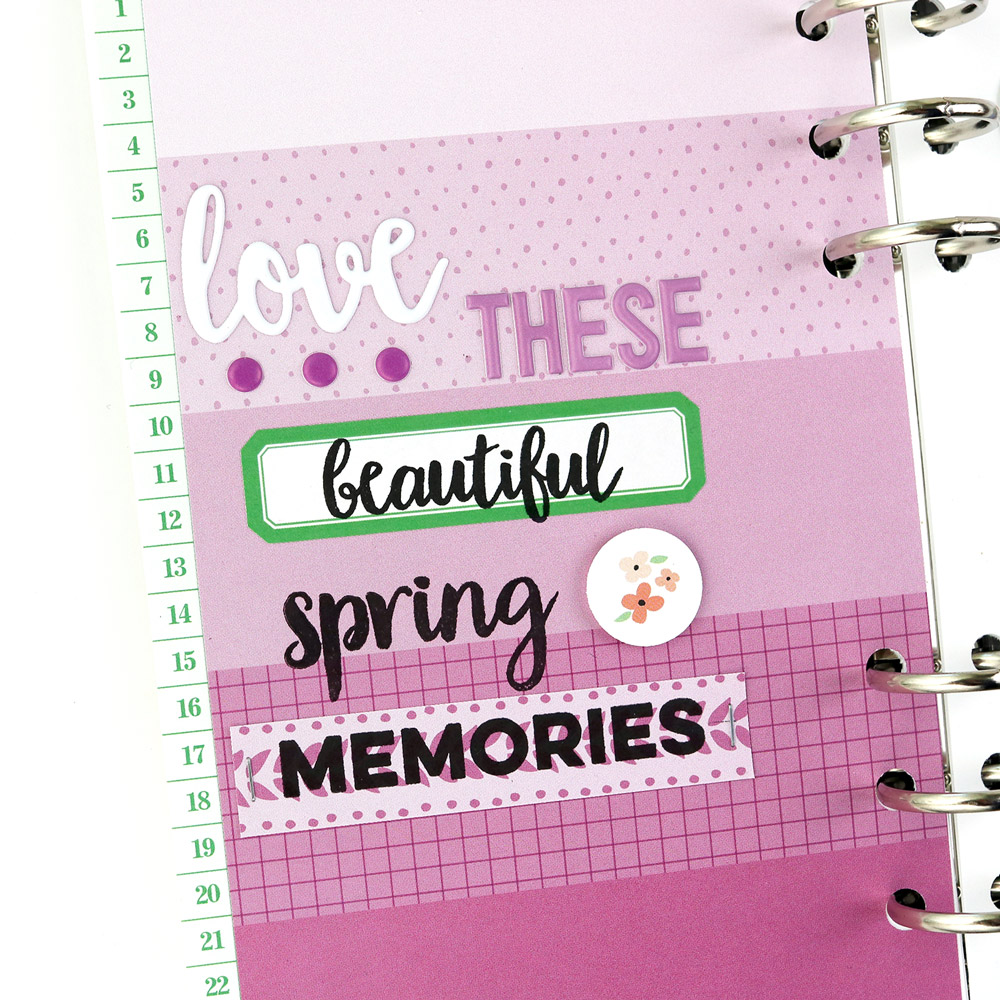
On the other side of the spread, I chose two patterned papers from the Flourish Paper Stack, layering them so that only a portion of the green ledger paper was showing at the left edge of the page. I began the title using the Title Builder Vol. 4 Puffy Stickers and the Fuchsia Puffy Alphabet Stickers. Next, I stamped the rest of the title using the Title Builder Vol. 4 Stamp, adding one of the words onto a label from the March Label Stickers. I always love the look of a mixed stamp and sticker title! To embellish the page, I added a few dots from the Tiny Shapes and Dots Puffy Stickers and used a circle punch to cut out a floral piece from a patterned paper in the Flourish Paper Stack. This was such a fun layout to put together using the Title Builder Vol. 4 Stamp, along with the March 2020 Kit and extras!
I hope this inspires you to use the Title Builder Vol. 4 Stamp to create a title or add a fun stamped border to your layout! We can’t wait to see your creations using this new set!

Show us how you create with Title Builder Vol. 4! Share your projects on social media using the hashtag #EllesStudio, or in our Elle’s Studio Facebook Group! We can’t wait to see your terrific titles!