Creativity does not need to be completely out of the box, or the pocket, as design team member Amy Jo Vanden Brink is showing us today with one colorful and interactive project for our Teach Me tutorial! Let’s take a look, and get inspired to try something new this week!
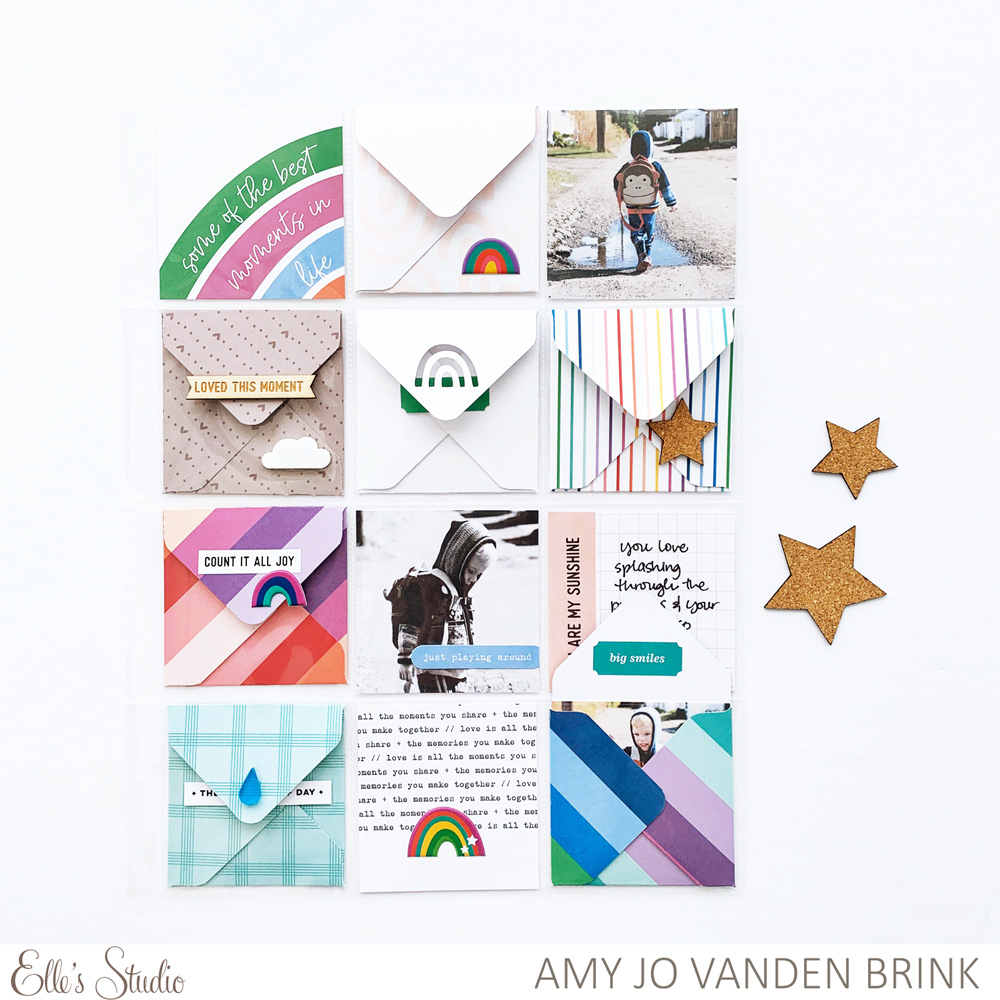
Hi! It’s Amy here, and I am so excited to share a very interactive pocket page with you today! I used the tags and embellishments from the February 2020 kit and extras to make a page for some adorable photos I had of my son stomping around in some puddles:
Supplies | February 2020 Kit, Be Happy Stickers, Puffy Rainbow Stickers, Cork Stars, Simply Wonderful Wood Veneer Banners, Acrylic Clouds, Acrylic Raindrop Confetti, Love Is 6 x 8.5 Paper Stack, Sunshine & Laughter Stamp
To begin, I wanted to make an envelope that fit in the 3″ x 3″ pockets of my 9″ x 12″ page protector. Because the pockets themselves are 3″ x 3″, I had to do a bit of trial and error to find the perfect dimensions to create the envelopes. I cut my paper to 4-7/8″ square, then using an envelope punch board I scored the first mark just between the 2 3/8″ and 2 1/2″ mark. I rounded all the corners of my envelopes and because I was putting them in the pockets, I didn’t need to adhere them together, the pockets keep them closed.
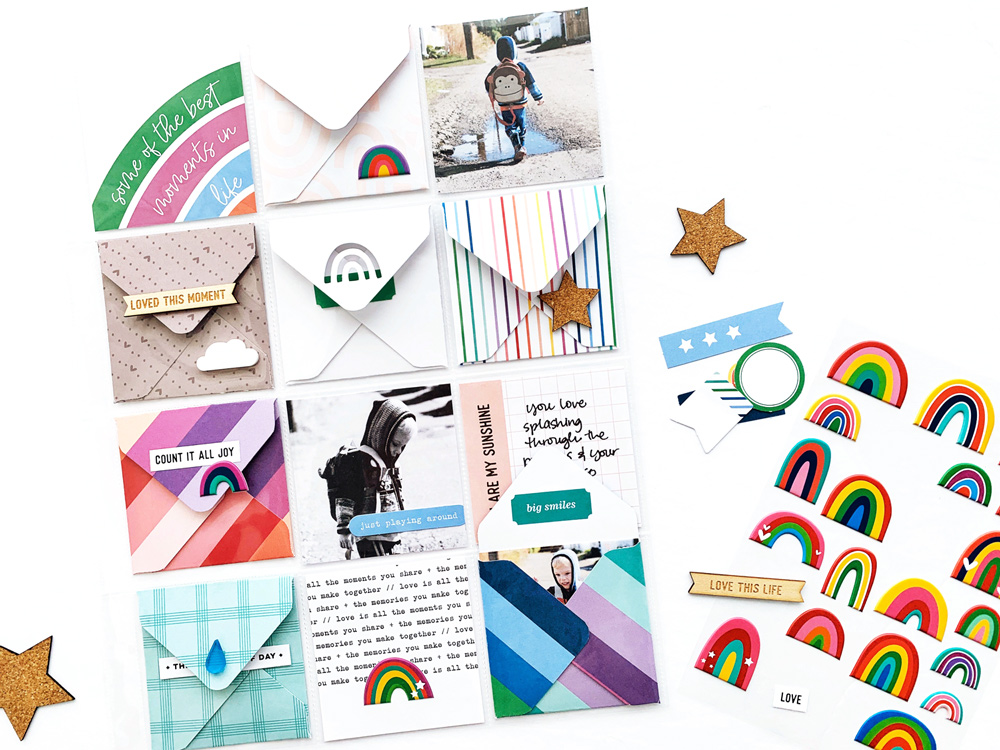
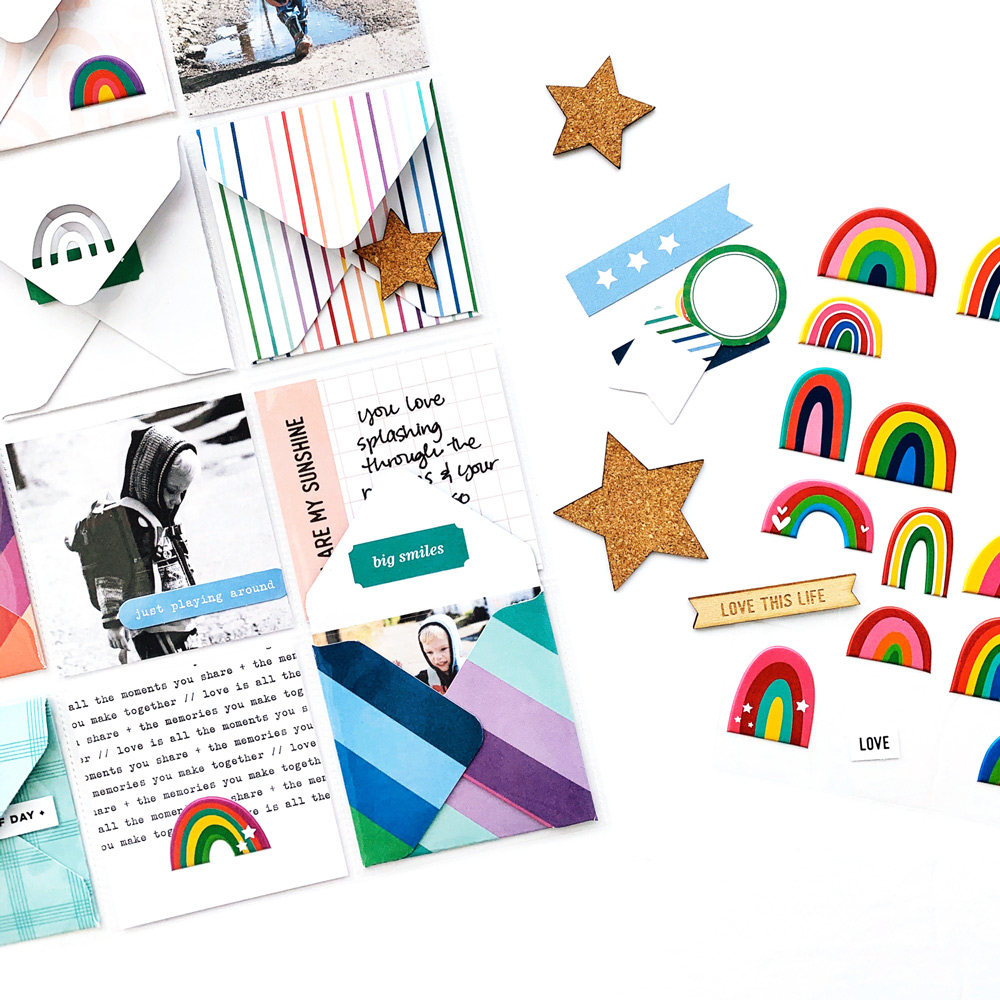
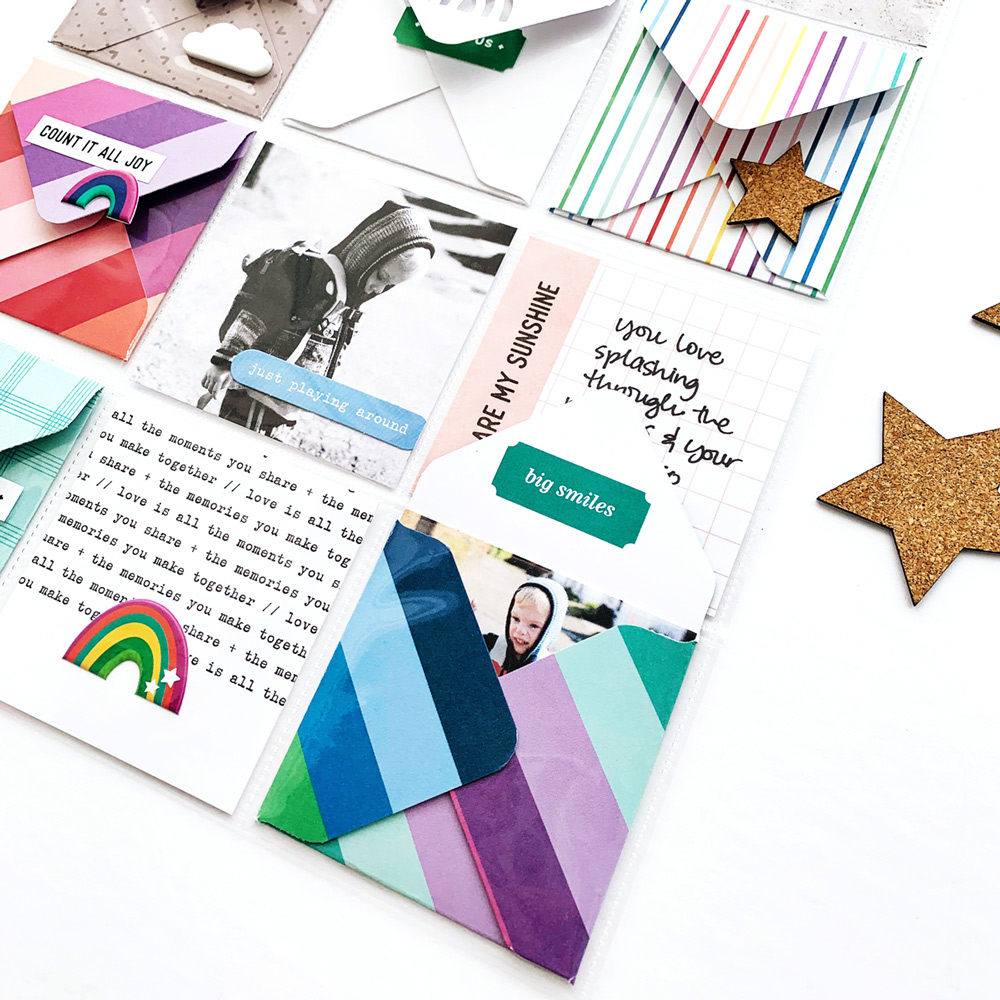
As I added my journaling and photos, I used so many great pieces from the kit and add-ons to embellish the little pockets: Be Happy Stickers, Puffy Rainbow Stickers, Cork Stars, Simply Wonderful Wood Veneer Banners, Acrylic Clouds, Acrylic Raindrop Confetti. The great thing about this layout was the ability to use the envelopes themselves to tuck small little pieces and memories away, and on the bottom corner I kept a little photo poking out of the corner pocket.
Check out how I created this page, and made my envelopes in this process video:
This project would be very easy to create as a 12″ x 12″ layout instead of a pocket page, you would simply have to adhere the envelopes in a grid pattern to replicate the look! I hope you find a way to use this idea in your own scrapbooking, it is such a great way to hold onto little memories and photos.

Show us how you are inspired by Amy Jo’s envelope project! Share your project on Instagram using the hashtag #EllesStudio, or in our Elle’s Studio Facebook Group!