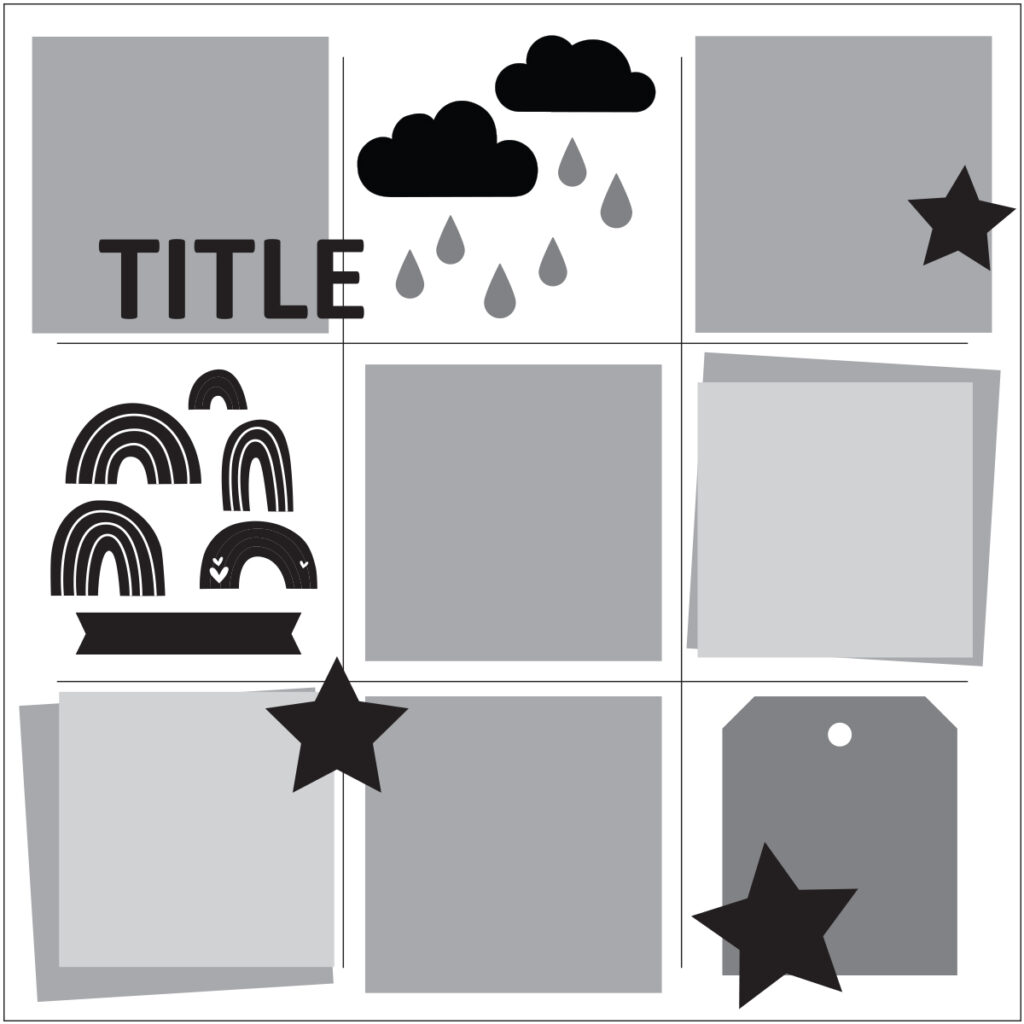
Hey, friends! It’s Marsha and I’m so excited to be here sharing an Elle’s Studio sketch day project with you! Using a sketch is such a great way to jump-start your creativity, and today’s sketch is sure to do just that with its fun grid design:
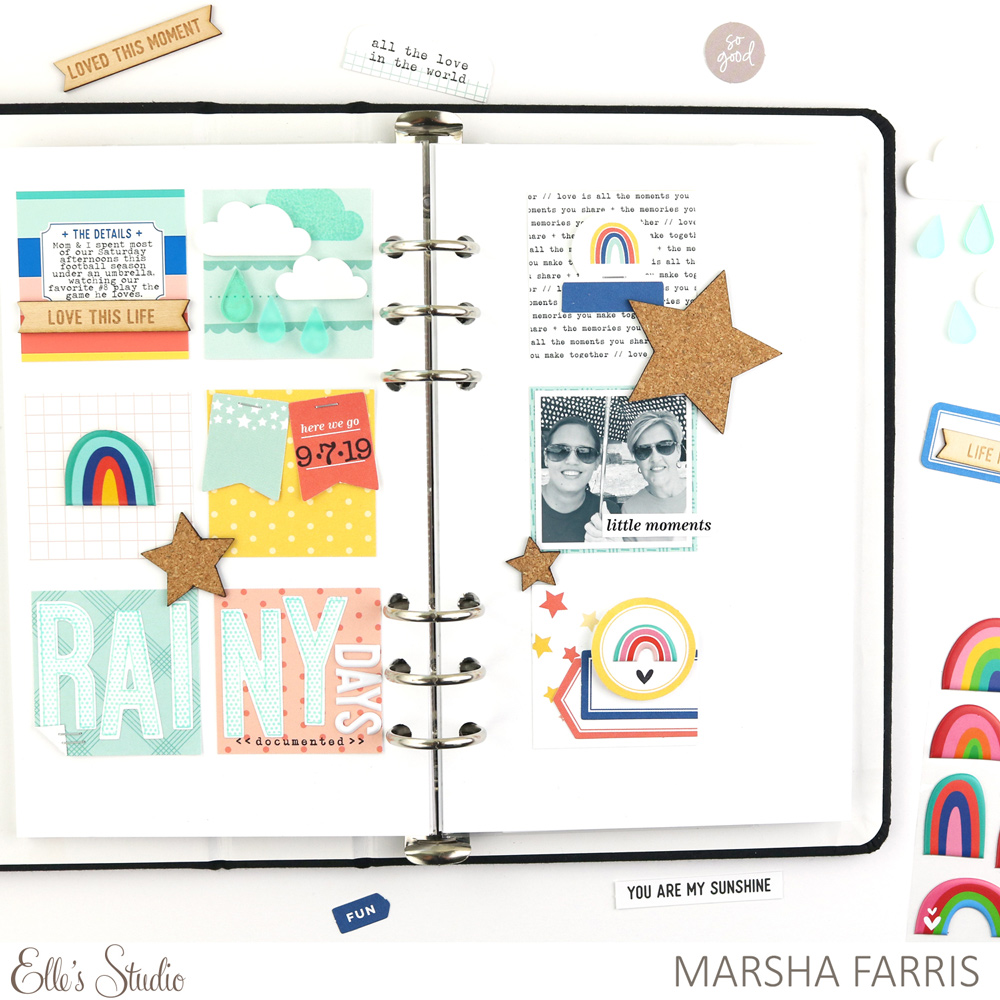
Here’s a look at the project that I created using the sketch:
Supplies | February 2020 Kit, Love Is Printables, Polka Dot Journaling Tags, Be Happy Stickers, Puffy Rainbow Stickers, White Puffy Alphabet Stickers, Cork Stars, Simply Wonderful Wood Veneer Banners, Acrylic Raindrop Confetti, Acrylic Clouds, Love Is 6 x 8.5 Paper Stack, Sunshine & Laughter Stamp, Mini Dated Extras Stamp, Hazel Alphabet Stamp, Large Jane Alphabet Stamp — Polka Dots, Large Jane Alphabet Stamp — Outline, Large Jane Alphabet Metal Die
For my project today, I chose to create a traveler’s notebook album layout, even though the sketch is sized for a 12″ x 12″ layout. That’s one of the great things about a sketch: you can interpret it any way that you like!
To begin the layout, I trimmed two pieces of white cardstock to 5″ x 8.25″ to fit in the album and serve as base pages for the spread. Because the sketch features a grid design, I decided to use 2″ squares so that it would fit on my album, spanning across both pages. I chose three of the journaling tags from the Love Is Printables and resized them to 2″ x 2″ in Photoshop. I also typed my journaling onto one of the printable tags. Next, I looked through the Polka Dot Journaling Tags, the February Kit journaling tags, and the Love Is 6 x 8.5 Paper Stack and chose some tags and papers to trim into 2″ squares. I arranged the squares on the layout so that the colors were spread across the pages. Because the layout features nine squares, I chose to put six on one page and three on the other page.
Next, I began embellishing the squares. I added one of the Simply Wonderful Wood Veneer Banners below the journaling and used the Sunshine & Laughter Stamp and some of the Acrylic Clouds and Acrylic Raindrop Confetti to embellish the next square. I layered one of the Puffy Rainbow Stickers over the grid-patterned paper. On the next square in the grid, I added two die cut banners from the February Kit and stamped the date on one of them using the Hazel Alphabet Stamp. I also added some mini staples to the top of each banner for added texture.
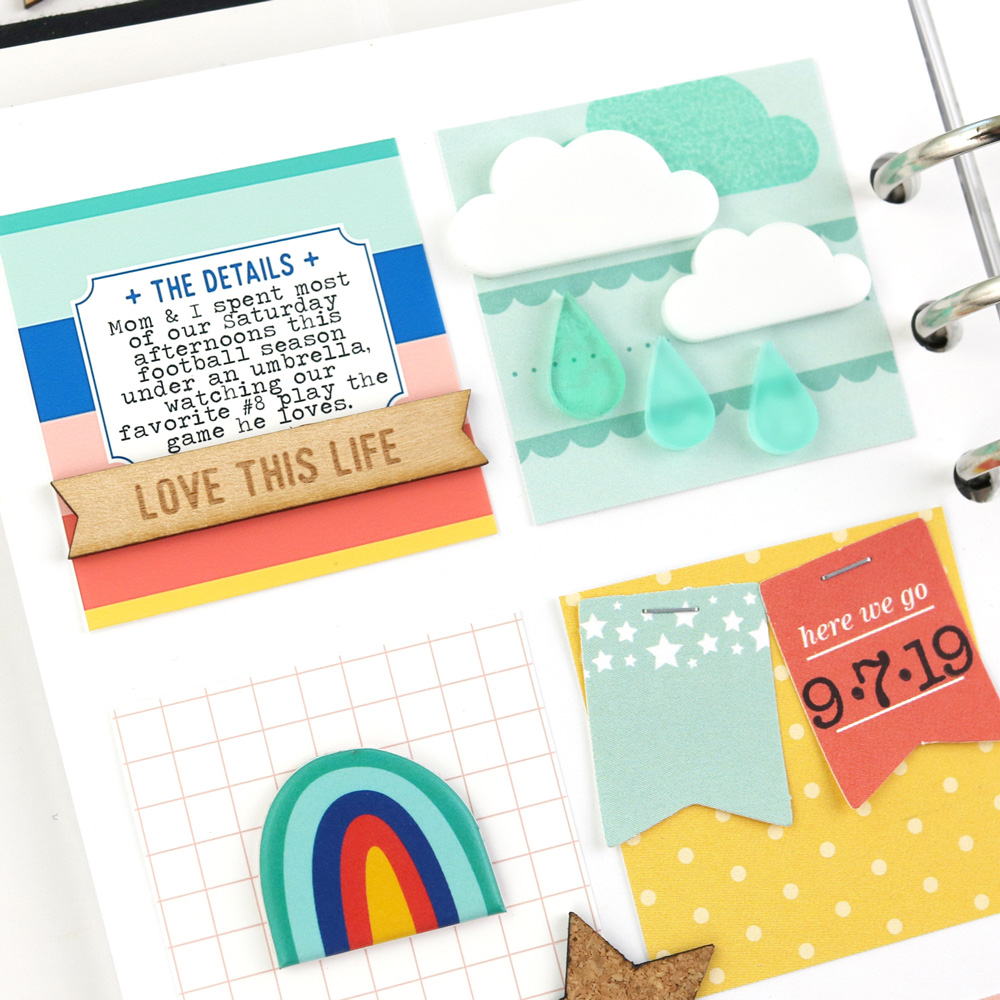
For the title of the layout, I stamped the word “rainy” with a teal ink, using the outline and polka dot Large Jane Alphabet Stamp onto white cardstock. Then, I used the Large Jane Alphabet Metal Die to cut them out. I love how this turned out using these amazing sets! To complete the title, I used the White Puffy Alphabet Stickers to spell out “days” and the Mini Dated Extras Stamp to stamp “documented.” I always love the look of mixing stamps and stickers for the title on a layout.

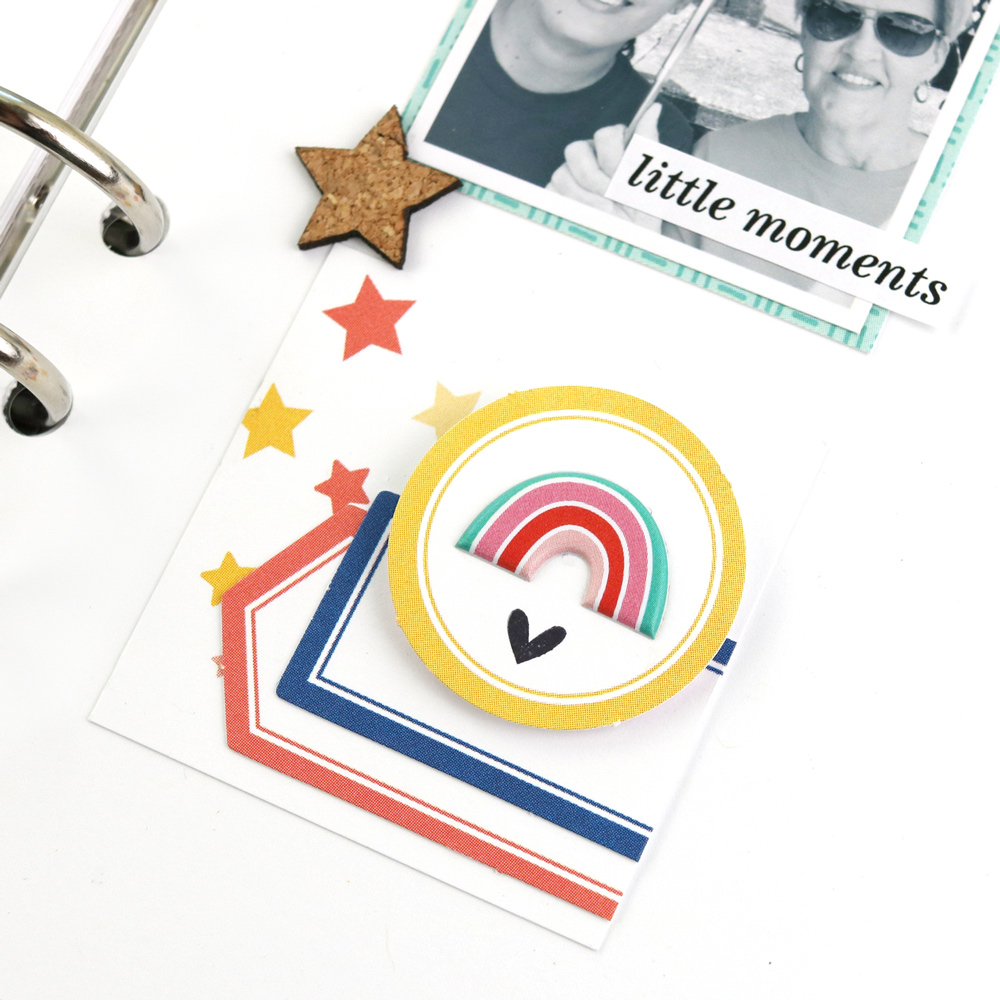
For the other side of the spread, I stapled one of the die cut tabs from the February Kit to the trimmed journaling tag. I adhered my photo to another journaling tag and added a phrase sticker from the Be Happy Stickers.
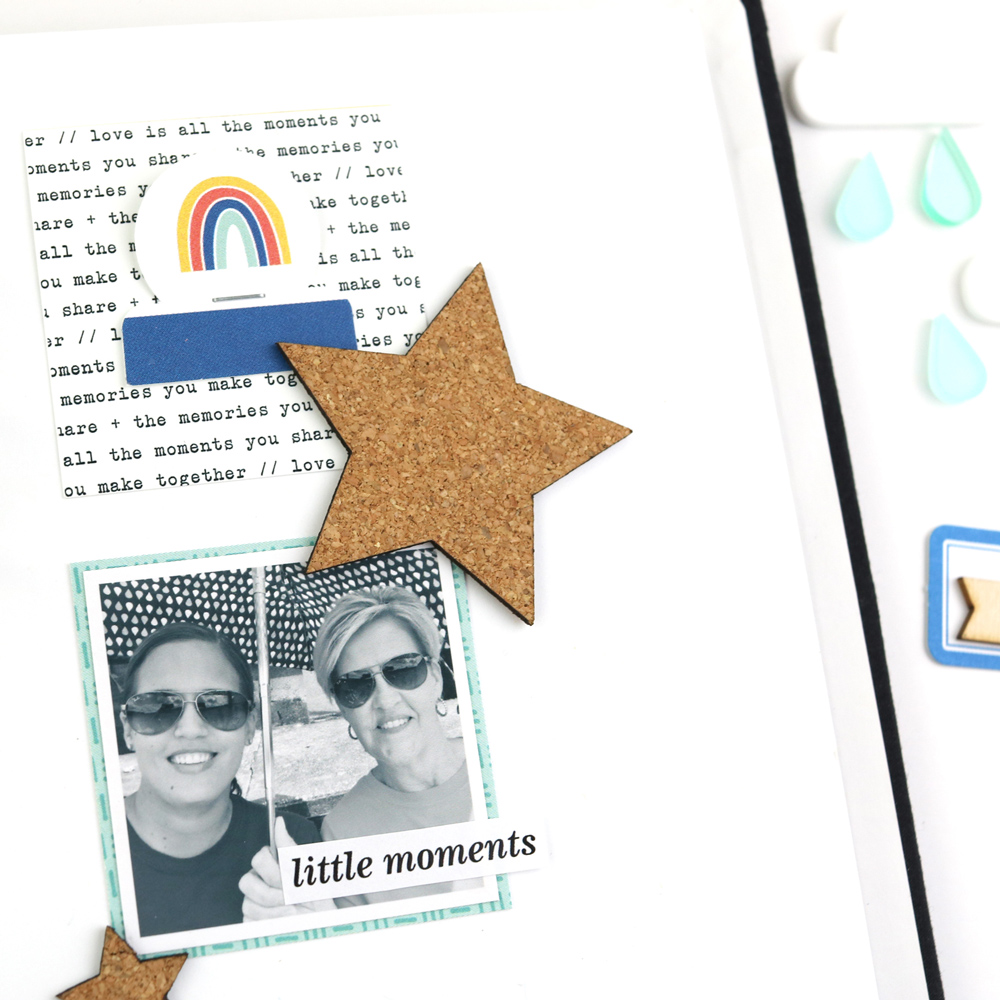
On the last square in the grid, I layered some die cut labels from the February Kit. Then, I added a Puffy Rainbow Sticker and stamped a heart from the Sunshine & Laughter Stamp. To finish off the spread, I followed the sketch and added Cork Stars to a few areas on the layout.
Thank you for stopping by the blog today! I hope I have inspired you to create a layout using this fun sketch. We can’t wait to see your interpretation!

Show us what you have created with this sketch by posting your project on Instagram using the hashtag #EllesStudio, or in our Elle’s Studio Facebook Group! We’d love to see how you interpret this sketch for your project and style!