Our February 2020 kit and add-ons feature a rainbow of colors—and lots of rainbow icons, too! But, don’t think that you have to use them to record rainbows seen in the sky—these cheerful products can be used to record any happy memory, as design team member Katarina Prevendarova is showing us today on a beautiful, new layout! Let’s take a look!
Hello scrappy friends, it’s Katarina here again! Today I am going to share with you my love for stamping and bring you some tips on how to use the new, playful and versatile Sunshine & Laughter stamp. It can be used to make fun cards, but today I am going to share a layout where I used the stamps to document a photo of me and my son opening his birthday present—a ukulele.
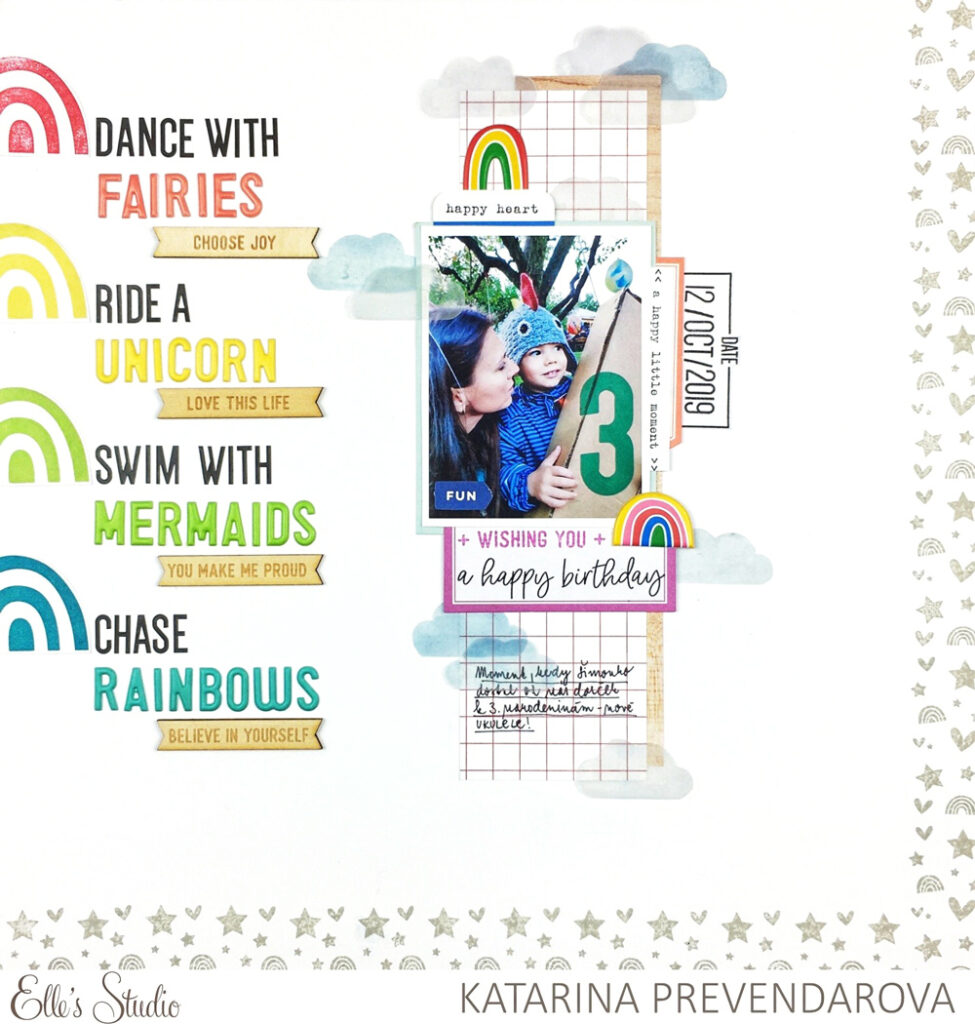
Supplies | February 2020 Kit, Teal Acetate Alphabet, Die Cut Labels, Be Happy Stickers, Jane Alphabet Stickers – Black, Puffy Rainbow Stickers, Coral Puffy Alphabet Stickers, Yellow Puffy Alphabet Stickers, Lime Green Puffy Alphabet Stickers, Teal Puffy Alphabet Stickers, Simply Wonderful Wood Veneer Banners, Love Is 6 x 8.5 Paper Stack, Sunshine & Laughter Stamp, Mini Dated Stamp, Mini Dated Extras Stamp
When I saw the stamp set for the first time, I knew I was definitely going to use those cute rainbows. You can totally ink each part of the stamp with a different color and make a colorful rainbow, but I created my own rainbow of rainbows down the left side of the page.
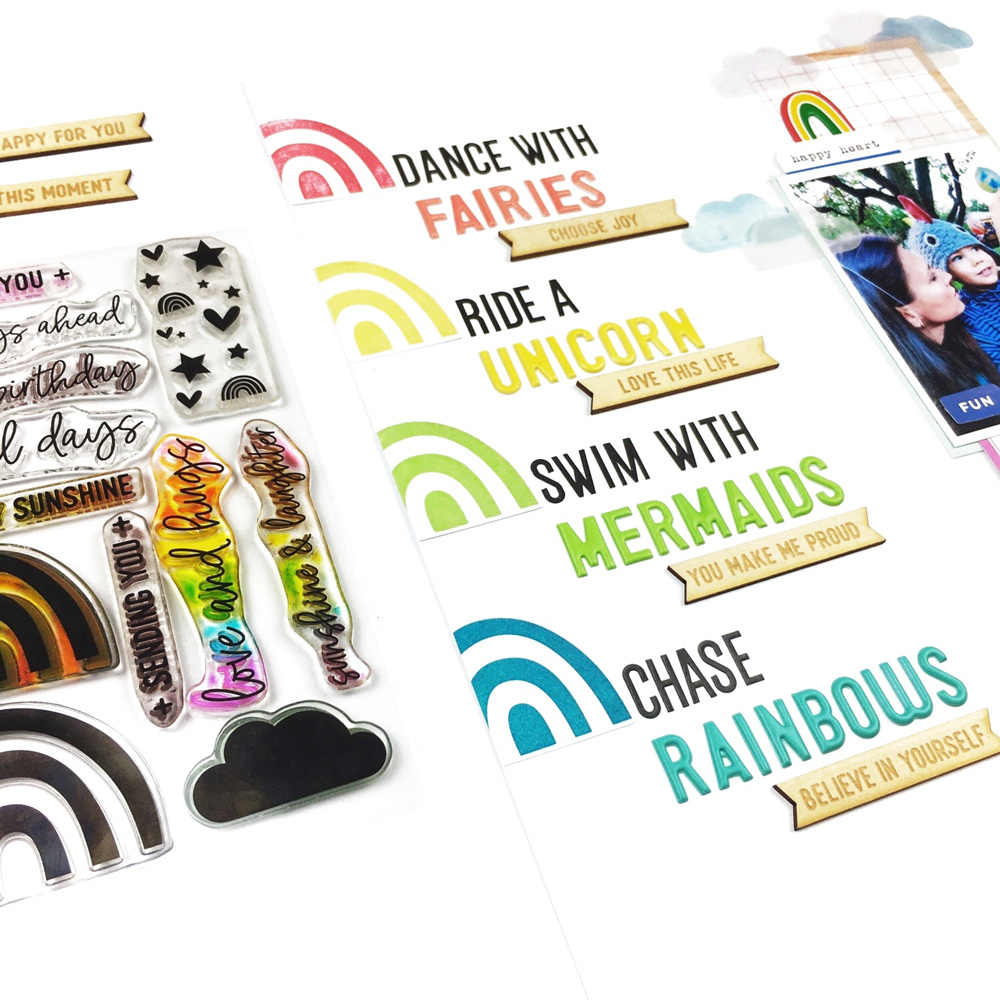
I started by searching Pinterest to find a perfect quote that included the word “rainbows.” I divided it into four parts and used the Yellow, Lime Green, Teal and new Coral Puffy Alphabet Stickers together with the black Jane Alphabet Stickers to place the phrase on the left side of a white piece of cardstock. Next, I stamped the rainbows from the Sunshine & Laughter Stamp in coordinating colors on a piece of white scrap paper, fussy cut them out and put them slightly off the edge next to the colorful quote. To emphasize the repetition, I used four of the Simply Wonderful Wood Veneer Banners under each separate color.
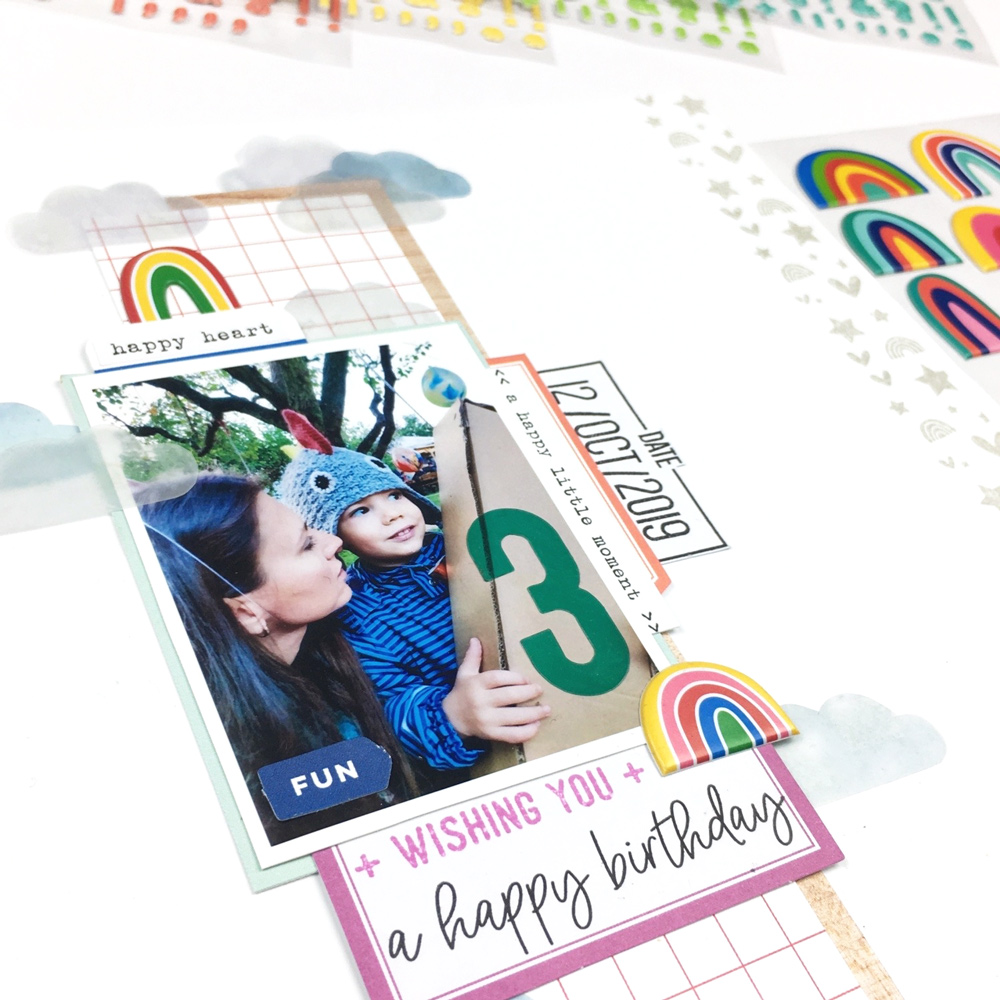
I continued by layering long, vertical strips of the wood grain and grid papers from the Love Is 6 x 8.5 Paper Stack to make a place for my photo, which I backed using a light blue journaling tag from the February Kit. To embellish the photo, I used a few of the die cuts from the February Kit, a sticker from the Be Happy Stickers and two of the super cute Puffy Rainbow Stickers. My son celebrated his third birthday and to document it, I layered a “3” from the Teal Acetate Alphabet over the photo. To complete the rainbow colors, I used a big purple label from the Die Cut Labels and the Sunshine & Laughter Stamp to add the “Wishing You a Happy Birthday” sentiment under my photo.
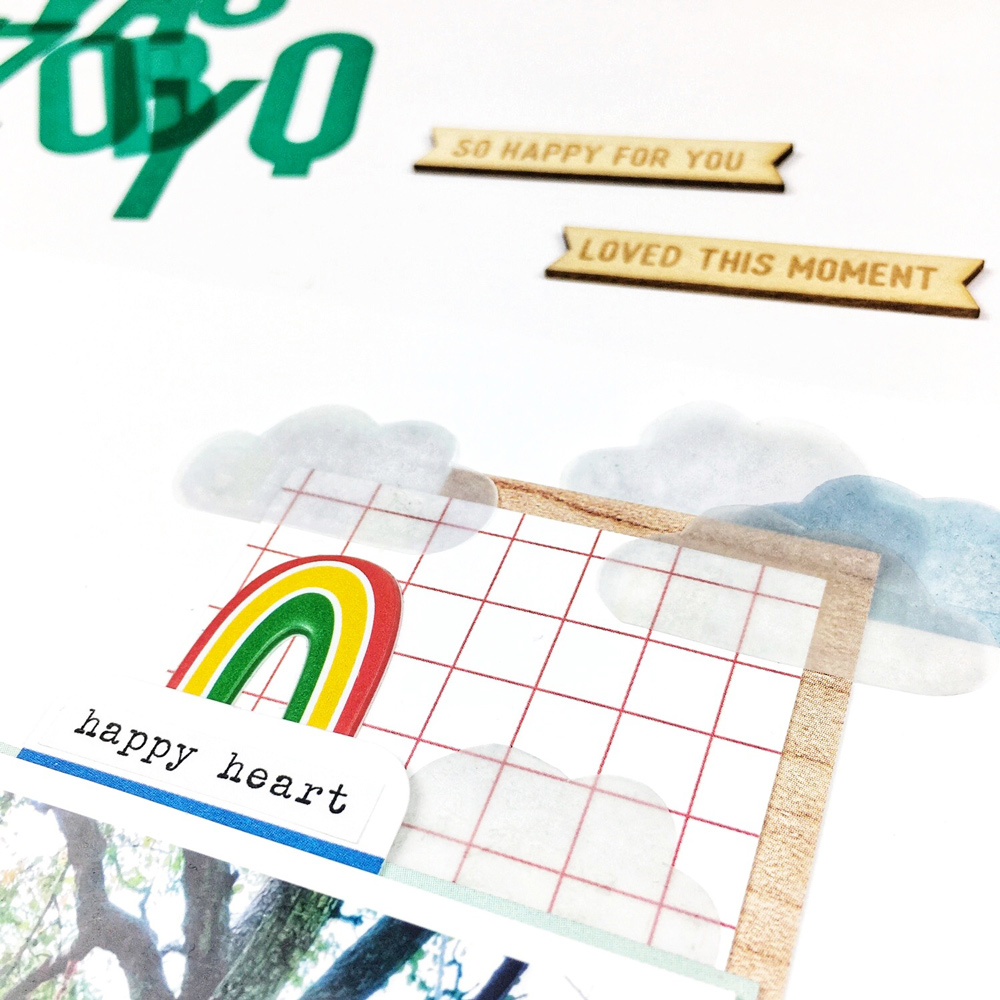
Next, I added clouds around my layout using the cloud from the Sunshine & Laughter Stamp, stamping them onto vellum to create a translucent effect. A tip for those who don’t know: when stamping on vellum, it takes much longer for the ink to dry, so make sure to wait patiently until completely dry or use your heat gun to speed up the drying. The waiting paid off—I really love the light, airy look of the clouds.
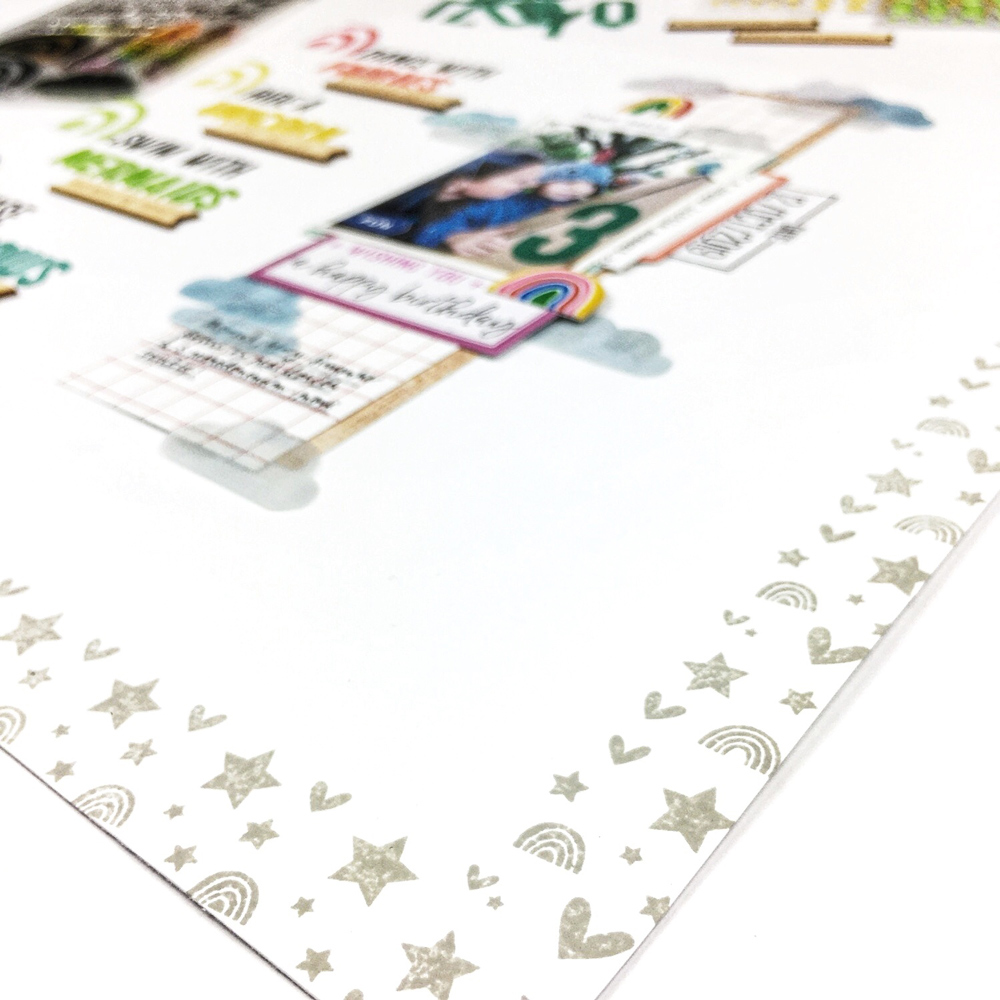
The last stamp I used from the Sunshine & Laughter Stamp is the one with tiny rainbows, hearts and stars. As all the elements on my layout were positioned in the top and left part of the layout, I stamped it repeatedly to create a border on the right and bottom part of the layout to balance everything. It added the perfect finishing touch!
I love how my project turned out! I must say that I am totally in love with the February Kit and add-ons. I can’t stop using them as there are so many beautiful products, and the Sunshine & Laughter Stamp is definitely one of my favorites. I hope that I have inspired you to also give it a try—there’s always a good reason to add a rainbow or two, right? Thanks for stopping by, friends. Have fun creating and don’t forget to share your projects on Instagram, tagging #ellesstudio so we can admire them too!

