We designed our popular Title Builder products to make creating project titles quick and easy for you, but our design team has found so many creative ways to use them, and we know that this post from Patricia Roebuck will have you looking at your Title Builder stamps in a completely different way with her amazing project! Let’s take a look!
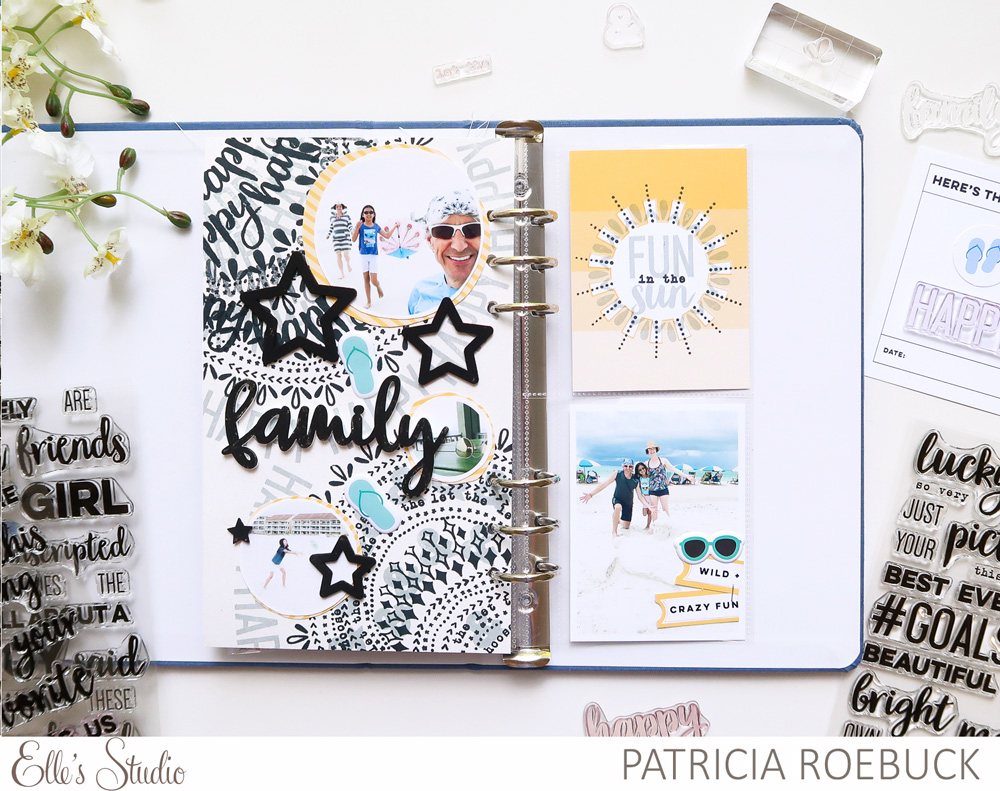
Hi, Elle’s Studio friends! It’s Patricia here to share a traveler’s notebook spread combining the Title Builder Stamp, Title Builder Vol. 2 Stamp, and… the brand new Title Builder Vol. 3 Stamp! These stamps are essential to anyone needing an economical way to create titles and subtitles, but for today’s post, these stamps will create not just a title and subtitle, but also the base of my project in an unexpected way!
Supplies | Title Builder Stamp, Title Builder Vol. 2 Stamp, Title Builder Vol. 3 Stamp, June 2019 Kit, Summer Phrase Stickers, Summer Puffy Stickers, Wood Veneer Stars, Family Acrylic, Beautiful Day 6 x 6 Paper Stack
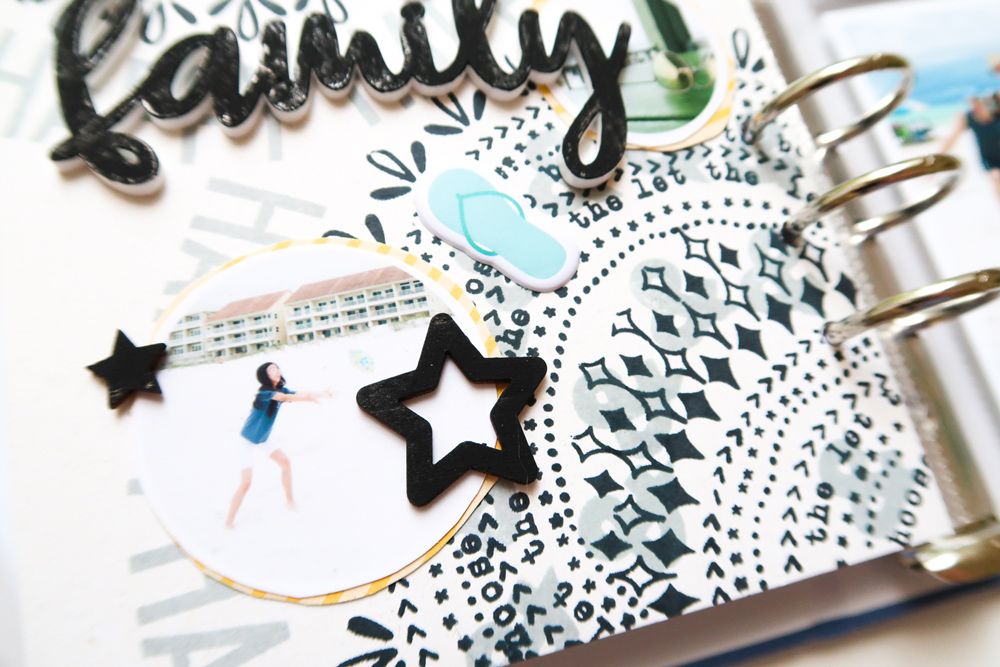
At first glance, these stamps allow amazing ways to combine titles, cool typography, words and phrases perfect for memory keeping, but have you noticed the other images also available in these sets? In the Title Builder Stamp there are rows of dots, asterisks, and greater-than signs. The Title Builder Vol. 2 Stamp and the new Title Builder Vol. 3 Stamp have images as well. All of these illustrations, along with the words and phrases, sparked not just a background, but a pattern and a design. I needed to follow a half circle to translate my idea onto paper, so using a double-sided tape roll (another round object would work as well), helped me pencil in my half circles onto my cardstock. I traced a few nested together at the bottom right and at the top left.
Next, I positioned each image design on my acrylic block, but curved it. (NOTE: Sometimes they bounce back to their original form, but they will eventually comply with being curved.) I did this with all of the images, continuing to stamp in black ink until I had a pattern started. The images from the Title Builder Vol. 3 Stamp are my favorite as they can be splashes of water, flowers, or in this case, the top of my medallions I’ve created for my patterns!
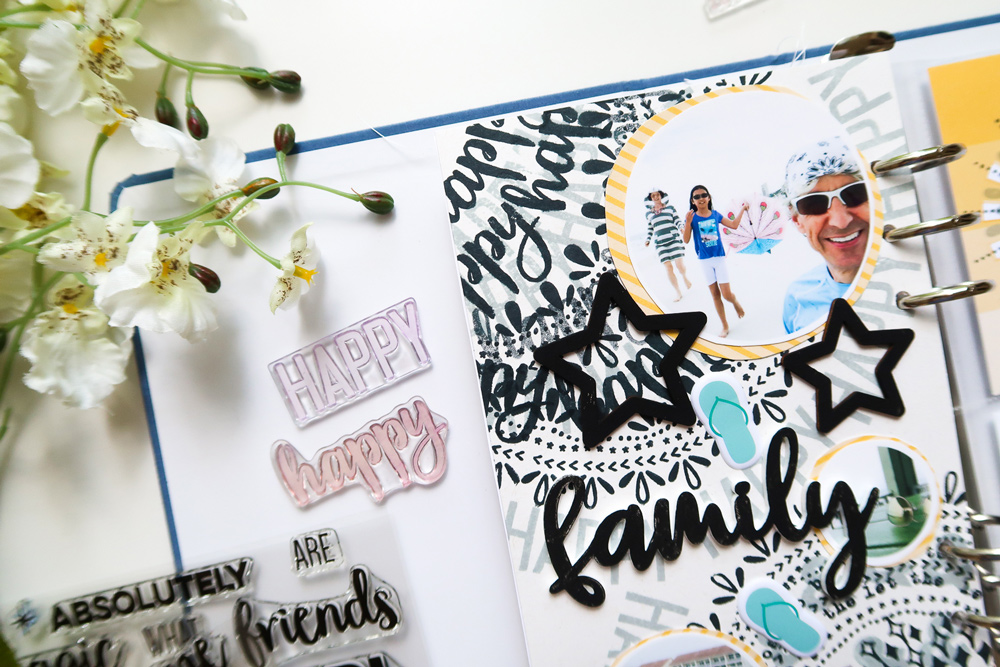
The circle at the top left had a large area to be filled in, so I used this space to create more layers to my stamped patterns, and also add some of the phrases and words. In the Title Builder Stamp there is a cursive font “happy” word and in the new Title Builder Vol. 3 Stamp there is a block font “happy.” With the idea of combining the same word in different fonts and how they would look layered over each other, I began by curving each one on my acrylic block. I first inked the block font “happy” with grey ink and filled in blank areas as well as along the outside of my patterned circles. Then I stamped using the cursive “happy” with black ink to stamp over the grey words, but only inside the half circle.
On the bottom half circle, using the grey ink again with the ampersand from the Title Builder Vol. 3 Stamp, I stamped directly over areas or rows of my patterns. The ampersand did not need to be curved. I stamped it as is. For this circle, I also used the “let the” and the “choose to be” sayings, curving them as I did the other images, to stamp rows within my circle using black ink. The Title Builder stamps helped me to create not only an eye-catching background, but also my title, subtitles, and theme for my project.

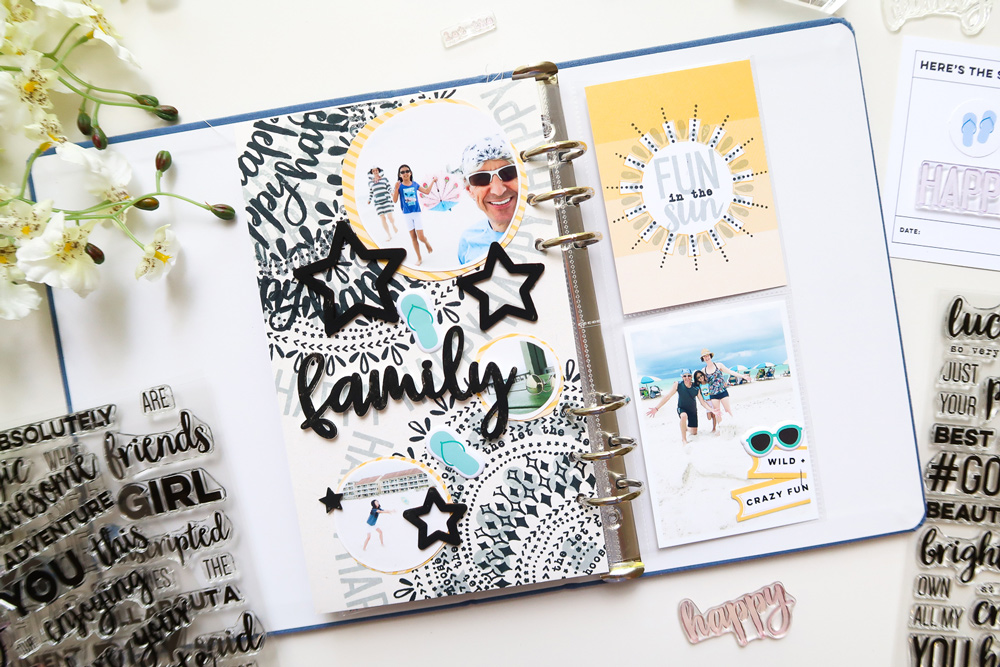
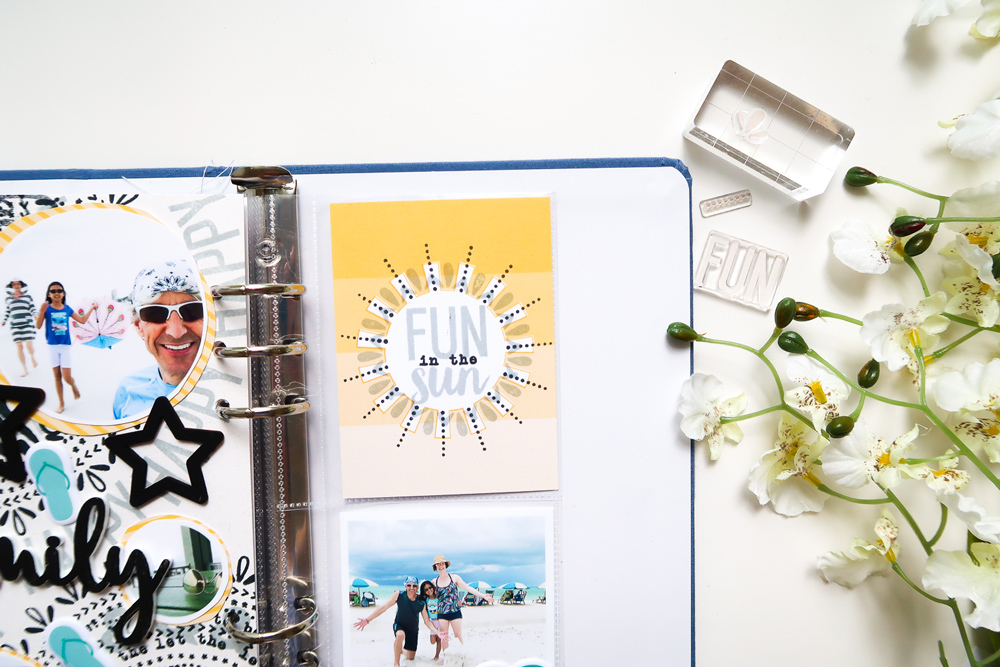
I painted the Family Acrylic and the Wood Veneer Stars with black paint to continue this neutral and black combination and to help build my title. Since my background was filled with pattern, I needed a focal point. Since this spread is all about our family beach trip, I printed photos in three circle sizes, then free-hand trimmed the patterned paper behind each one to create balance with the yellow on the right side. The puffy flip flop stickers from the Summer Puffy Stickers added another fun way to add to the theme.
I added the yellow sun tag from the June 2019 Kit on the right side and to add to it, I continued the medallion look of the circle patterns I created on the left. Instead of curving the dotted stamp image from the Title Builder Stamp, this time I used it as is to accent the sun on the tag. Then I used the splash illustration from the Title Builder Vol. 3 Stamp in between. To finish that tag, I stamped “Fun in the Sun” using the Title Builder Vol. 3 Stamp and black and grey ink to balance with the left side.
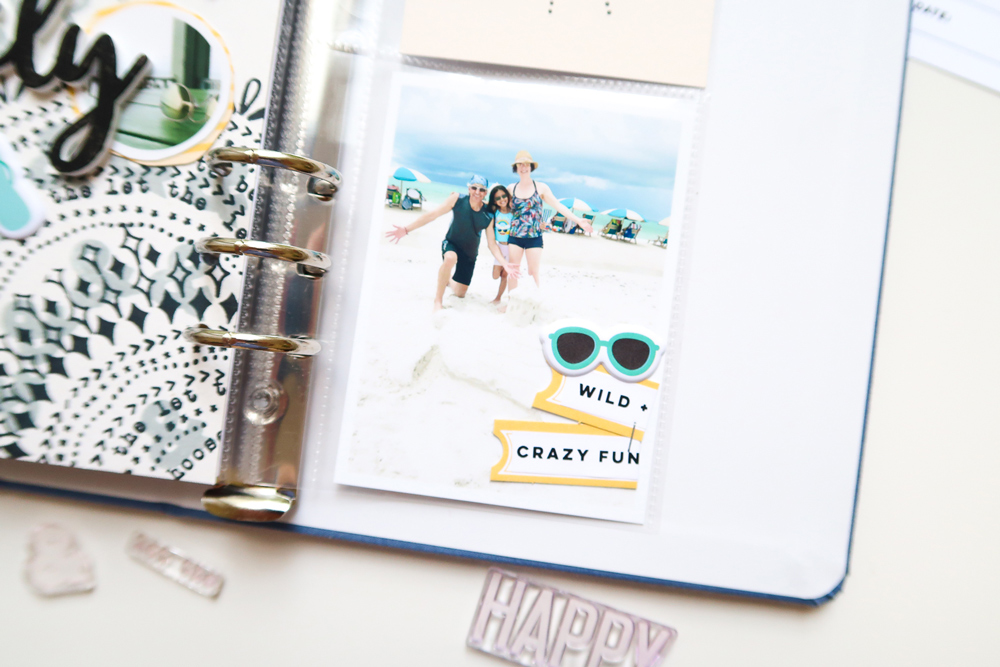
I filled my bottom pocket with a photo, but I still brought in yellow to this pocket using a June Kit die cut which I filled with a Summer Phrase Sticker and added the sunglasses Summer Puffy Sticker to the top.
Honesty time here: I had this idea in my mind, but as it came out on paper, I doubted myself, which is when I would normally start all over. Instead, I challenged myself to get out of the routine of getting something “perfect” or how I think it should be, and just create without overthinking it. This project gives me the idea and confidence to create more patterns like this— knowing if that same doubt enters my mind, to just keep going, because I love how it came out! I hope this challenges you, like it did me, to look at the Title Builder stamps in a different way, not to doubt the initial idea you have, and to keep going!

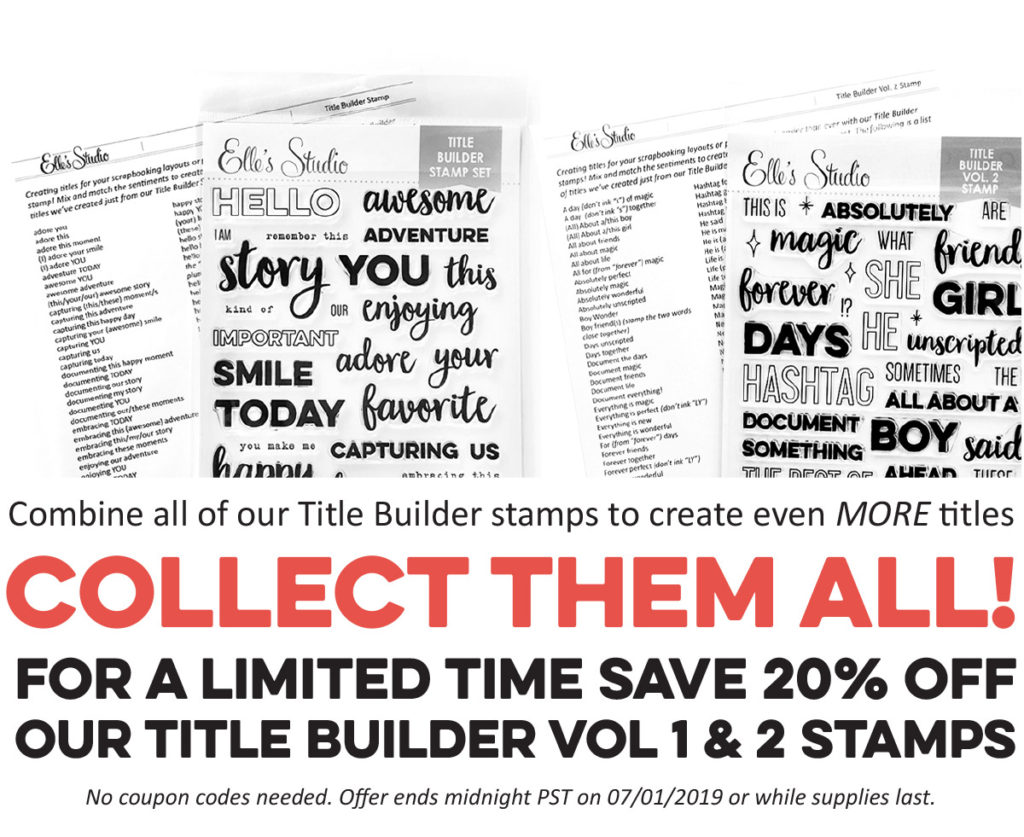
Do you want to re-create Patricia’s amazing background? You’re in luck! Our Title Builder Stamp and Title Builder Vol. 2 Stamp are on sale through today only! Be sure to grab these sets now, at a great discount!