Sometimes to get out of a rut, we have to try a new technique. Why not do something new with digitals? Today Patricia Roebuck is with us to share a few very cool ways to make the most out of your digital files this month, and we know you will love her ideas! Let’s check them out!
Hello! It’s Patricia here with you today to share three ways to use the April printable and cut files for a traveler’s notebook spread. It is no secret that having the digital option, as well as the physical product can really help stretch your supplies to create more projects, but it also offers so many ways to get creative and try something new!
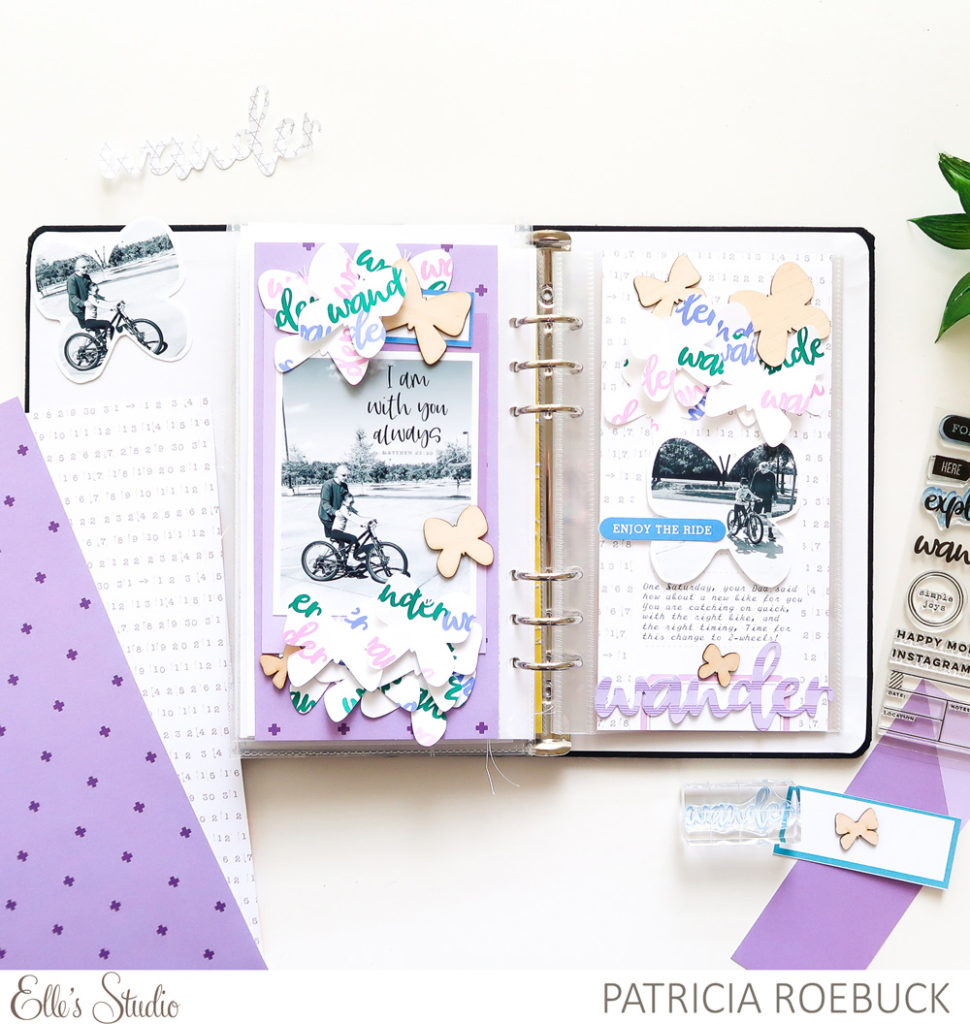
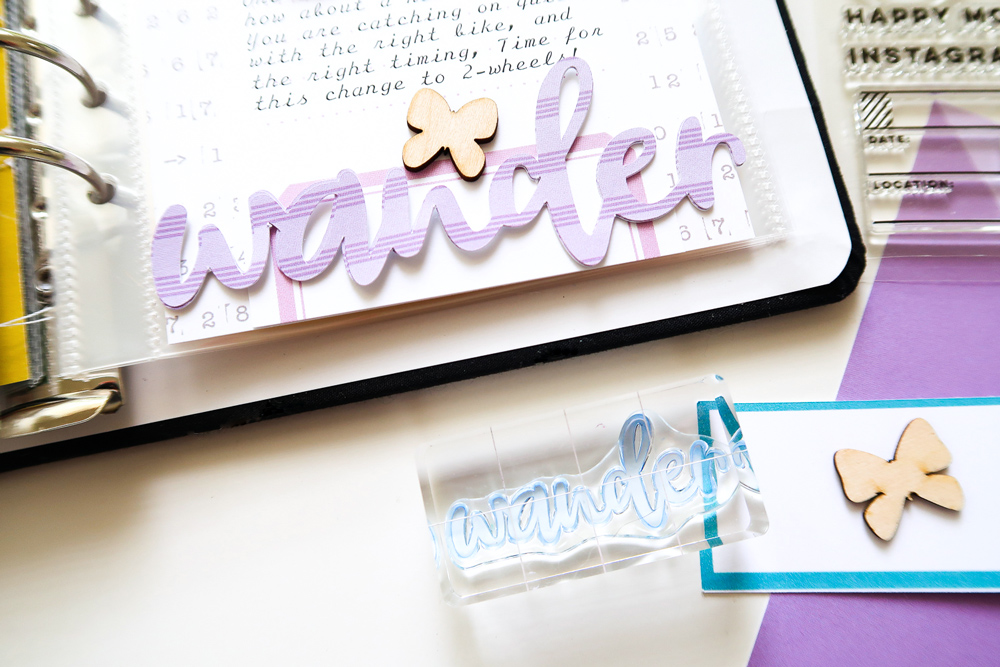
Supplies | April 2019 Kit, April 2019 Digital Cut File, April Print and Cut Labels, Printable Spring Bible Scripture Tags, Wander Printables, Wood Veneer Butterflies, Wander Stamp, Springtime 6 x 6 Paper Stack, Noteworthy 12″ x 12″ Paper Collection
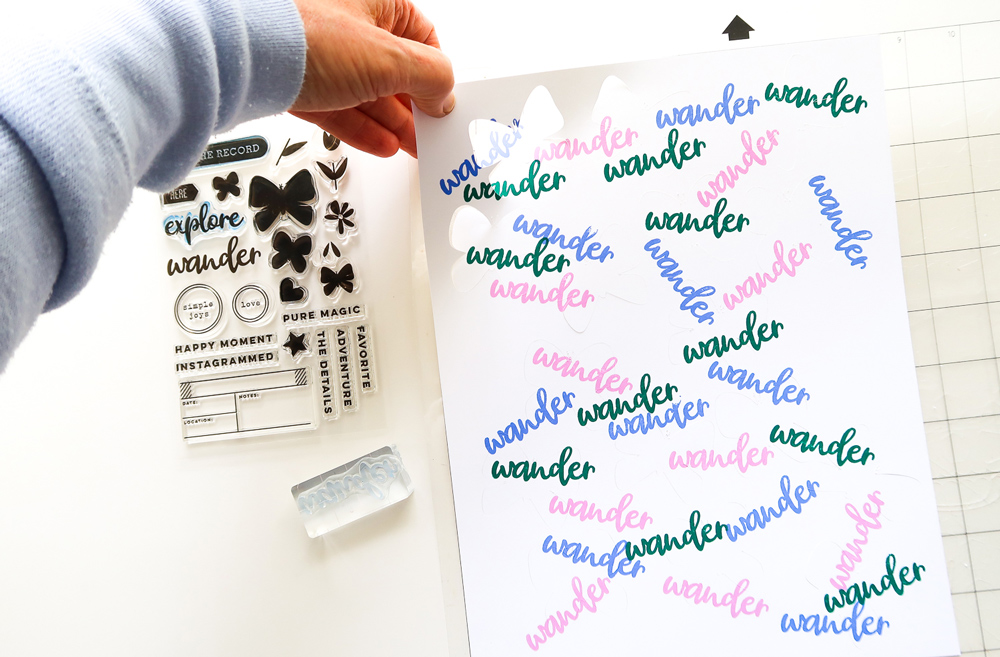
As you can see by my project, having the cut files and the wood veneers of the butterflies helped create not only a fuller TN spread, but gave me more options to create texture. After cutting the butterflies with my Silhouette Cameo and before taking them off the mat, I used the Wander Stamp to stamp ‘wander’ in three different colors of ink. Stamping them while still together on the mat was easier for getting that random stamped look than if I removed them from the mat to stamp onto each one individually. These colors set the color palette for my spread.
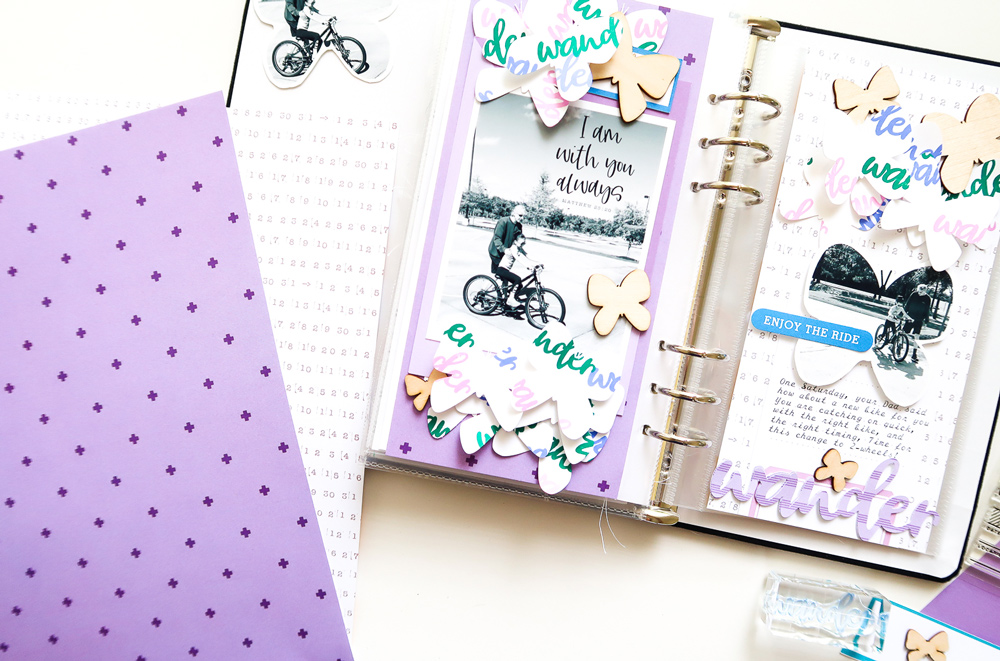
Since my white, stamped butterflies create texture, I love the contrast of them with the solid wood veneer butterflies as well as more solid colored or simple pattern paper designs, so they can stand out and not compete with the background or wood butterflies. I used a combination of Noteworthy and Springtime 6 x 6 Paper Stack papers, pulling similar colors to create a tone-on-tone layered look, also creating more subtle texture.
This butterfly theme works so well with the theme of my spread, so I continued in that direction and opened the Butterfly PNG tag digital file from the Wander Printables and created a clipping mask for one of my photos. I have an old version of Photoshop Elements, but hopefully these steps will help you do the same with a similar program:
- Open the Butterfly PNG file, click on the Magic Wand Tool.
- Click on the purple section of card and not on the butterfly.
You should see marching ants around entire tag and butterfly.
Click Delete. - Your purple background will be removed and you should see a checkerboard background. Click the ESC key to remove the marching ants.
- Open your photo and drag it onto the butterfly tag. Shape and position it.
- From the Menu, click Layer – Create Clipping Mask. Reposition and shape your photo before printing, and detail cutting the image out.
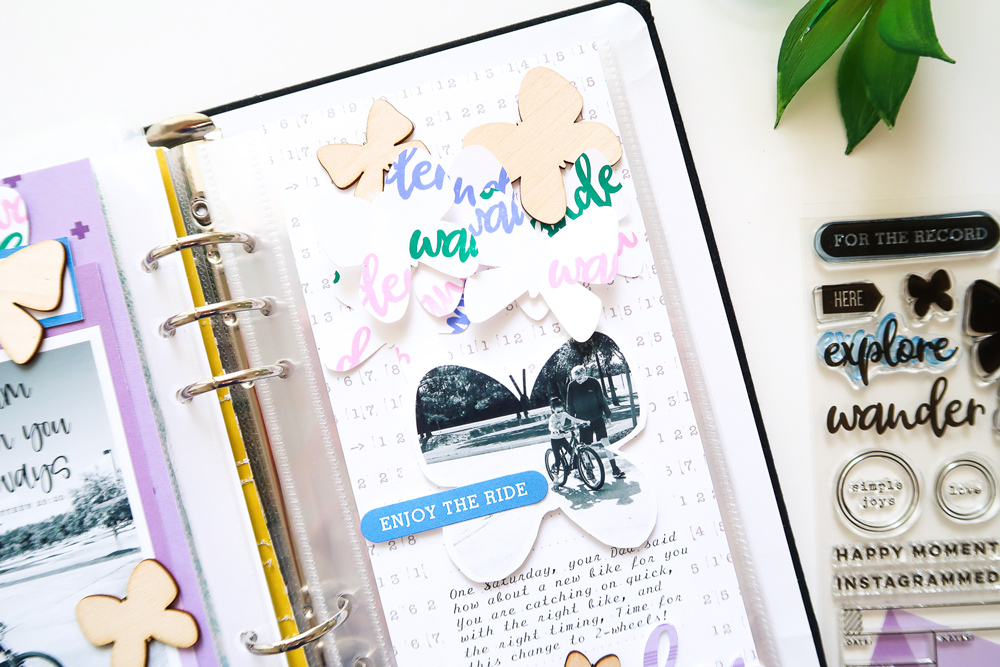
Moving my photo to create some white space on it allowed room for my title using the April 2019 Kit “enjoy the ride” die cut. When I trimmed the photo out, I left a small white border around it, so it stands out against my numbered patterned paper from the Noteworthy 12″ x 12″ Paper Collection. I repeated the layered butterflies on the right side of this page by layering a good bit! Most are overlapped and adhered with just adhesive in the center, and just a couple on top are adhered in the center with foam adhesive.
Next, I opened one of the Printable Spring Bible Scripture Tags with a verse that fit with my project, but wanted to include it over my photo instead of just printing the tag. To do this, I did the exact same steps above, except instead of dragging the photo onto the tag, I dragged the writing onto the tag and then repositioned it and sized it before printing.

The third digital element I brought in was the die cut word “wander” from the April 2019 Digital Cut File. This was especially useful since I had already used the acrylic piece on another project. I used the Springtime 6 x 6 Paper Stack in coordinating colors of my project and die cut this out with the Cameo three times to adhere and stack on top of each other. This gives it more dimension and stability.
Give one or all of the three digital options available to help extend those same physical favorites a try this month! Then, take it to the next step and try creating texture with stamping on die cuts, creating a clipping mask from a tag for a photo, and/or adding text from a tag to a photo. Happy creating!