Our April kit reveal is only a day away, so why not try to use up what’s left from your March kit? Patricia Roebuck is with us today to share the creative ways that she is using all of those leftover bits and pieces, including one that you might typically throw away! Let’s take a look.
Hi Elle’s Studio fans and friends! This is Patricia Roebuck here to share with you ways to use your leftovers and scraps from your March Kit and Extras. All those lovely leftovers can really spark fun ideas you wouldn’t normally try. Today we’ll create layers using these for a 6″ x 8″ pocket page and layout.
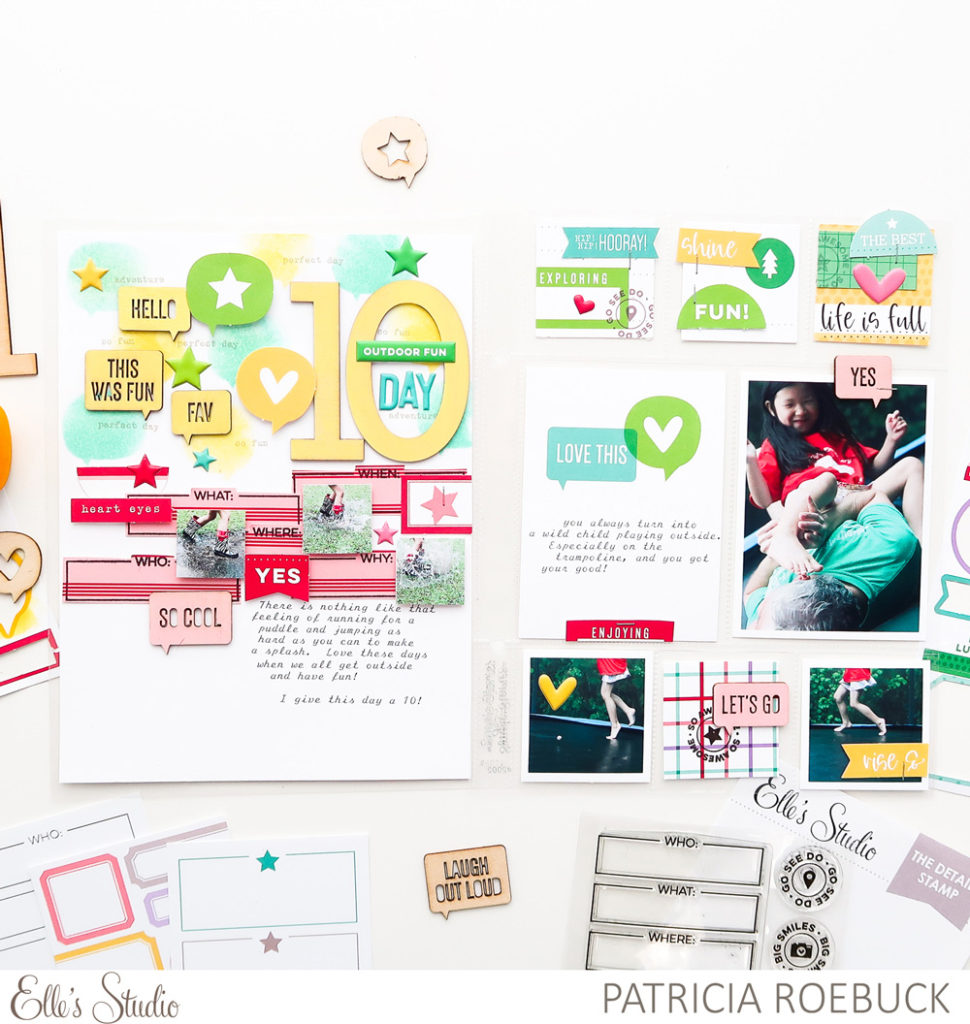
Supplies | March 2019 Kit, March Labels, Spring Puffy Stickers, Springtime 6 x 6 Paper Stack, Teal Puffy Alphabet Stickers, Large Wood Veneer Numbers, Wood Veneer Speech Bubbles, The Details Stamp
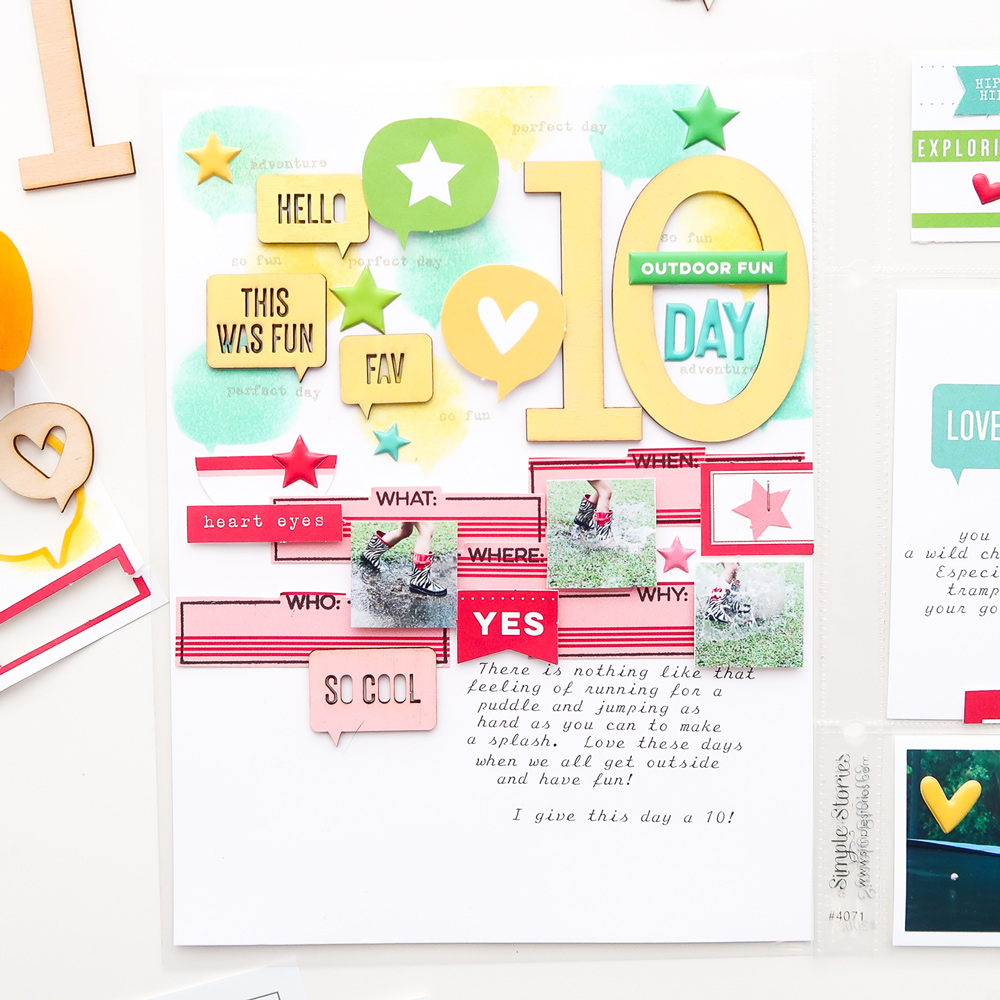
As I looked through what I had left, I was inspired by the leftover die cut sheets from the March Kit. I noticed that the speech bubble dies would work well with The Details Stamp and the Wood Veneer Speech Bubbles. I used the speech bubbles on the leftover die cut sheet as a stencil on the top half of my 6″ x 8″ layout, sponging and blending similar ink colors to the speech bubble die cuts.
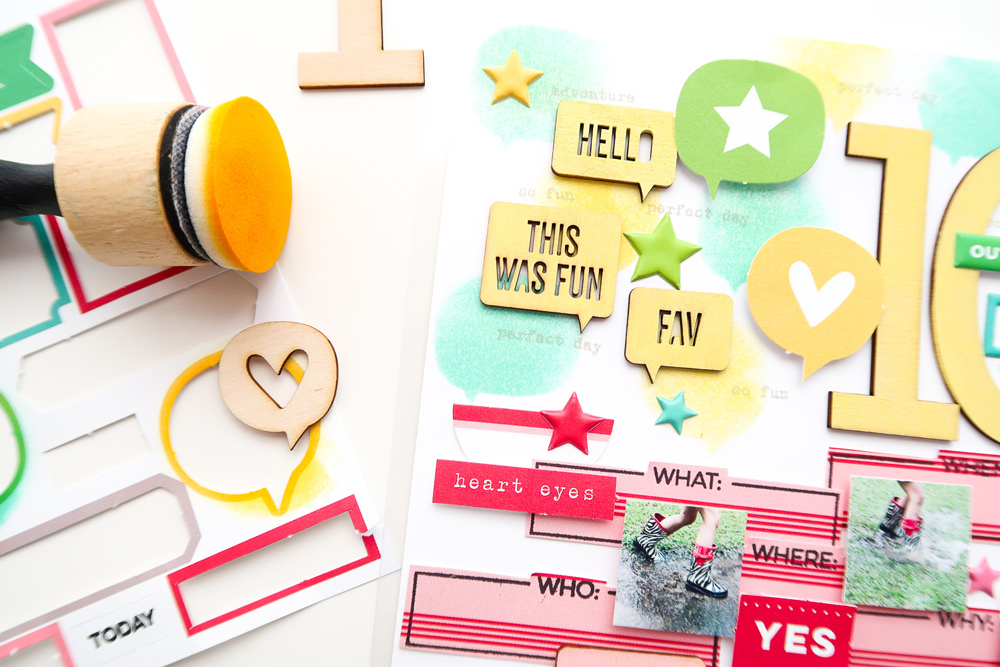
Continuing with those colors, I built up more layers by painting the Wood Veneer Speech Bubbles and Large Wood Veneer Numbers with yellow paint. Another great way to use those Large Wood Veneer Numbers is to rate your day as I’m doing here with the ’10.’ To add more layers, I used The Details Stamp to stamp three of the small sentiments in grey ink partially over the stenciled speech bubbles.
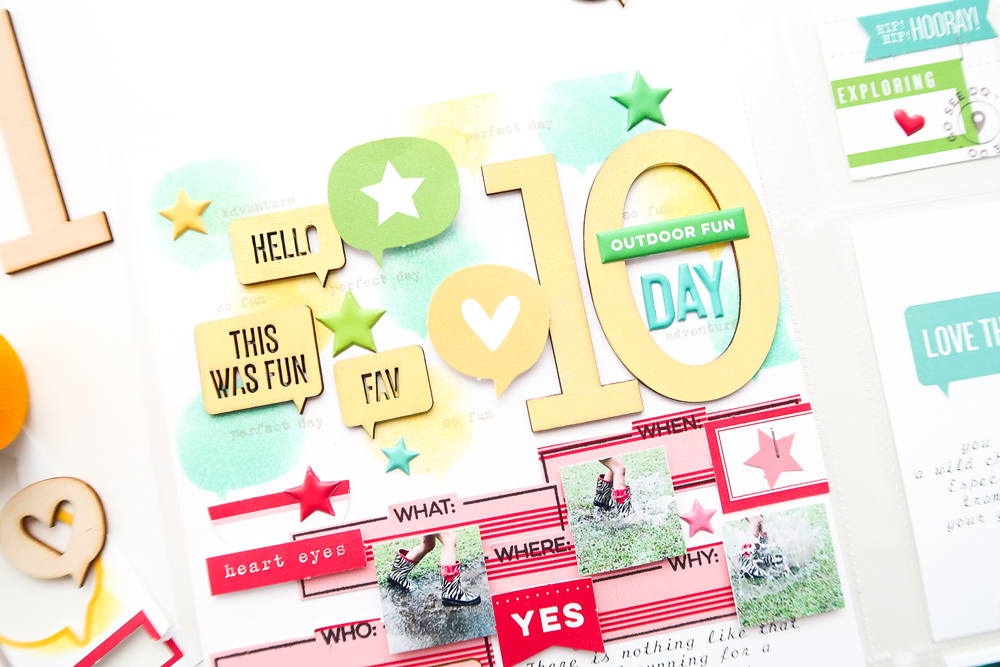
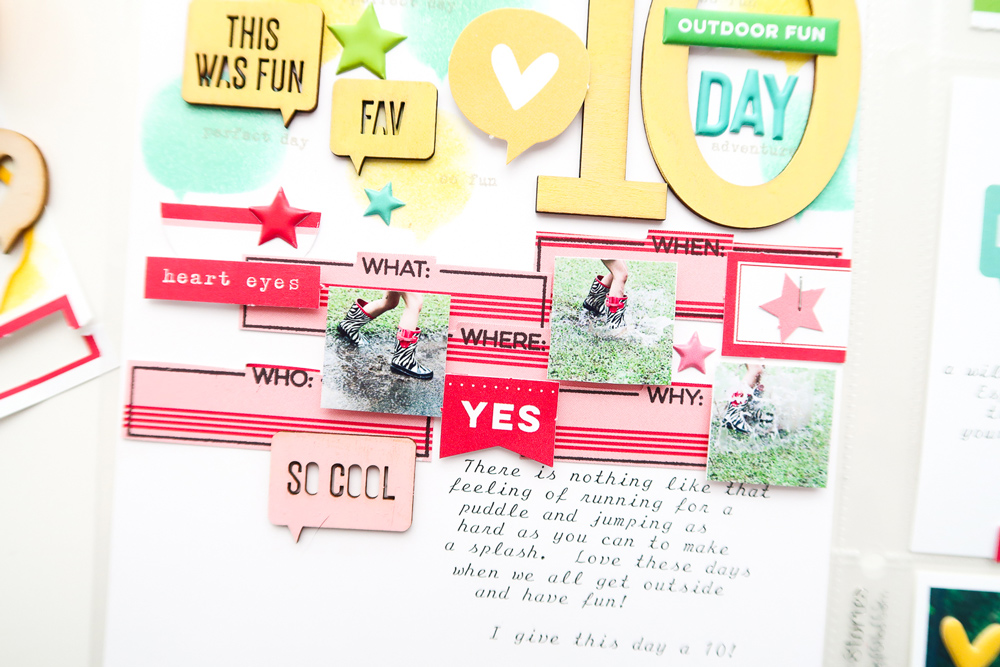
I love red with the colors I started with, so I stamped the larger image from The Details Stamp onto the 3″ x 4″ red and pink striped March tag, then trimmed each section out to stagger the pieces horizontally across my page, going with the lines of that tag. The horizontal flow of elements, the colors, and those lines are creating a nice ‘sporty’ and ‘springy’ look. I printed my photos very small, about 1”, to adhere using dimensional adhesive over my stamped and cut up tag, then placed die cuts in red from the March Kit to fill in spots. Since the striped tag has pink in it, I pulled in pink die cuts and embellishments as well. To help tie those colors in and to balance with my pocket page on the right, I painted another Wood Veneer Speech Bubble in pink. To finish this layout, I added the Spring Puffy Stickers to the top and added ‘day’ with the Teal Puffy Alphabet Stickers by the 10.
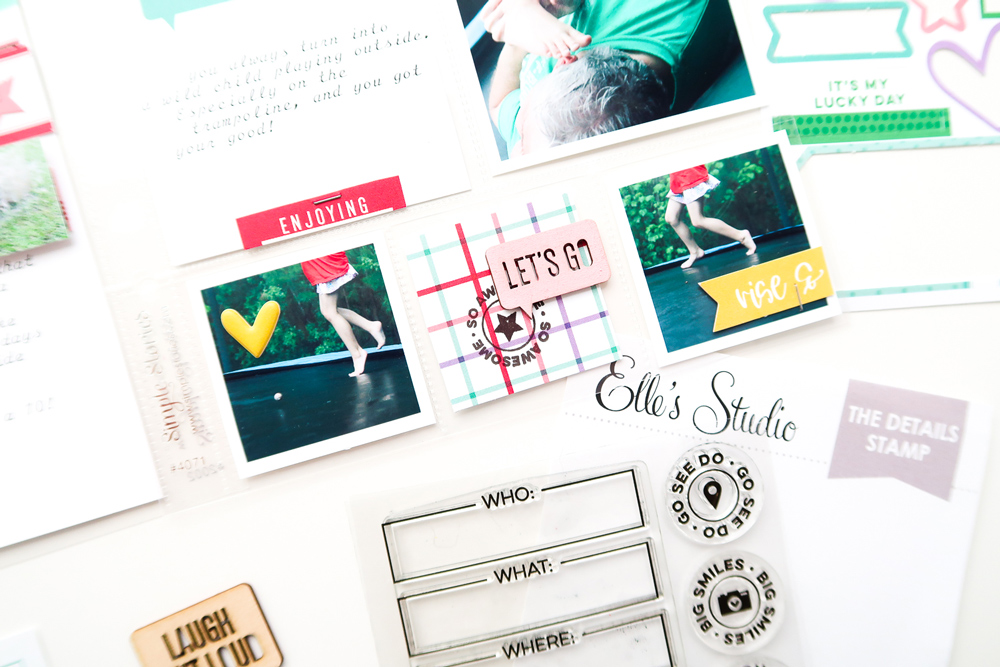
For my pocket page on the right, those small 2″ x 2″ pockets are so much fun to fill with embellishments, but they are also a great way to use your leftovers and scraps to create layers! I first used a 1 3/4” square punch to punch out some of the images from the March Kit tags. Then, I added either die cuts or leftover scraps of the Springtime 6 x 6 Paper Stack and more Spring Puffy Stickers to them. I also added one of the circle stamps from The Details Stamp to tie in with the tag I punched that had one of the images already on it.

I did not match the flow of colors from the layout to the pocket page, they could each stand on their own, but did concentrate on more of the green, yellow, and teal colors at the top of the pocket page, then used the leftover March Kit tags, Springtime 6 x 6 Paper Stack papers, pink painted Wood Veneer Speech Bubbles, and Spring Puffy Stickers to help balance the rest of the pockets to coordinate with my 6″ x 8″ layout on the left.
Pull out your leftover die cut sheets and pick images to use as a layer on your next project using either ink and a sponge as I did or even a pen to trace them. Then use your punches to selectively punch the tags from the March Kit to add layers for your pocket pages, using up all the lovely leftovers! Have fun!
Show us how you used your March Kit and extras by sharing your project on Instagram using the hashtag #EllesStudio, or in our Elle’s Studio Facebook Group!