We have loved seeing what our guest designer, Rachel O’ Neal has created using our April Kit and add-ons; documenting springtime fun and a typical Tuesday on her layouts. Today she’s switching gears to share a traveler’s notebook spread with us, and we know you will love the creative way that she’s packed the maximum amount of photos and journaling onto her project! Let’s see what she created!
Hi friends! It’s Rachel O’Neal here, back for one last post. I have had the best time creating with this month’s kit. And I’ve saved my favorite project for last! Instead of doing a traditional 12″ x 12″ layout, I decided to create a spread in my travelers notebook. I love my travelers notebook! I create one spread a week in it, documenting my favorite thing or moment from that week. It usually includes a picture or two along with some journaling.
Supplies | April 2019 Kit, Let’s Go Traveler’s Notebook Kit, On This Day In April Journaling Tags, Jane Alphabet Stickers – Black, Puffy Heart Stickers – Spring Mix, Shapes and Dots Puffy Stickers, Spring Puffy Stickers, Springtime 6 x 6 Paper Stack, Large Jane Alphabet Stamp – Outline, Noteworthy Stamp, Mini Dated Stamp
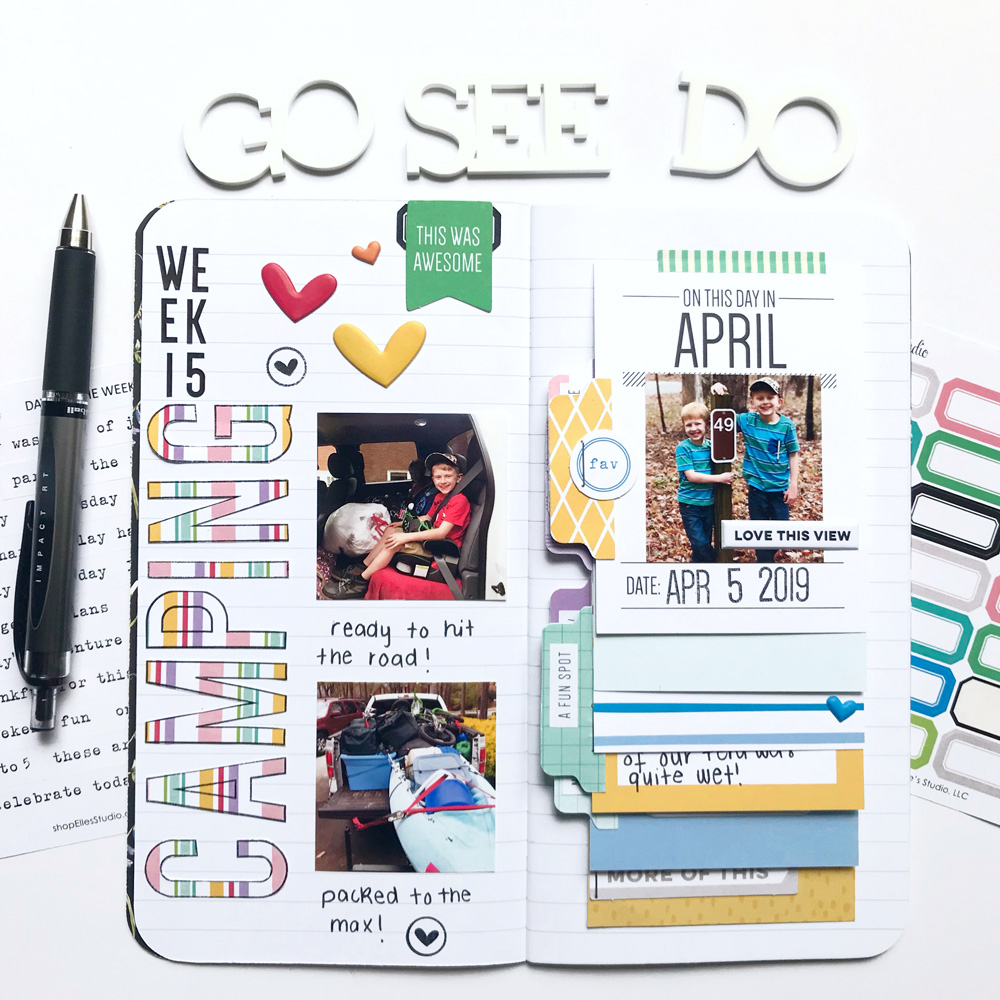
For this week’s spread, I wanted to document our family camping trip. We had the best time and had so many great photos that I really couldn’t choose just one, or even two! I decided to use some washi and the journaling tags from the April Kit to create an awesome flip through look at our weekend. So let’s talk about that page first.
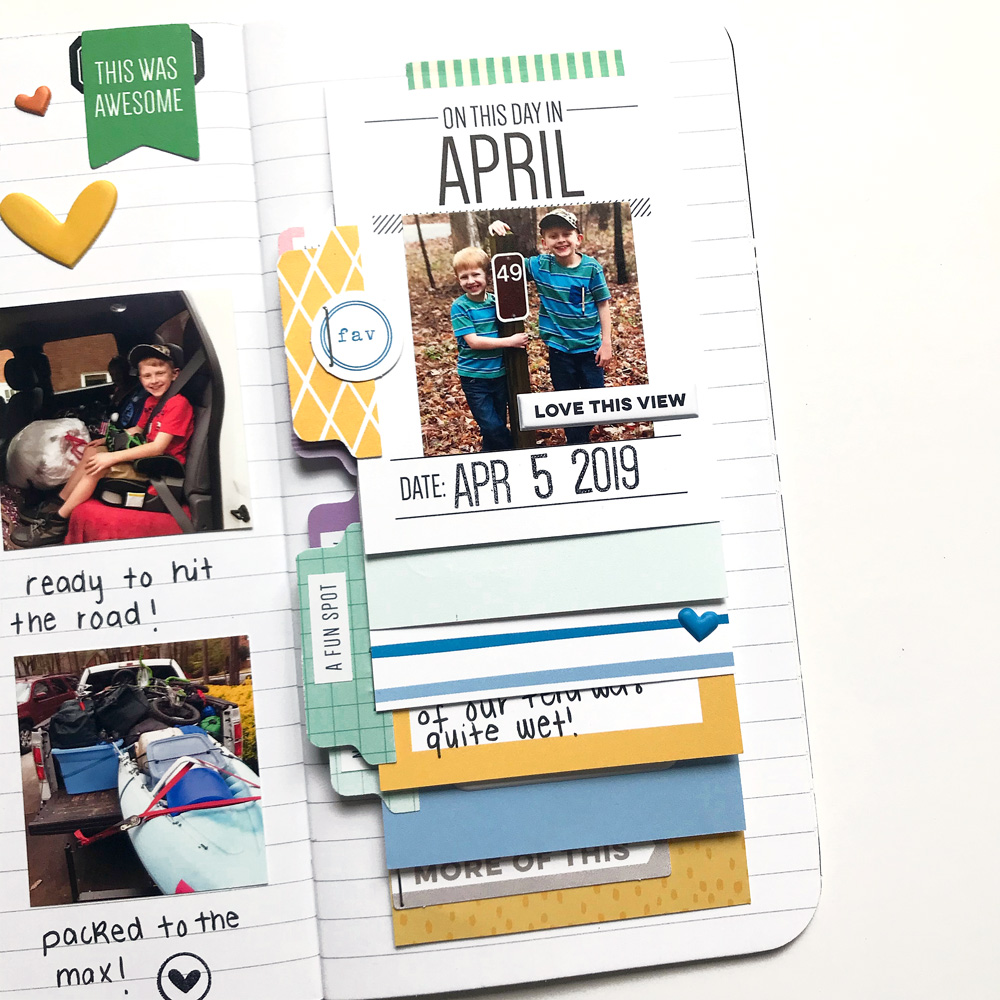
I started with the On This Day In April Journaling Tag. I lined it up with the top journaling line of my notebook and then secured it with a strip of washi tape. Next, I added my 2″ x 2″ photo, and used the Mini Dated Stamp at the bottom. Tip: To make it easier to flip through all of the tags, I used a tab punch with papers from the Springtime 6 x 6 Paper Stack and added tabs to each tag. Then I went to town embellishing them with staples, die cuts and stickers make them stand out. The Let’s Go stickers from the Let’s Go Traveler’s Notebook Kit were really perfect for this spread!
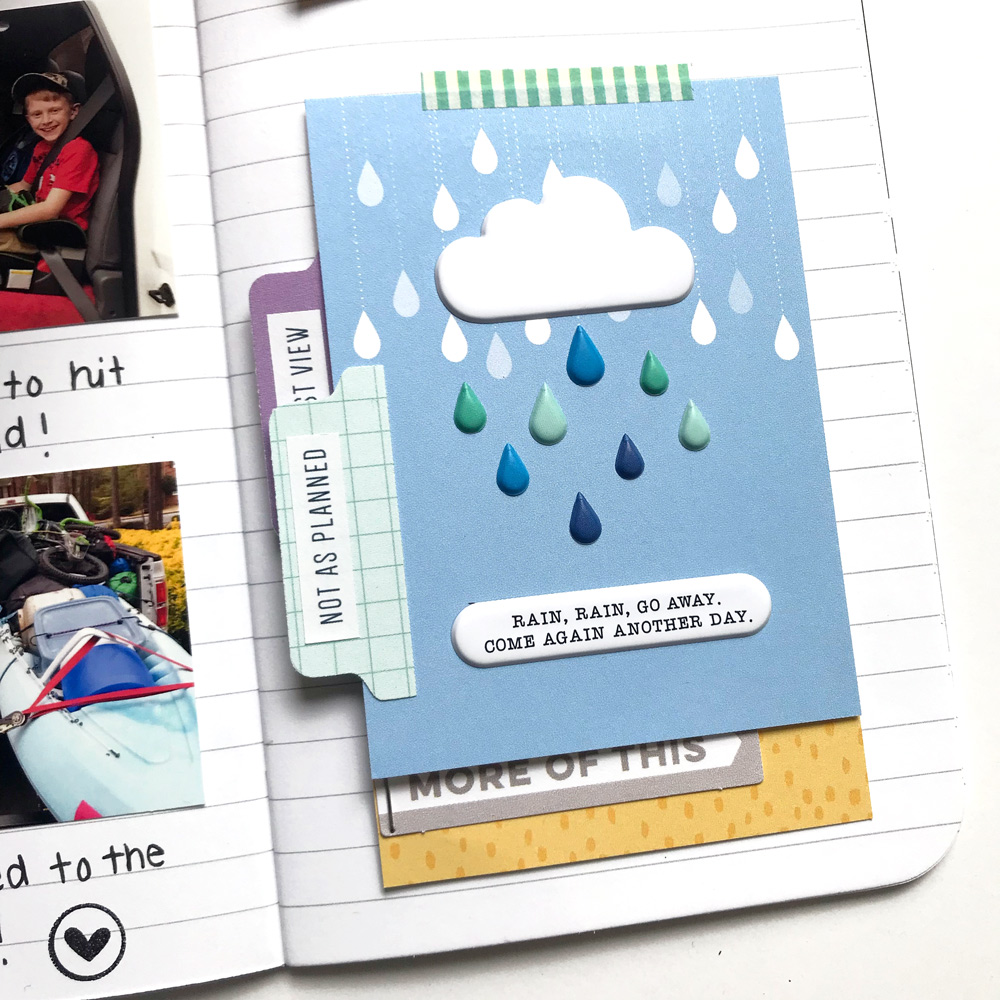
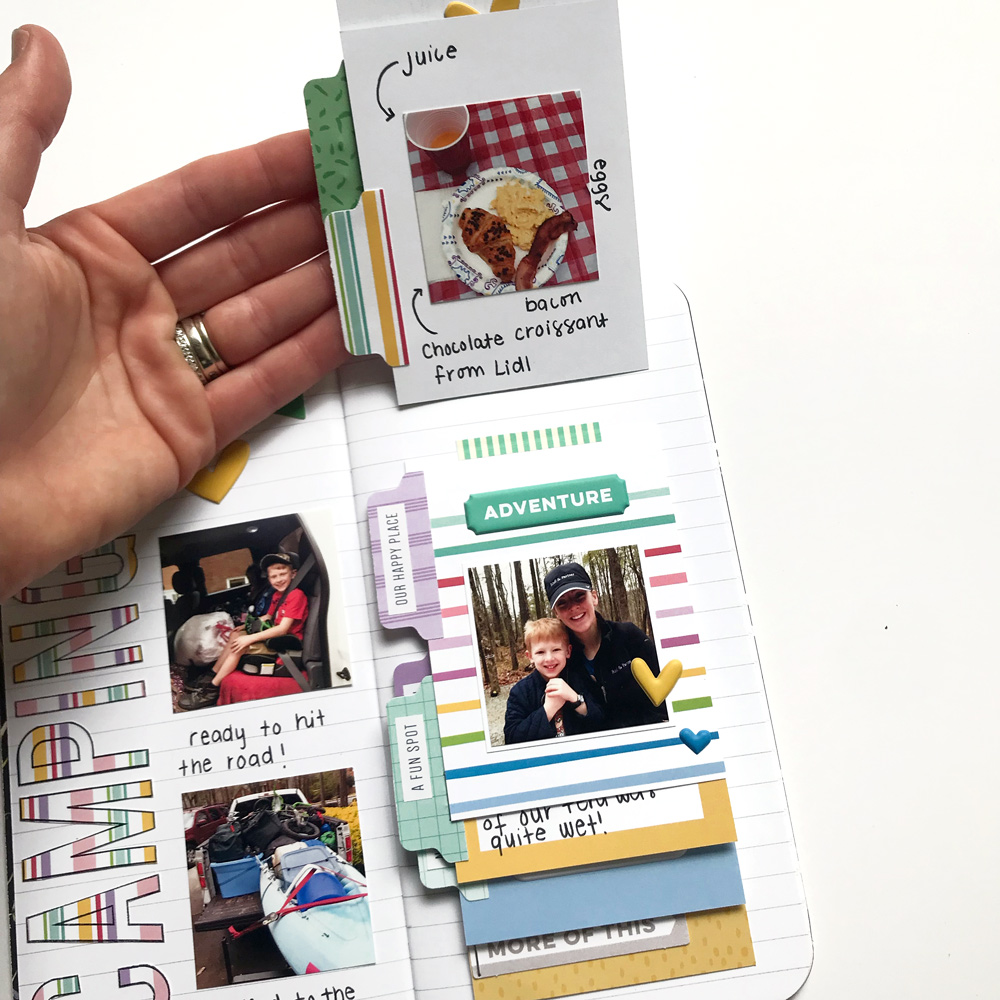
After I was done with the first card I flipped it up and then added the next tag with washi tape. Each tag is spaced apart by two lines to keep things consistent. I used a total of six tags on the right side. I loved doing this spread because it allowed me to include so many photos (11 total!) and lots of journaling.
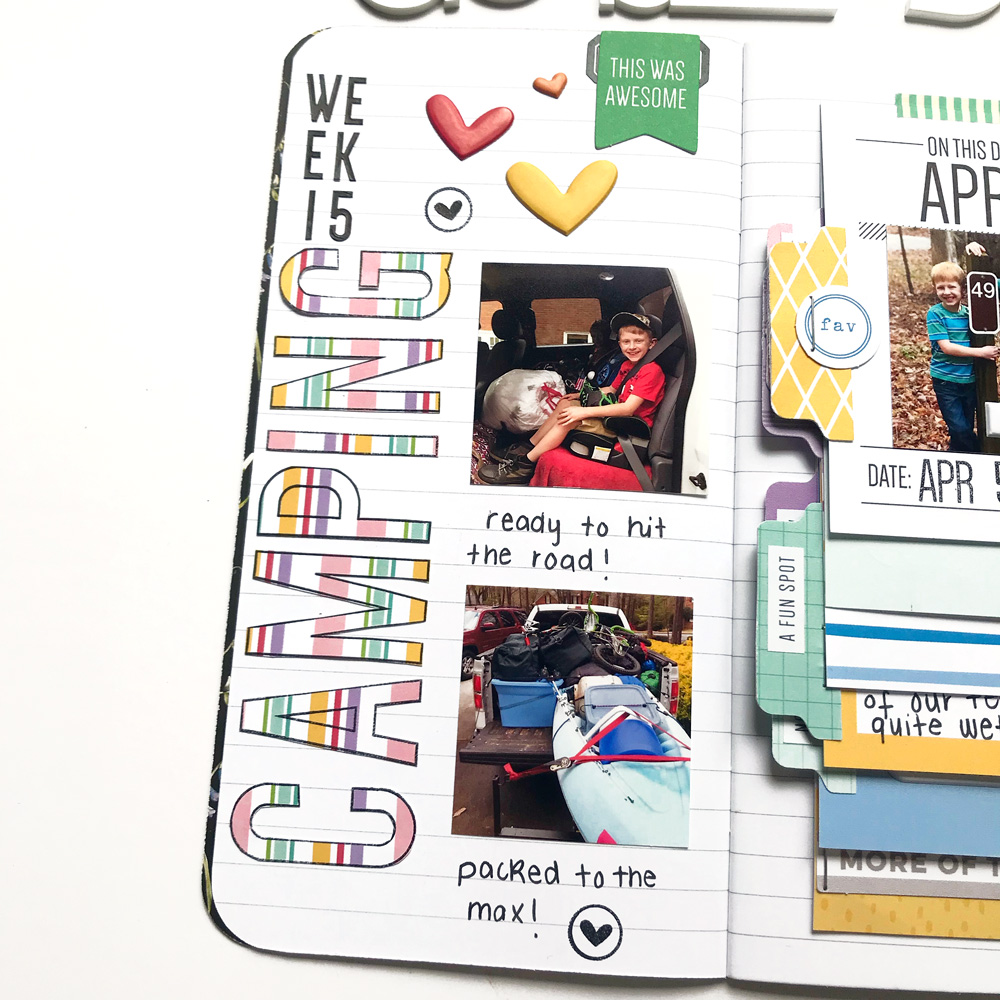
On the left side of the spread, I made a giant title with the Large Jane Alphabet Outline Stamp. The striped paper from the Springtime 6 x 6 Paper Stack is my favorite! I stamped the title out and then fussy cut each letter with a pair of sharp scissors. I placed my title vertically down the side of the notebook and added two more photos. I keep track with each week number in my notebook, so I added that at the top of the page with the black Jane Alphabet Stickers. To finish the page, I added a few Puffy Heart Stickers, some hearts stamped with the Noteworthy Stamp and the very appropriate “this is awesome” die cut from the April Kit.
Thank you for taking the time to check out my creations. I love that this kit is so versatile–perfect for traditional scrapbook pages, pocket pages, and even travelers notebooks. I hope you find just as much joy as I do in creating with it!

Hi friends! My name is Rachel O’Neal. I’m a wife and mom to the cutest two little boys on the planet. I spend my days homeschooling them and enjoy every minute of it. When we aren’t in school, I love being outdoors – camping, hiking, and taking pictures of our adventures. I’ve been scrapbooking for over 15 years! I love to scrap with cut files, stamps, and bright colors.
Keep up with what Rachel creates in the future by following her Instagram account for more creative inspiration. Thank you so much for sharing your beautiful projects with us this month, Rachel!
Comments