Our March birthday celebration continues today with an amazing, textural page created by Melissa Mann. This project is sure to have you inspired to look for a celebration from your past that you don’t yet have in your album to document!
Good Morning! This is Melissa here with you today and I’m sharing one more project made with the February 2019 kit and add-ons, a fun birthday-themed layout to celebrate Elle’s Studio’s birthday month! Along with the February Kit, I also used the fantastic Celebrate Stamp! This is a great themed set that would work for a variety of celebratory projects: birthdays, graduations, baby showers!
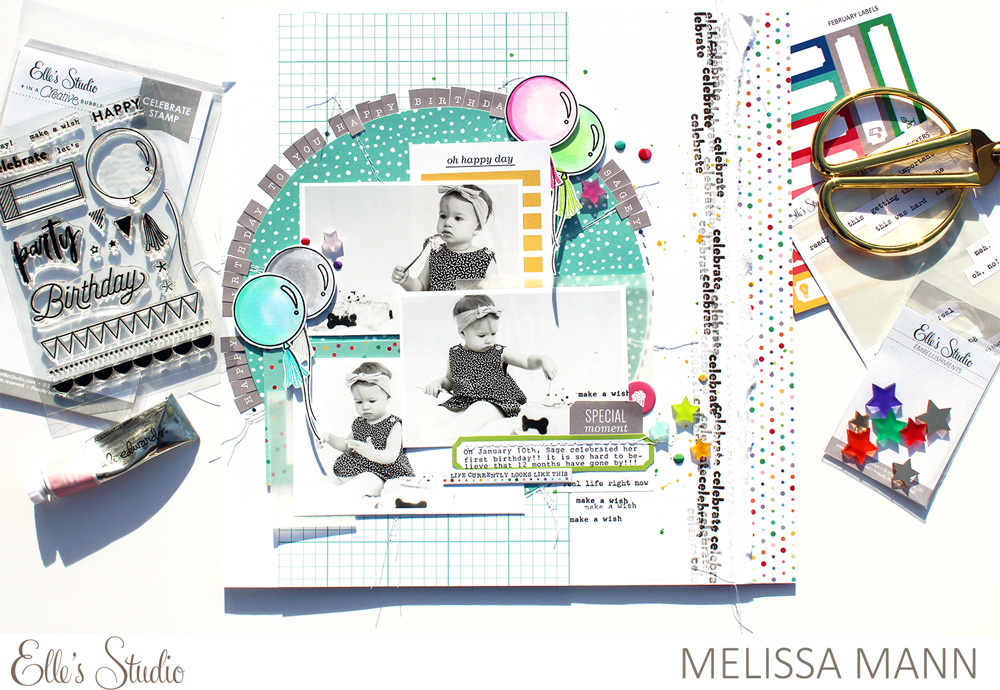
Supplies | February 2019 Kit, February Print and Cut Labels, Real Life Phrase Stickers, Hazel Alphabet Stickers – Gray, Little Acrylic Stars, Puffy Icon Stickers, Celebrate Stamp, Noteworthy Puffy Stickers, Noteworthy 12 x 12 Paper Collection
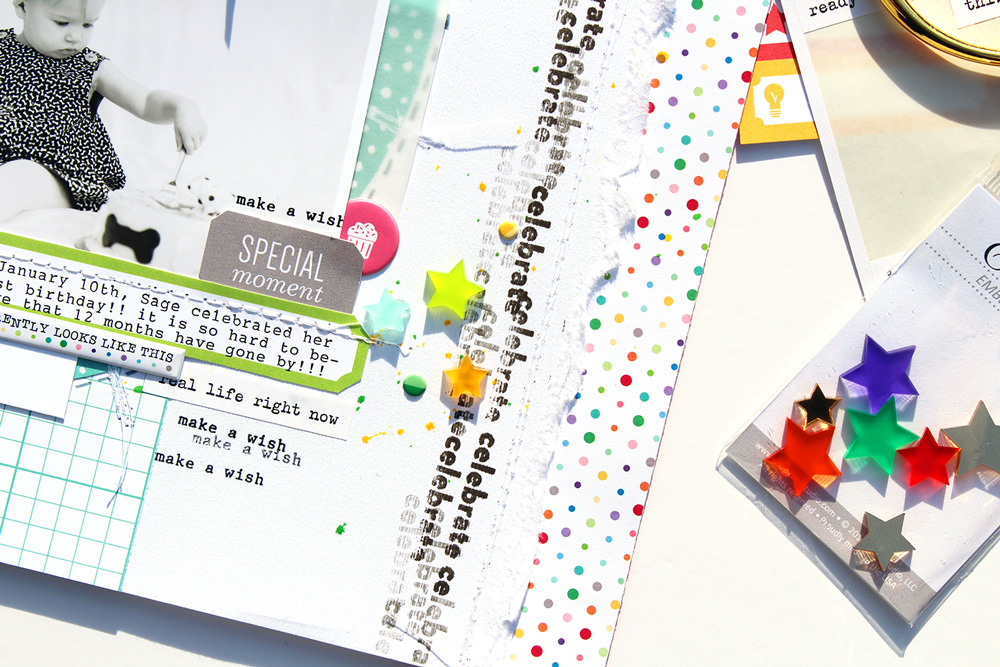
To create this project, I used a piece of white cardstock and on the far right side, I stitched a piece of Noteworthy patterned paper to the underside of the card stock. Once this was stitched down, I tore the white card stock down the length of the layout to reveal the pattern paper underneath. I liked the look of the dotted pattern paper “peeking” out from behind the torn white paper.
I then placed a block of patterned paper in the middle of my layout. I traced a large circle out of the Noteworthy dotted turquoise paper and placed that over the block of grid pattern paper, also from the Noteworthy 12 x 12 Paper Collection and stitched the circle down.
Next, I layered three photos on top of the circle and backed them with 3″ x 4″ and 4″ x 6″journaling tags from the February Kit, as well as vellum for a different texture. I adhered the photos down and placed my typed journaling label from the February Print and Cut Labels underneath one of the photos. Next came the fun part!
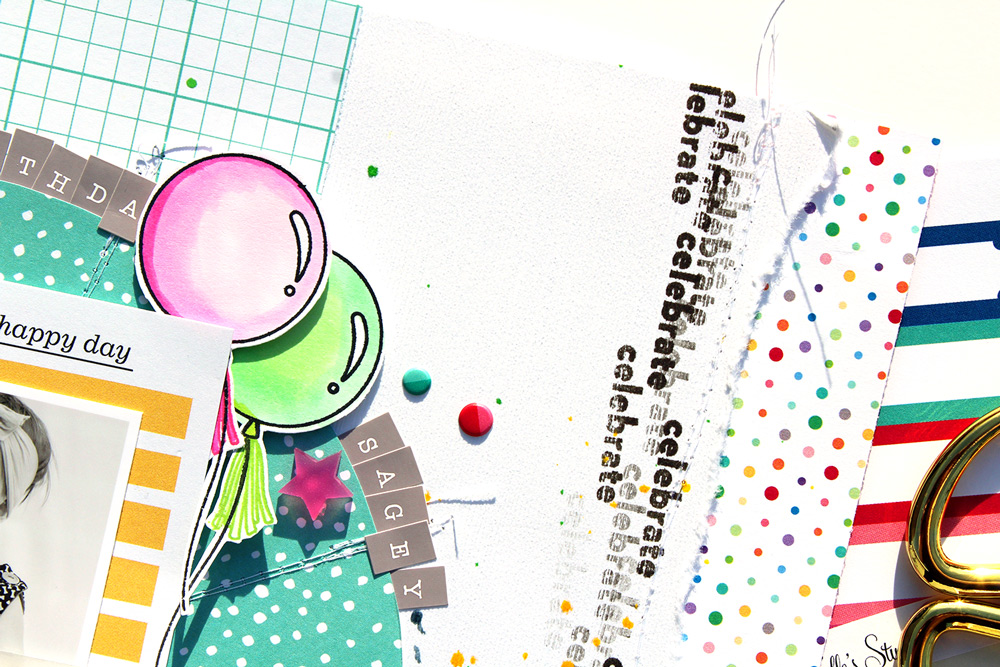
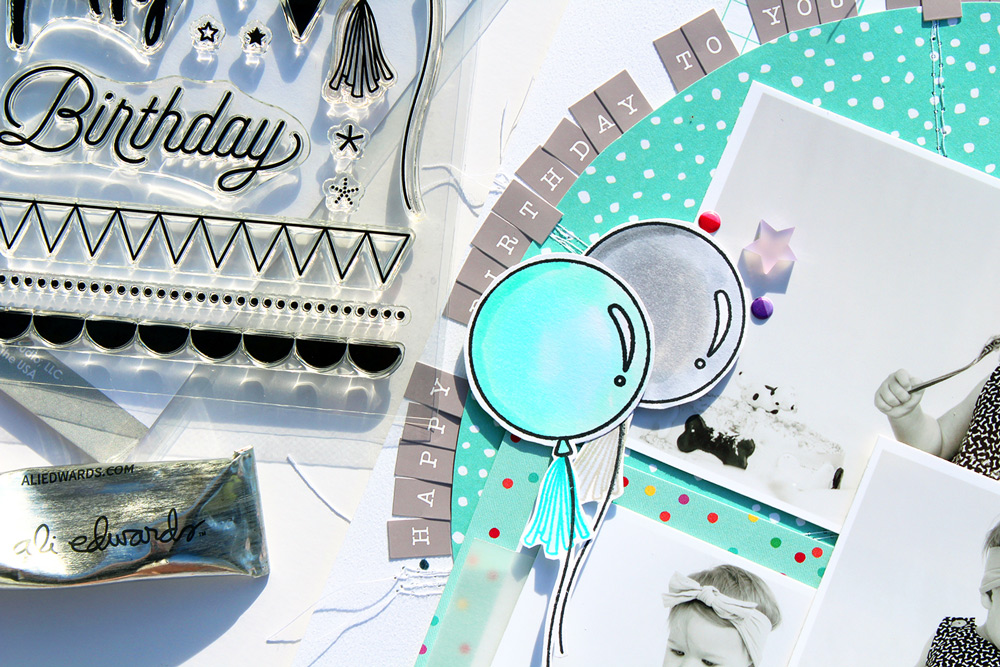
Using the Celebrate Stamp, I stamped the word “celebrate” down the length of the layout near the torn edge on the right side, and four balloons, which I colored with Copic markers and fussy cut out. Around the outside edge of the pattern paper circle, I placed the gray Hazel Alphabet Stickers, then arranged the balloons in two bunches on my layout. I embellished by placing Noteworthy Puffy Stickers and Little Acrylic Stars around the circle.
Thanks for stopping by and taking a peek at my project! Don’t forget to share your projects with us in our Elle’s Studio Facebook Group, or on Instagram, using the hashtag #EllesStudio! We love to take a look at what you all have created!