We are so excited that March is here! Not only does this month bring the first day of spring, it also is the month that ES turns another year older! We are celebrating our 12th birthday this month, and for the next two weekends, we wanted to share some birthday project inspiration with you to celebrate! We truly value the relationship that we share with our loyal fans and customers, and we know that we wouldn’t be here without your support! Without further ado, design team member Patricia Roebuck is going to kick off the festivities today with an amazing pocket page spread!
Hi Elle’s Studio friends! This is Patricia to share with you an idea using the Large Jane Alphabet Stamps to build a fun title for your next layout or a title card for your pocket page layout.

Supplies | Celebrate Journaling Tags, Stars and Dots Puffy Stickers, Heart and Star Acetate Die Cuts, Little Acrylic Stars, Round Months of the Year Wood Veneers, Large Jane Alphabet Stamp – Stripes, Large Jane Alphabet Stamp – Polka Dot, Large Jane Alphabet Stamp – Solid, Large Jane Alphabet Stamp – Outline, Celebrate Stamp, Oh Happy Day Stamp, Noteworthy Bits and Pieces, Noteworthy Puffy Stickers, Noteworthy 12 x 12 Paper Collection
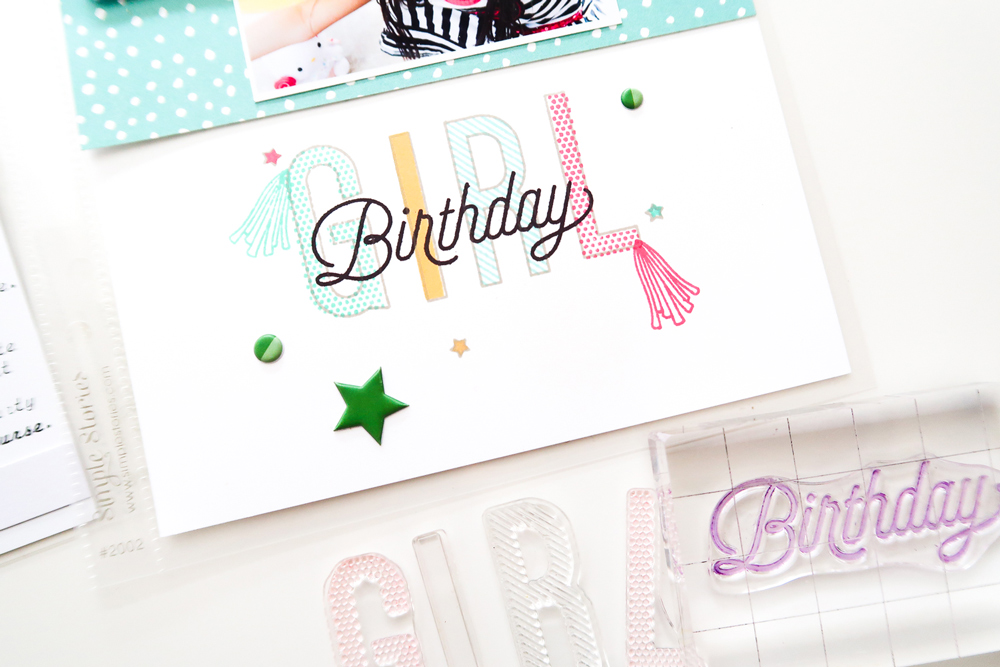
While you definitely can use one pattern of the Large Jane Alphabet Stamps, I used all four! I used the stripes, polka dot, and the solid for the inside of the letters and used the outline for each one. The design of these alphabet stamps are so clean and classic; combining them all with different colors of ink create just the right look for your projects. In this case, mine is celebrating a birthday!
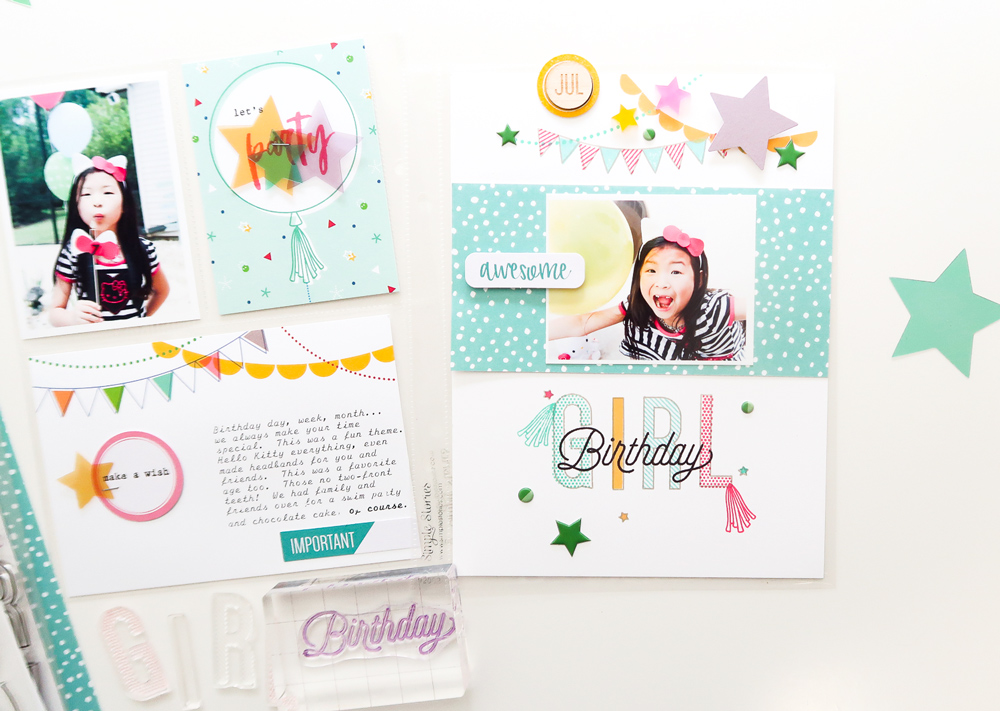
Since this was a birthday themed project, I combined the Large Jane Alphabet Stamps with the Celebrate Stamp to create the title “Birthday Girl.” Other great ideas could be to spell out a child’s name, birthday month, or stamp either “Happy,” “Birthday,” or both! Experiment with layering your Large Jane Alphabet Stamps as I did here with the smaller Elle’s Studio font sentiments. Making the smaller font in black helps give contrast to the lighter inks I used for both the inside and the outline of the Large Jane Alphabet stamp, and helps to show it as the first word of the title. Take your title to the next level and combine fun stamped images to connect to your title, as I did here with the balloon tassels, that I “attached” to my title to give it a more festive look.
Continue the festive look by stamping out the banners from the Celebrate Stamp in coordinating inks, then layering embellishments over the top. This gives great dimension to your page. For these banners, you just have to curve them on your acrylic block to give them a banner look.
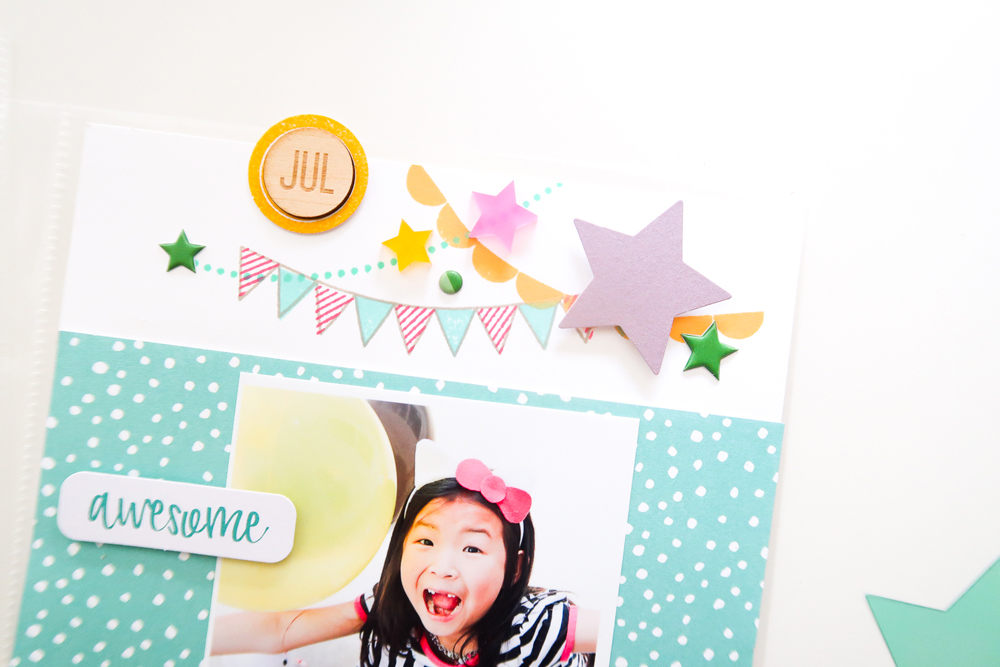
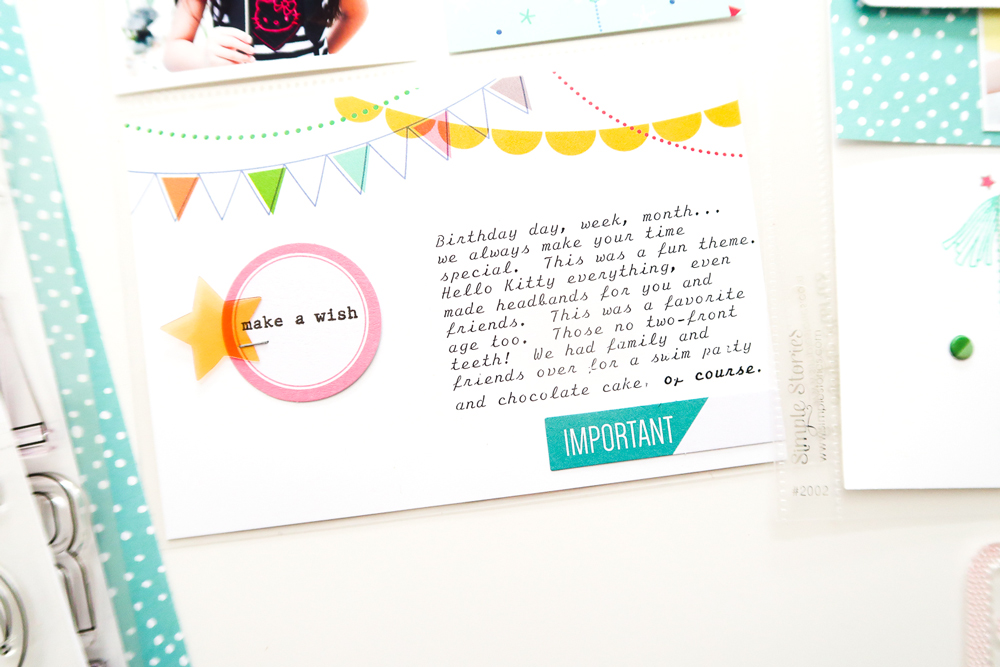
The Celebrate Journaling Tags are perfect for birthday celebrations, and the large 4″ x 6″ tag was the inspiration for my stamped banner at the top of my 6″ x 8″ layout. I used this tag to type my journaling, and finished it off by adding the pink Noteworthy Bits and Pieces circular tag, which I stamped with “make a wish,” and topped with a Star Acetate Die Cut.
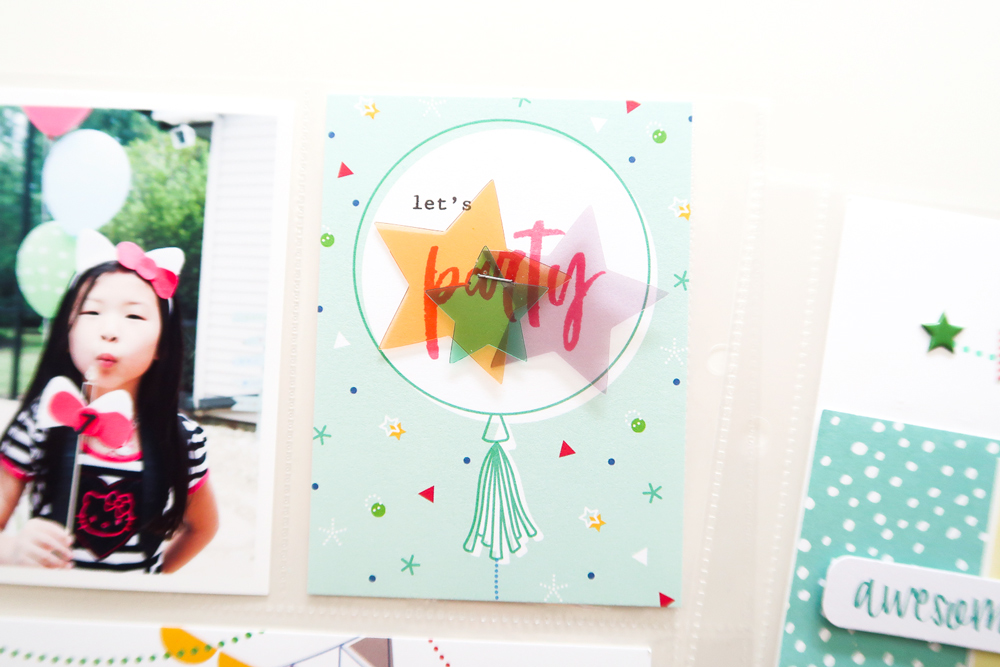
Using another 3″ x 4″ Celebrate Journaling Tag as a filler, and to give balance to both sides of my spread, I stamped “let’s” in black ink and “party” in pink ink using the Celebrate Stamp, then stapled more acetate stars directly to it.
Pull out your Large Jane Alphabet Stamps, inks, and other Elle’s Studio stamps to create your own titles for your layouts or pocket pages. Experiment with different layering possibilities as well as ink colors, and have fun documenting!
