My name is Mary-Ann Maldonado and I am addicted to the Elle’s Studio digital cut files. Seriously! This is my second month on the team and I have loved using and manipulating the cut files. You really need to check them out!
Supplies | February 2019 Kit, February 2019 Digital Cut File, On This Day Monthly Journaling Tags, Bright Die Cut Labels, Real Life Phrase Stickers, Black Puffy Alphabet Stickers, Little Acrylic Stars, Wood Veneer Confetti, Noteworthy 12 x 12 Paper Collection
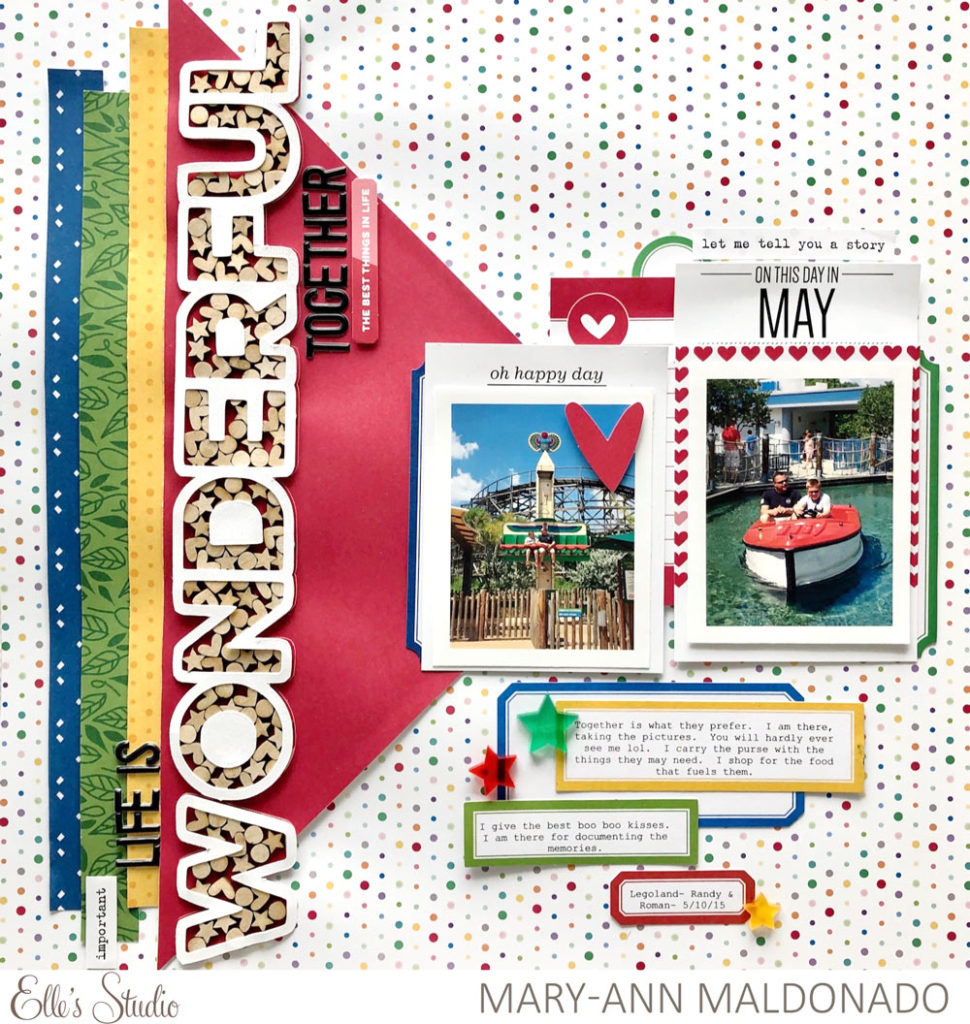
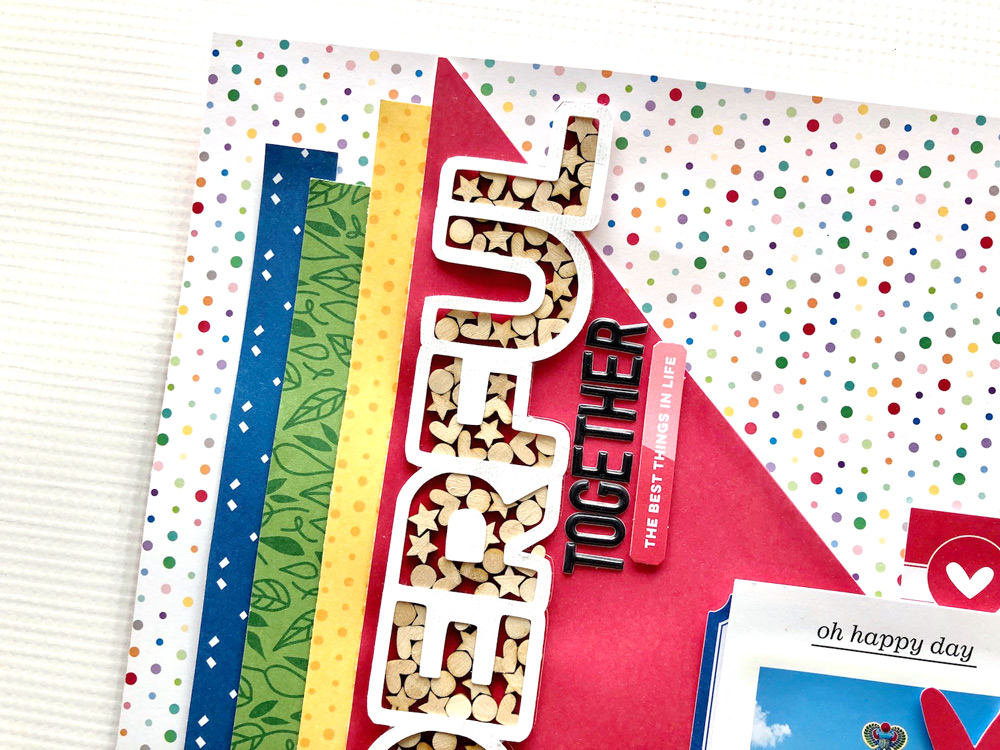
For this layout, I downloaded the “wonderful” 3″ x 4″ die cut in the February 2019 Digital Cut File. I separated out the letters for ‘wonderful,’ then I placed them close together and use the ‘Weld’ tool to connect them to make my title. Once I cut that word from white cardstock, I recut the the same title, but only the outside edge, to give me a red backing for the title. I carefully placed the Wood Veneer Confetti in the open spaces of my title with a wet glue.
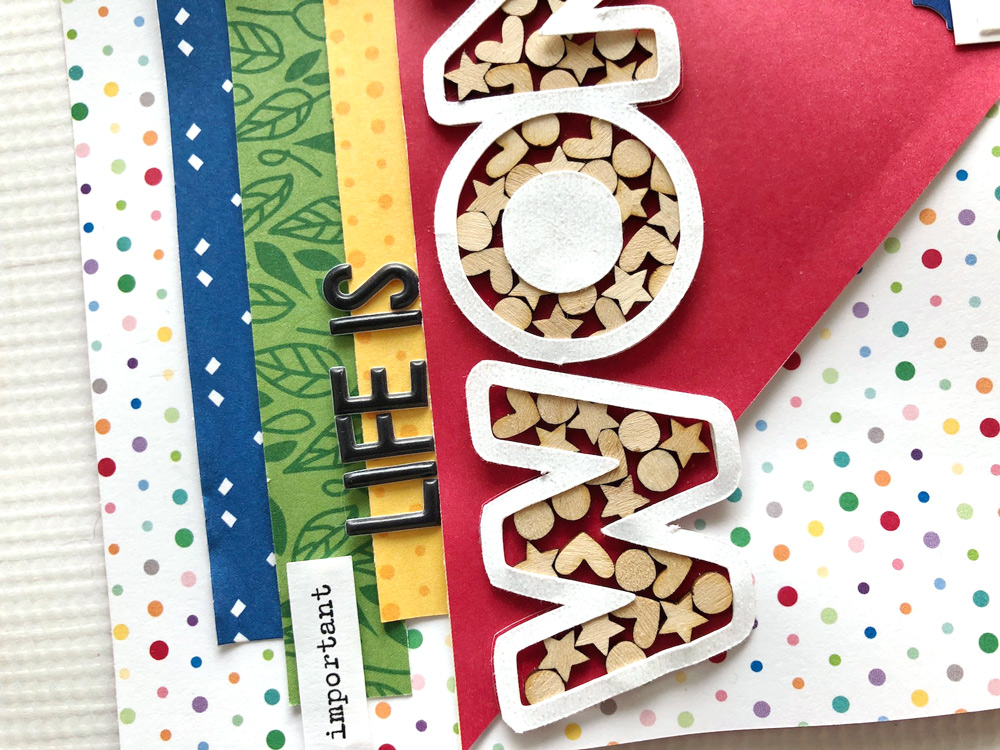
There the small space between each wood confetti piece allowed my red background to show through.
I then used several of the Bright Die Cut Labels, layered below my photos, to add my story.
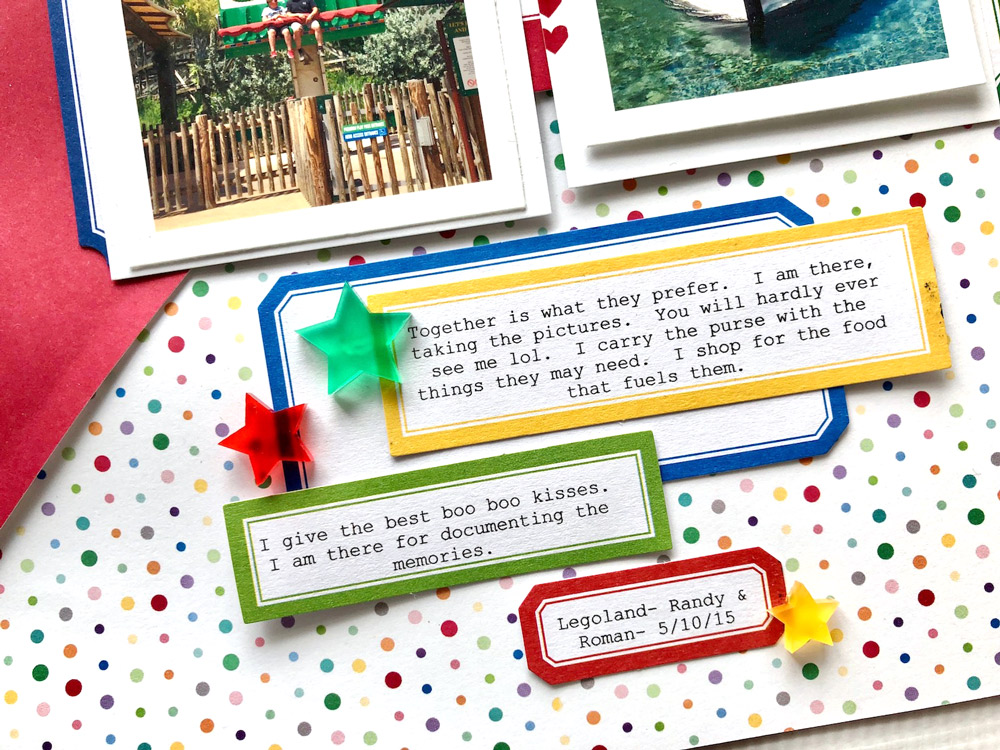
Tip: I use a word template to print on my labels perfectly. I create a Text Box or several, the same size as my labels. Then I change the font and write part of my story in each text box. I print this directly on a piece of printer paper. I use temporary adhesive on the back of my labels and apply them to the top of the journaling. I hold the paper up to a window or my computer screen to see the words through the paper and can place the labels much easier this way. I run the paper back through my printer and voila! Perfectly journaled labels.
Thanks for checking out my post today. Try manipulating the cut files to add the perfect accent to your project, and use my tip to print on your Bright Die Cut Labels the easy way! You will really have fun. I promise!
Comments