Our newest alphabet stamp is inspiring us to go big or go home—it’s the Large Jane alphabet! Tracey Fox has decided to make these BIG alphas front and center on her latest layout, and we know you will LOVE what she has to share with us today!
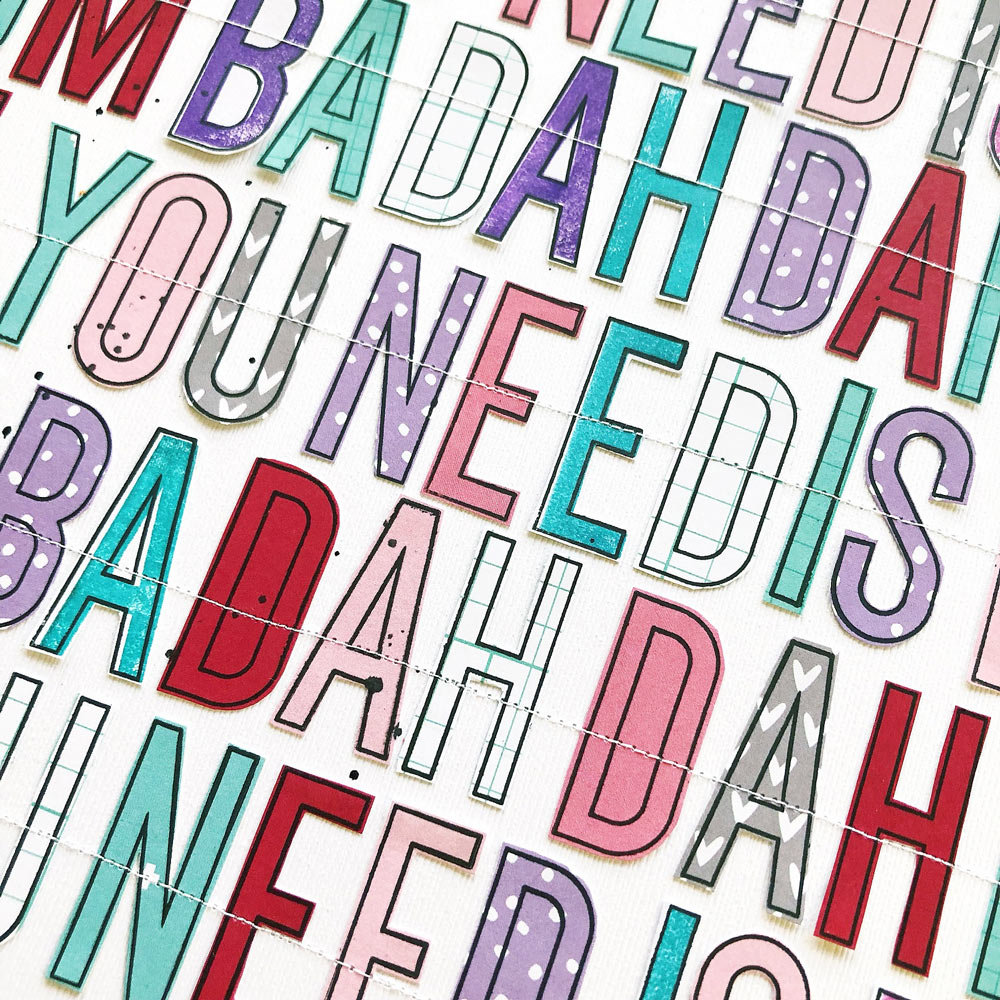
I’m so excited to share a layout with you that I made with my new favorite stamps — the Large Jane Alphabet Stamps! When I saw these large 1.5-inch tall alphas, I knew I wanted to play with stamping them and fussy cutting the letters out, but I didn’t know just how big I would go with my stamped title until I decided what story I wanted to document. Once I settled on making a layout about the role of the Beatles song “All You Need is Love” in my best friend’s wedding last month, I started figuring out how the song title would fit on the page, and I got more and more excited as I realized that I could fill page from top to bottom with an entire chorus of the song!
Supplies | Large Jane Alphabet Stamps – Outline, Large Jane Alphabet Stamps – Solid, Large Jane Number Stamp, Noteworthy Bits and Pieces, Noteworthy Puffy Stickers, Noteworthy Epoxy Stickers, Noteworthy 6 x 6 Paper Stack, Noteworthy 12 x 12 Paper Collection
I stamped the Large Jane outline stamps onto a variety of patterned papers from the Noteworthy 12 x 12 Paper Collection and theNoteworthy 6 x 6 Paper Stack. I also stamped some letters on white cardstock so I could fill them in with the Large Jane solid stamps in ink colors matching the layout. Since the Large Jane Number Stamp includes the outline and solid versions of symbols and punctuation marks, I was also able to add some commas into the mix. I popped in a movie and went to work fussy cutting all of the letters with precision scissors.

After I laid out and adhered all of the letters, I printed my photos at 1.5″ tall, matted them on some paper from the Noteworthy collection, and stuck them down. I also pulled a few small embellishments from the Noteworthy Puffy Stickers, Epoxy Stickers, and Bits and Pieces and added them to the photos. I chose a purple heart diecut from the Noteworthy Bits and Pieces to use in place of the “o” on the word “love” in that row.
Next, I typed my journaling in a 1.5″ tall text box and printed it onto clear sticker paper so I could adhere it right to the layout.

To give the page a few finishing touches, I machine stitched through each row of letters and added a few black ink splatters across the page.
Thanks for taking a look!
Comments