What an exciting reveal it has been! We’ve introduced so many new products to help you complete your papercrafting projects and tell your story. It was hard to choose, but we selected the Wood Veneer Love Tags for our One Product, Three Ways post this month, and Heather Leopard, Candace Perkins and Amanda-jayne Baldwin are here to show us how they inspired them to create! Let’s take a look.

Supplies | January 2018 Kit, Love You Die Cuts, White Cardstock Alphabet Stickers, Black Cardstock Alphabet Stickers, Pink Cardstock Alphabet Stickers, You Are Loved Wood Veneer, Wood Veneer Love Tags, Hugs and Kisses Puffy Stickers, Hand Drawn Acrylic Hearts
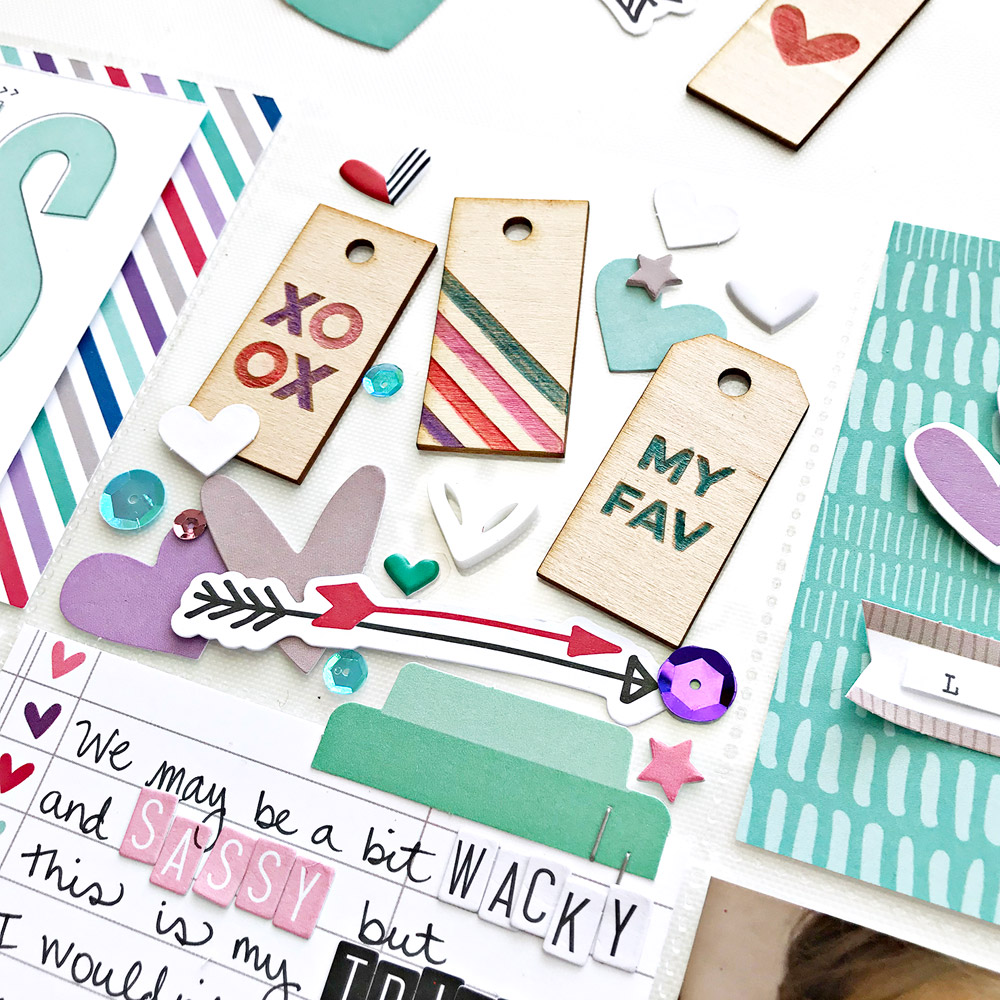
Heather | I decided to use the wood tags like confetti to fill one of the 4″x4″ inserts in my pocket page. While I like using the tags in their natural state, I decided they needed a punch of color. You could choose to paint them entirely. If so, most paint and mist mediums will do the trick. However, if you want to color specific areas, I suggest you avoid using a really wet liquid as that may cause the color to bleed in the grain of the wood. I chose to color the little details of the tags. To accomplish this, I used my watercolor color pencils, without water. I used very sharp pencils and simply colored the sections in that I wanted colored. I used the same technique to color the wood phrase at the bottom of the page.

Supplies | January Labels, Love You Die Cuts, Wood Veneer Love Tags
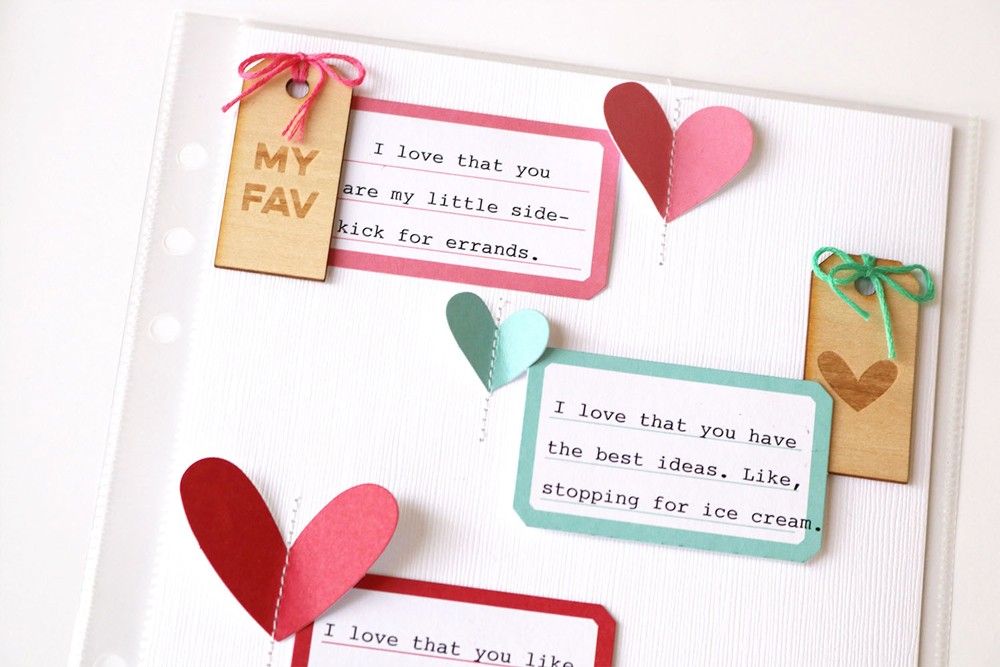
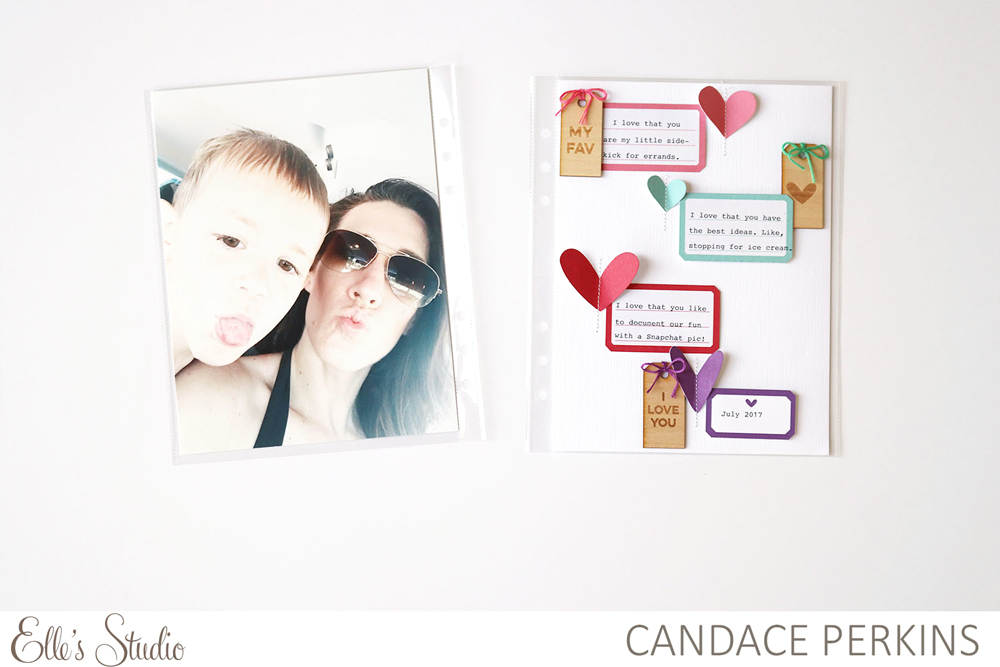
Candace | Hello Elle’s Studio friends! How fun are the wood veneer tags this month? I love when I see a product and it inspires project ideas right away, and that is what happened when I saw the Wood Veneer Love Tags this month. I knew I wanted to create a fun tag layout about daily adventures with my little sidekick. I started with a full 6″ x 8″ photo of my little guy and me on the left side. I kept my journaling and embellishments to the right side of the spread. For my short journaling, I used the journal spots from the Love You Die Cuts. Now for the fun: embellishments! I tucked coordinating hearts around my journaling and stitched them down for added interest and texture. The main attraction of the whole spread, the tags, were my final touch! I added three tags across the spread, tied with embroidery floss and tucked around my journaling spots. I love the final look of the spread with it’s fun, whimsical feel, but most of all I love this moment and memory captured.

Supplies | Love You Die Cuts, Wood Veneer Love Tags, Hand Drawn Acrylic Hearts, XOXO 6″ x 6″ Paper Stack
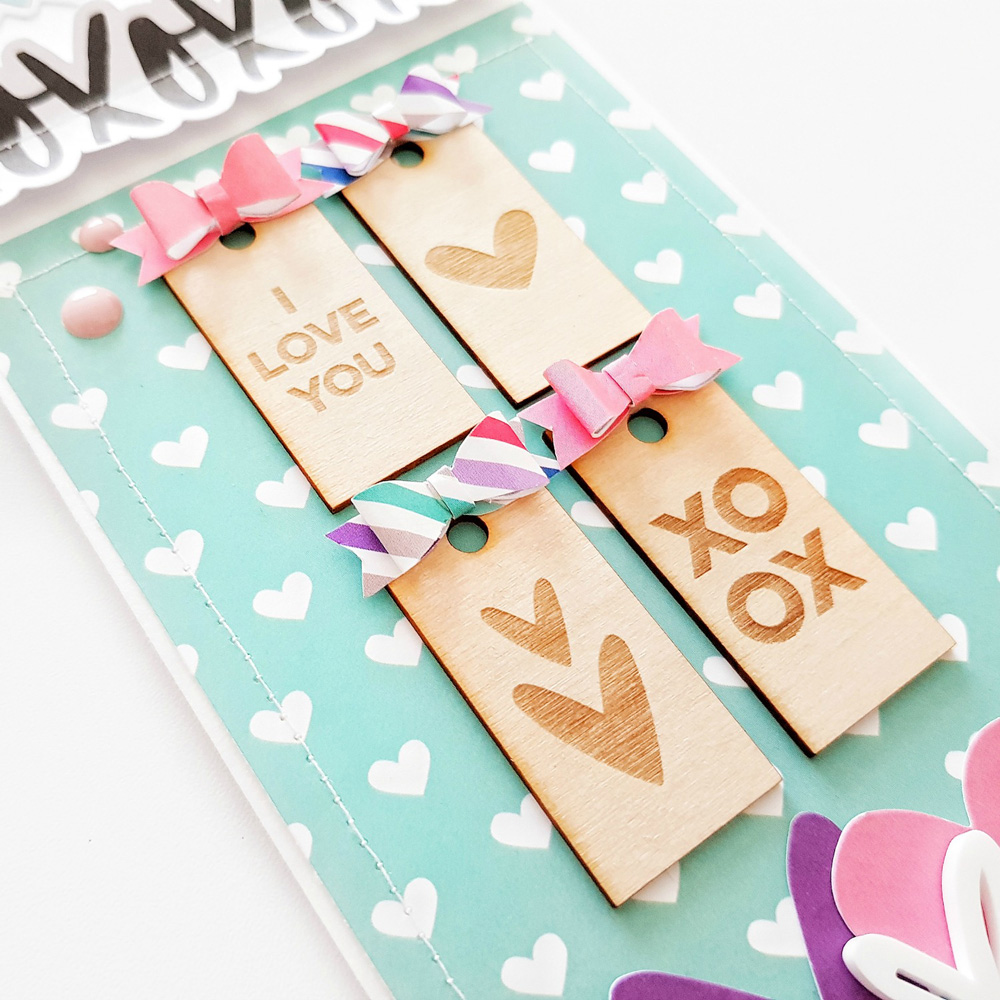
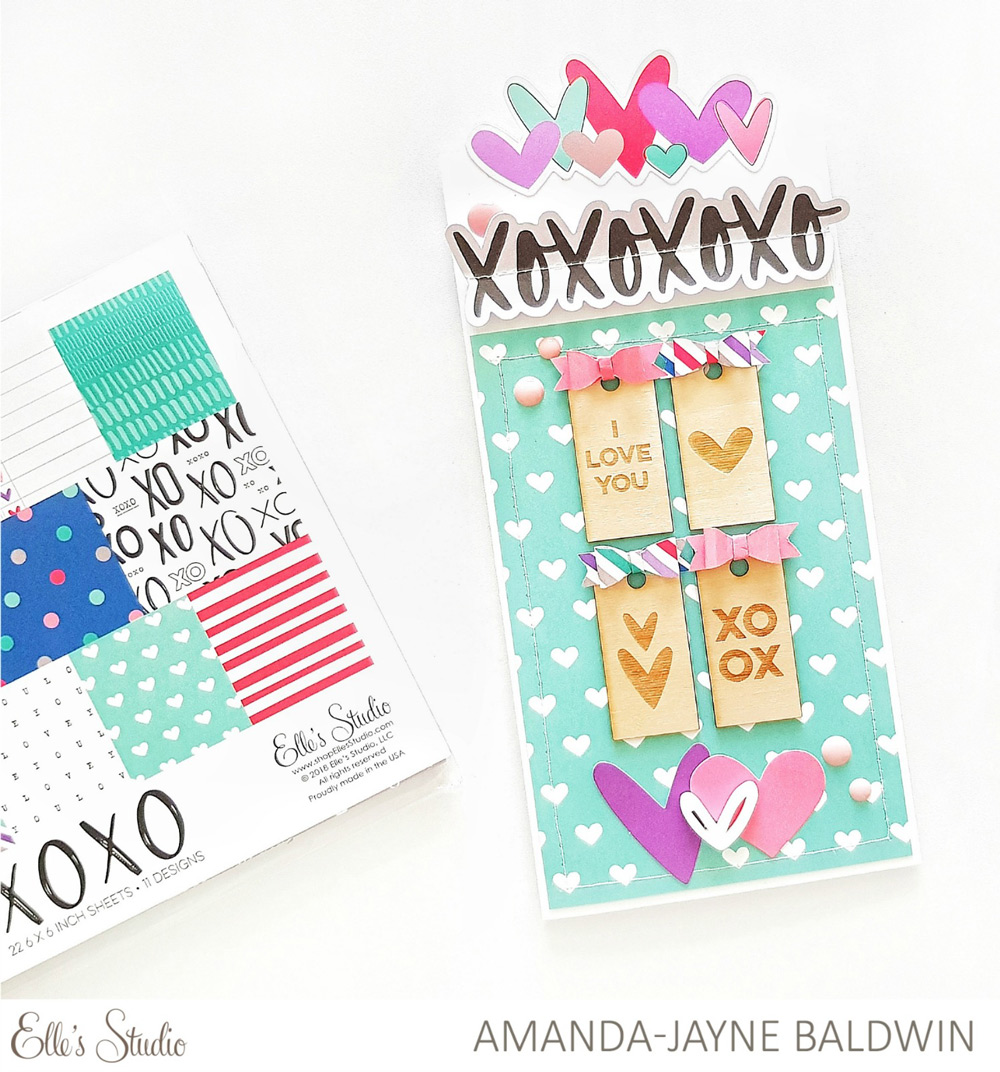
The January Kit lends itself beautifully to Valentine’s creating, so here’s the card my Valentine will be receiving—I hope he likes it! I just love the natural look of wood veneer, and the warmth it adds to any project. My card is a simple 4″ x 8″ design, and features patterned paper from the XOXO 6 x 6 Paper Stack, Love You Die Cuts, Enamel Dots, & Hand Drawn Acrylic Hearts, but it’s those wooden tags that really impress!
I’ve arranged the tags in a grid layout, and embellished them with those sweet tiny bows, created from the patterns in the XOXO 6″ x 6″ Paper Stack. Apart from adding dimension & interest, the bows also ‘cover up’ the tops of the wood tags. This means you can mix & match the shapes and sentiments, while keeping a ‘clean’ look. To add texture, the pretty heart paper beneath the tags is stitched into place, as well as the “XOXO” die cut from the Love You Die Cuts.

Wow! What inspiring projects from our talented team members! Be sure to check out the fabulous Wood Veneer Love Tags in our shop while supplies last!