Happy Weekend!!! So thrilled to be here again, sharing my passion with you all…planners and scrapbooking goodies!!! Today I am showing you how I am using the August Monthly Kit along with the Oh, No! Stamp Set inside my planner. I love using these monthly kits and stamps for planning! The tags and shapes are just the right size and make my planner so cute! It makes me want to open up my planner and tackle the day!!! Here is a shot of my whole week…
 Besides decorating my planner inserts with scrapbook goodies…stamping is right up there too!!! You will see here that I used a technique called “Second Generation Stamping”: ink up your stamp, stamp it out once and then right away, without re-inking the stamp…stamp it out again! This gives a faded image! Such a fun technique! I stapled that cute little “Date” tag down on Monday…I will jot down my most important to-do for that day! The “Hello!” die cut is just hanging on by the planner ring…FUN!
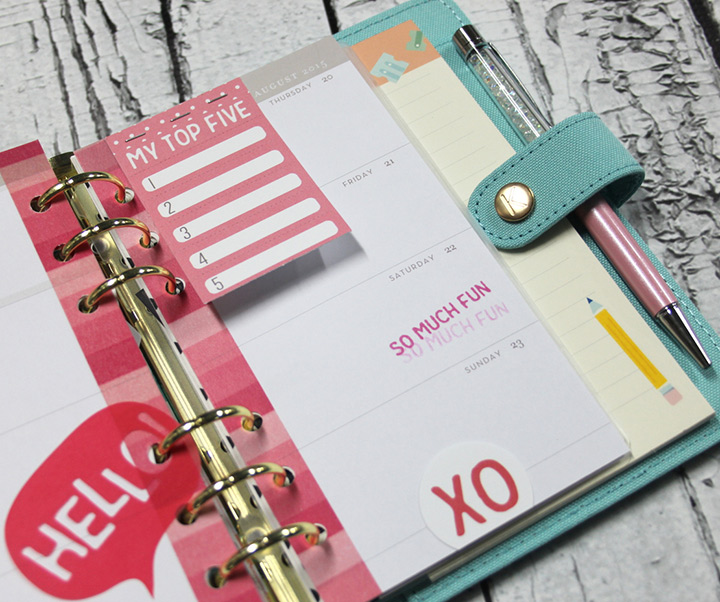
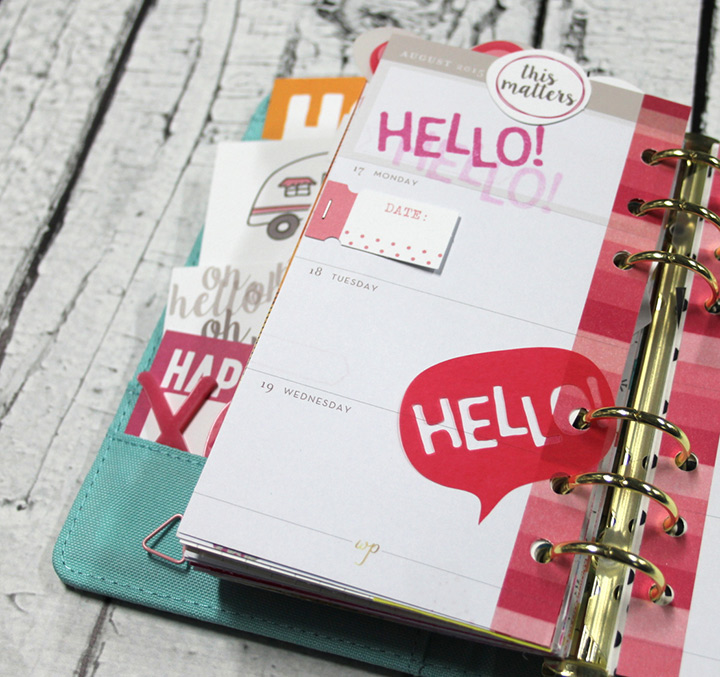 I used my mini stapler and stapled down the “My Top Five” tag to the top of my planner insert! This will be a place to jot down a fun memory from each day! The last and final thing that I do to all of my planner inserts, is add washi tape to the inside edges! It just reinforces the holes a little bit better…
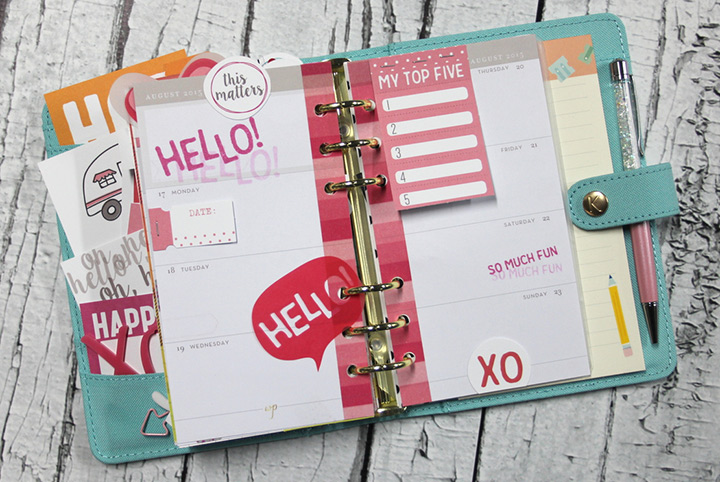 Inside the front cover of my planner…POCKETS!!! Great place to store those extra tags for decorating or just jotting down random notes! I have a small pouch that stores my must haves for planning on the go and it includes a single hole punch. I love to punch holes in these tags and add them to my week!
 I am constantly creating a new dashboard for my planner! They are fun to change out…oh the beauty of a planner with rings, change things up all the time
  I grabbed a 12×12 paper from the Shine Collection and trimmed it down to size. Inked up the edges and punched a few holes on the left hand side to place it inside the rings. To complete this look I trimmed down another 12×12 paper to 3×4 and stapled the “Awesome” die cut (from the August kit) on top of that. I did go a little crazy with my ink pad and edged the vellum with some pink! To protect my dashboard, I add a clear transparency on top (not pictured)!
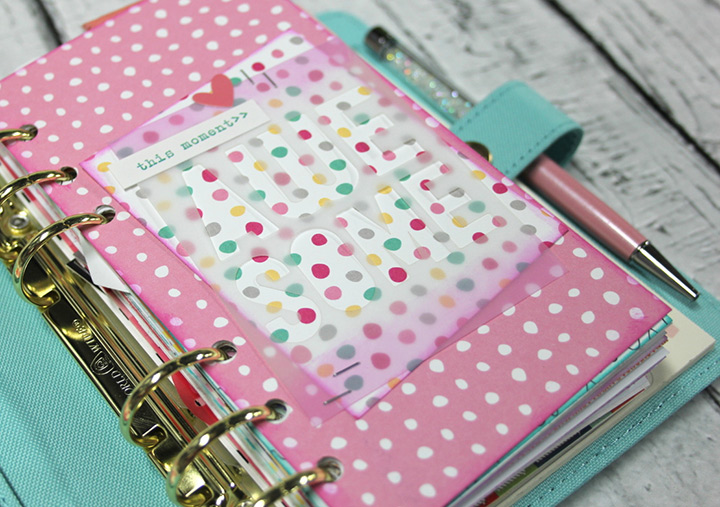 Products used: Exclusive August Kit, Oh No! Stamp set, Shine Paper Collection
Thanks for stopping by and taking a peek inside my planner!
Have a great weekend!
Candi