Incase you aren’t aware of the awesome capabilities of the Printables that Elle’s Studio has available; sit back cause I’m about to introduce you!
It all starts with this beautiful downloadable piece … 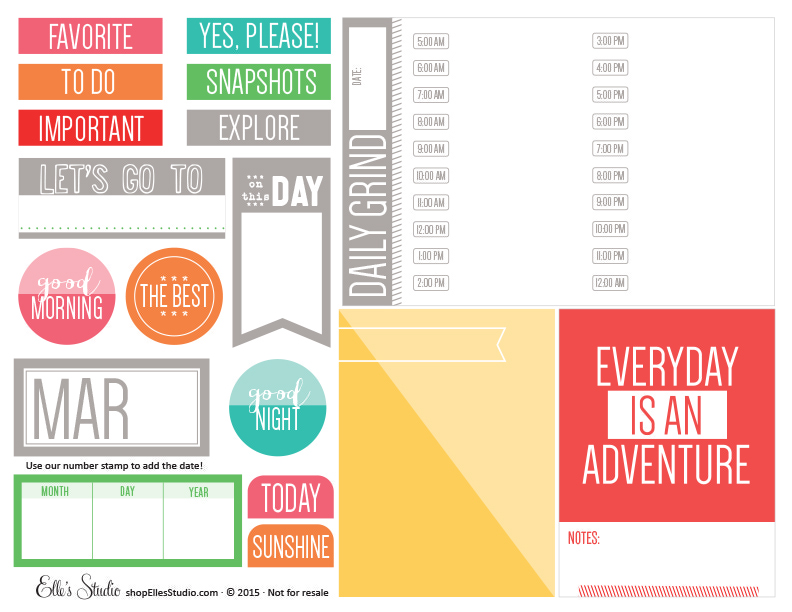 which, by the way is ONLY $3.99! That’s a steal people!
Expand your March Kit with these coordinating printables! There are 18 tags, in .png and .pdf files for your digital or hybrid scrapbooking. You can also print directly from the pdf that is included so you can print them over and over again!
First, we start with simply adding the png files on top of an image.
 As you can see; the left image is my original which I resized to a 4×6 print size. I then chose the png file I wanted to use & pulled it onto the photo. Using the paint bucket tool I changed the color of the banner to blend a bit better with my photo. (This png image is actually from the February Printables.)
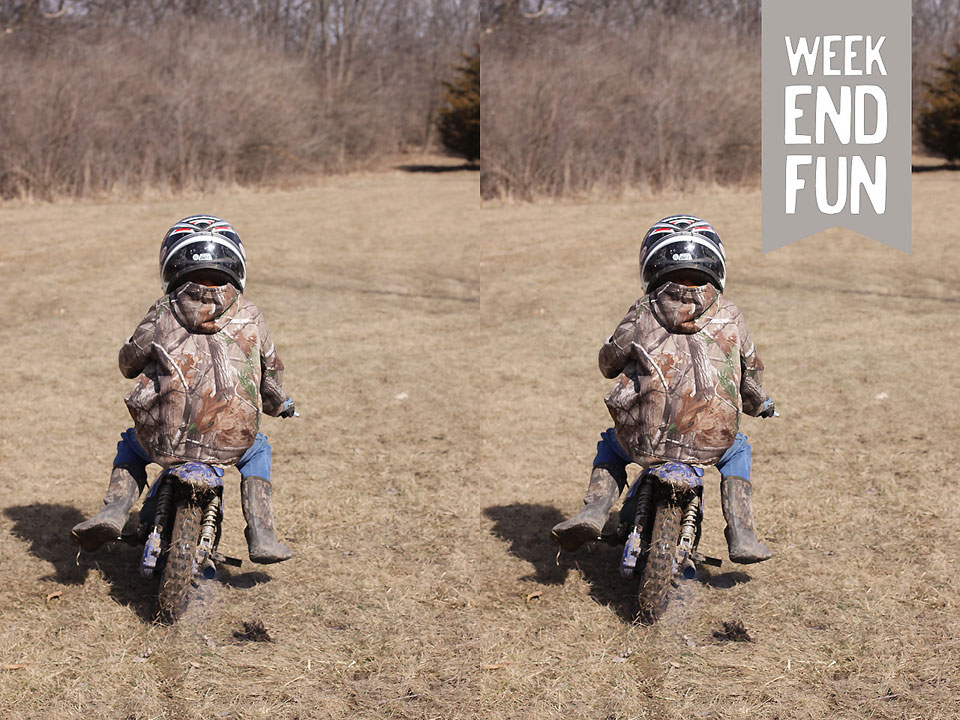
I used the same idea with the following two images. Only this time I changed the opacity of the png images to create an overlay.

 They’re all set to be printed as 4x6s and slipped into my Project Life album!
Now, to go a bit further with the printables and Photoshop.
Step One : Open the 4×6 Daily Grind png file in Photoshop… 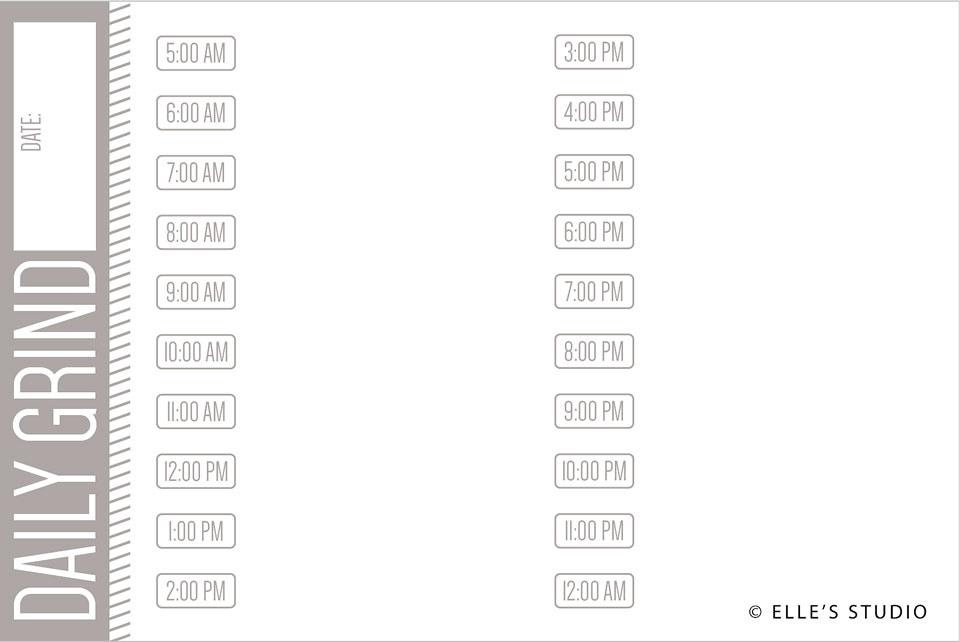 Step Two : Open the image you’d like to use & resize to 4×6 as well. Drag it on top of the Daily Grind png file and adjust it to where you want it to be.
 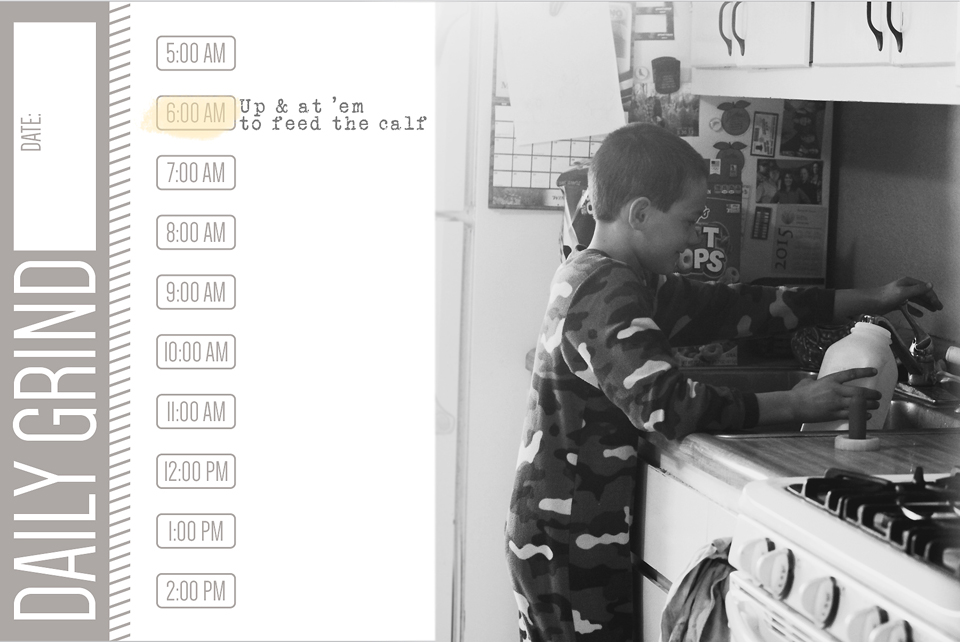 I then added journaling with the type tool and highlighted the time using the paintbrush tool (lowering the opacity on the color so you could still see the time). Once flattened, save as a jpeg and you’re set to print as a 4×6 photo!
The next card I created uses multiple layers and png files from the March printables. Remember, Photoshop is just a matter of working in layers. You can manipulate them by changing the opacity, colors, and sizes. If you look closely at my image you’ll see I lowered the opacity of it just slightly so you could still see the diagonal line. I like how it blends it all together.
 And last but not least; I used the red 3×4 card in the March Printables to create another custom piece for my Project Life album. This time creating multiple layers of the same card, deleting portions of the red part, and changing the color of the letters to use as a layer on top of my image of my daughter’s boots.
 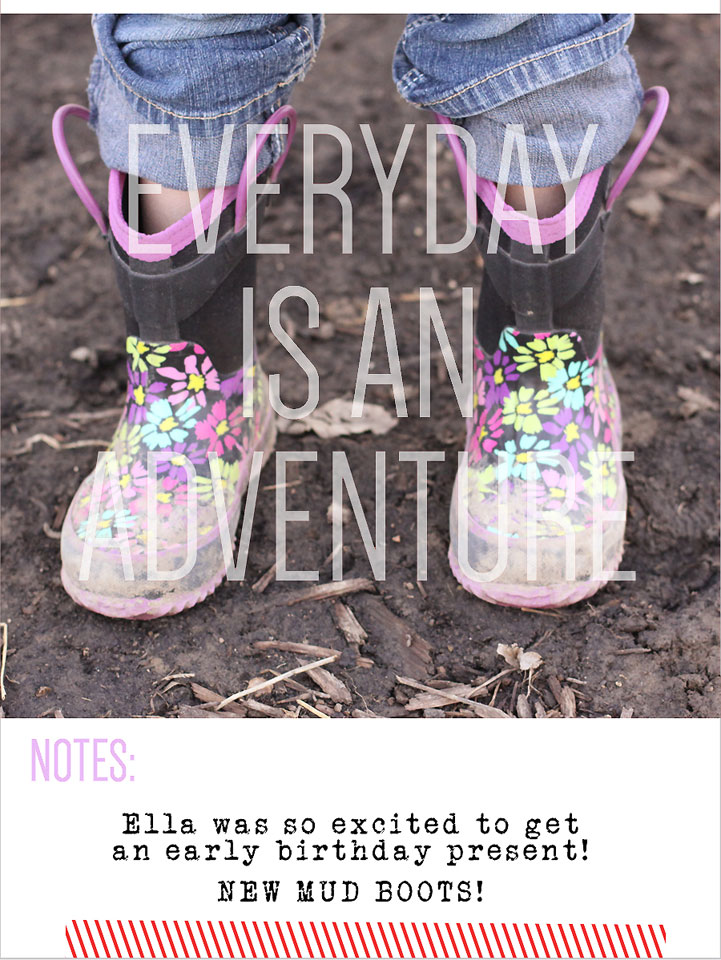 How awesome are the possibilities with these printables!
Share how you are using them in our Member Gallery! We can’t wait to see!
~Megan
Comments