Today I’m going to share with you the editing process I use when capturing our everyday life via my iphone.
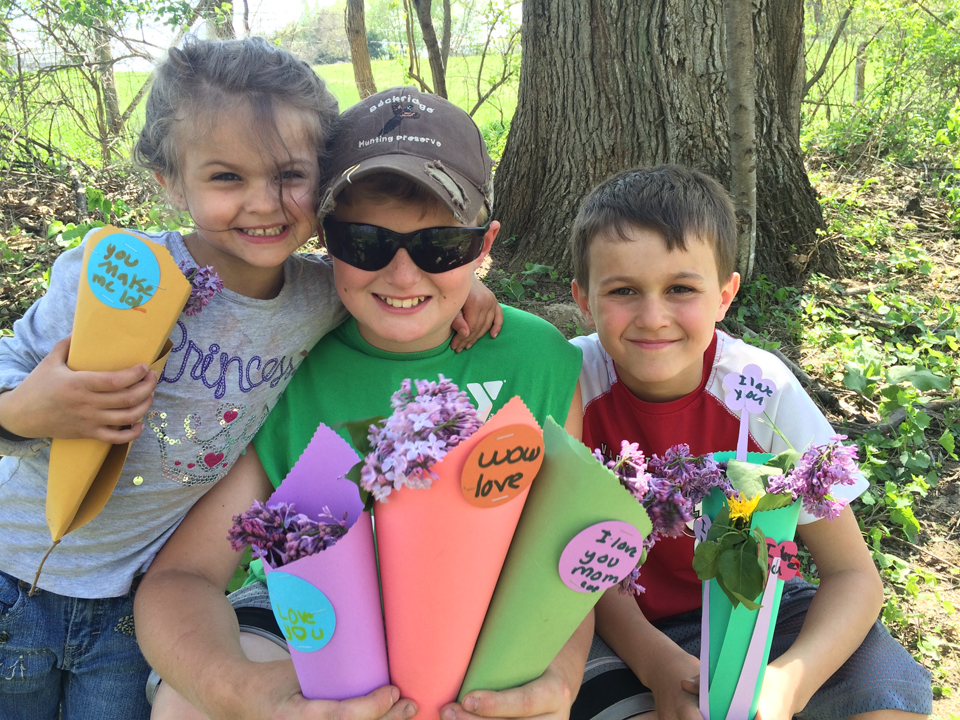
This was the orginial photo SOOC (straight out of camera) or in this case, my iphone.
I then opened the photo in an app called Pic Tap Go and used a few of my favorite “recipes” within the app to get the look I love – soft and matte.

In the particularly case, I wanted to share it via instagram as well. So, I then did a bit more editing there, thus cropping it into a square.

I email the full size images directly from my phone to my email address and create a folder that I later save onto my external hard drive.
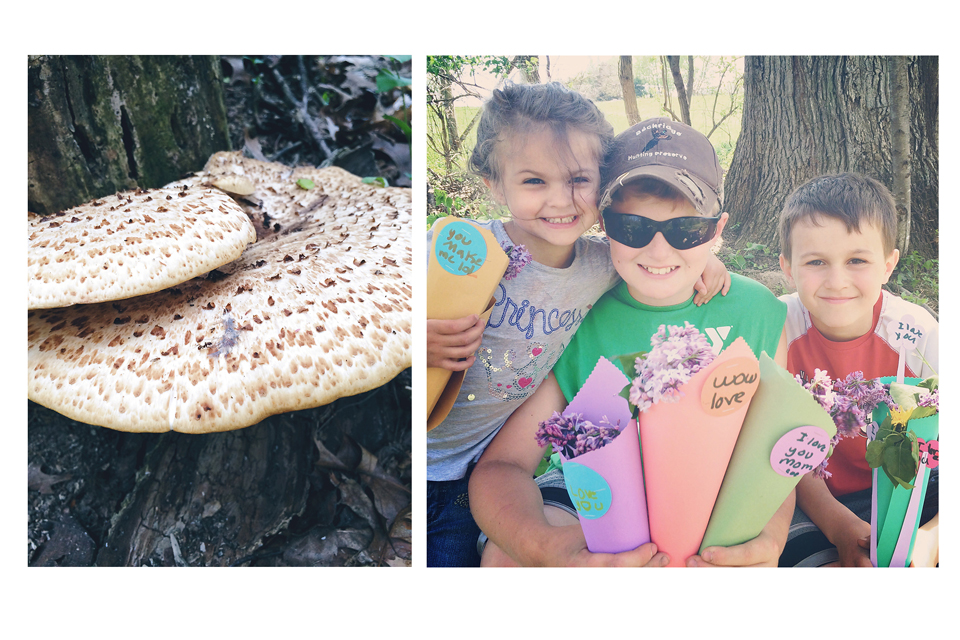
When printing the photos for my Project Life album I pretty much always resize them so I can print two images on one 4×6 print. (I do this step in Photoshop) and it looks like this :
 The next step of course is to preserve those images and memories.
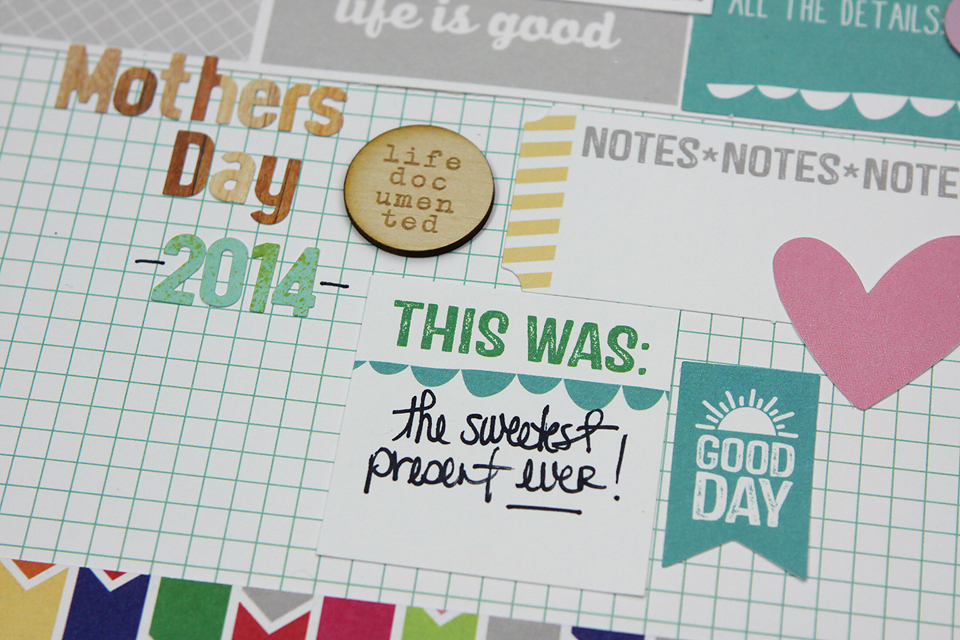
I used a combination of the new SHINE collection, the May Exclusive Tag Kit, and the Bloom Wood Veneers.

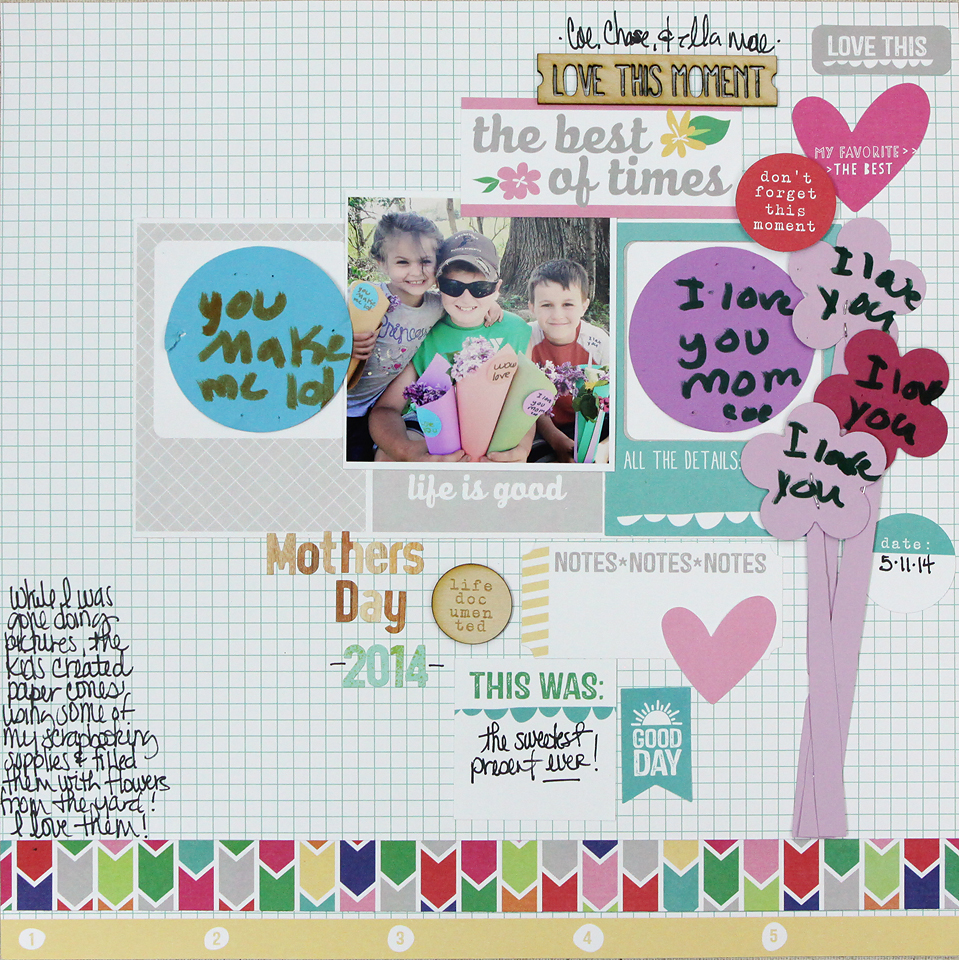
I also wanted to incorporate the cute little creations my kids made me that held the flowers they gave me. I carefully took the cones apart (with their permission of course) and added elements of them to my page. These make the page all the more meaningful. 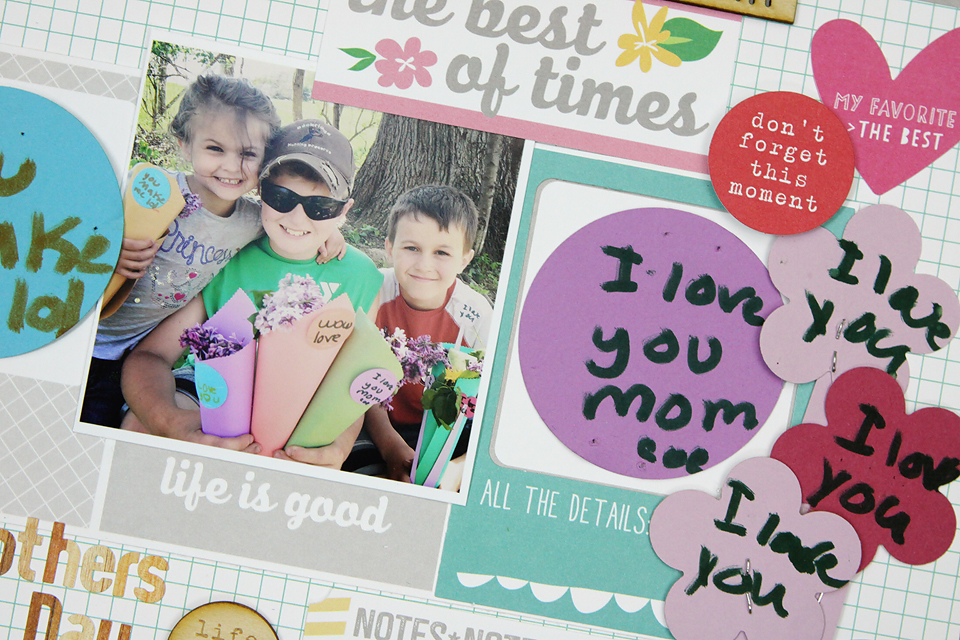
 I’d love to hear you’re phone to print process!
Happy Creating! ~ Megan