Today’s Tag Your It shows a bit of how I go about planning out my Project Life pages.
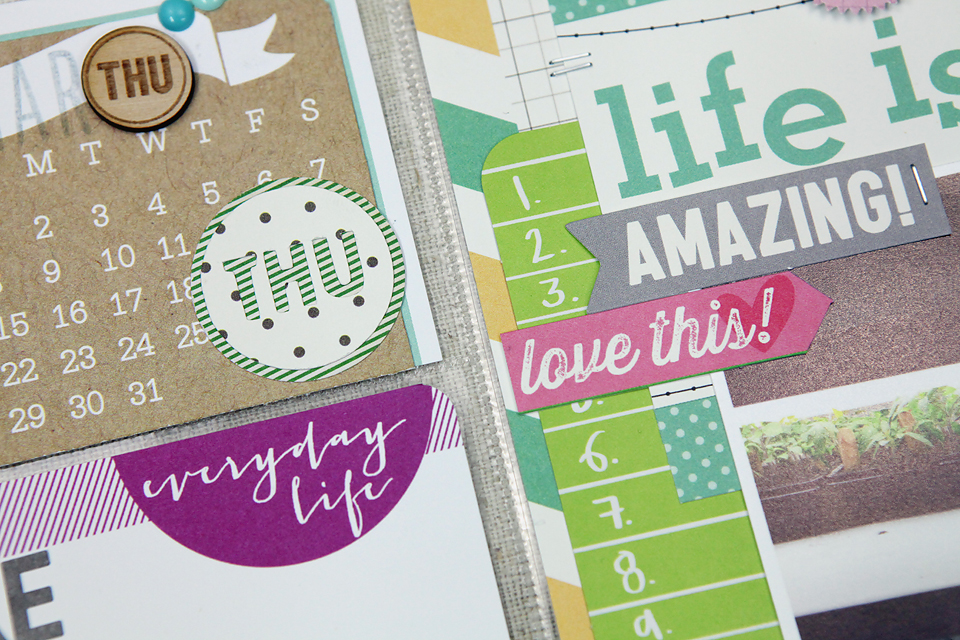
I start by pulling a bunch of bits and pieces together that I think will coordinate and compliment the photos.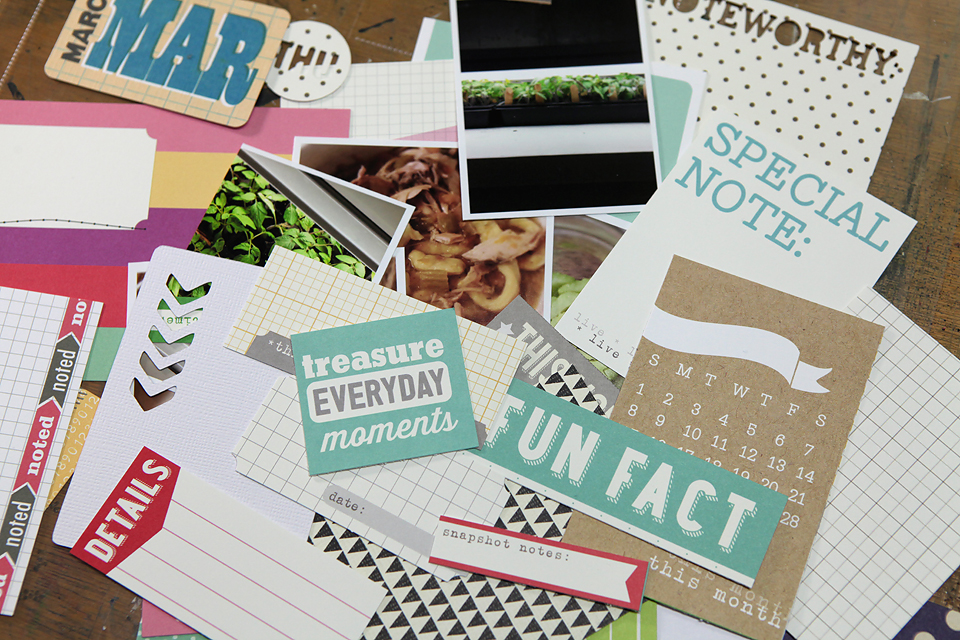 I then lay the photos on top of the actual PL protector to get an idea of how I want the design to lay out.
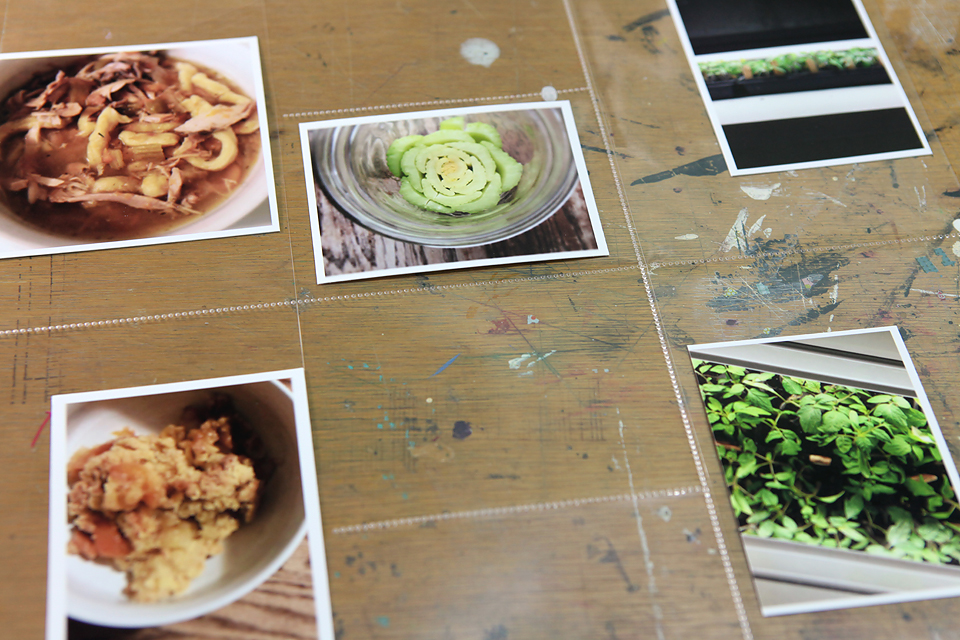 Next comes all those fun bits and pieces (I don’t glue anything down just yet.)
 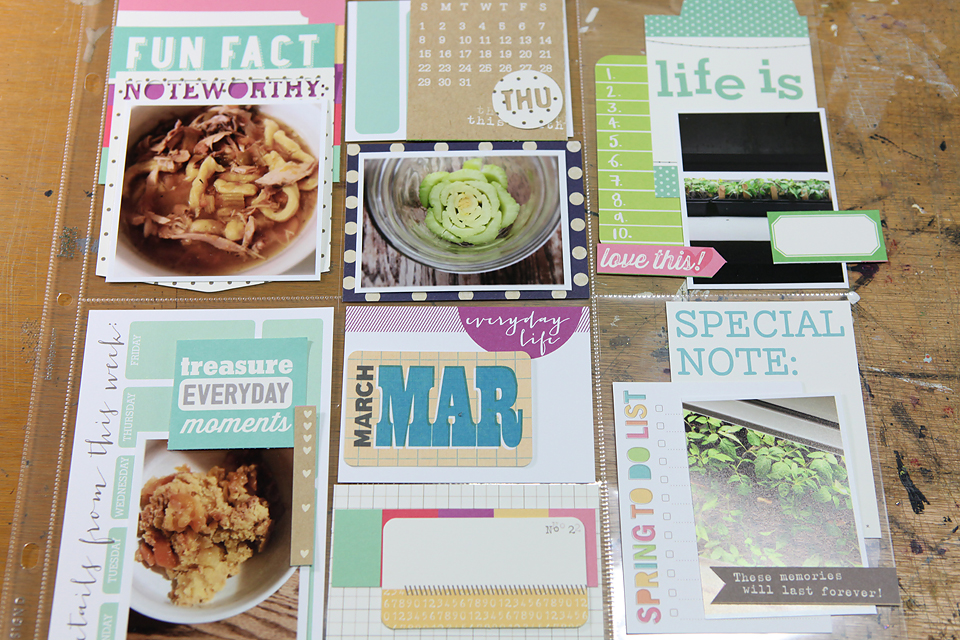 I then work one “pocket” at a time. (This is also where my tag is going to come into play this month.)
 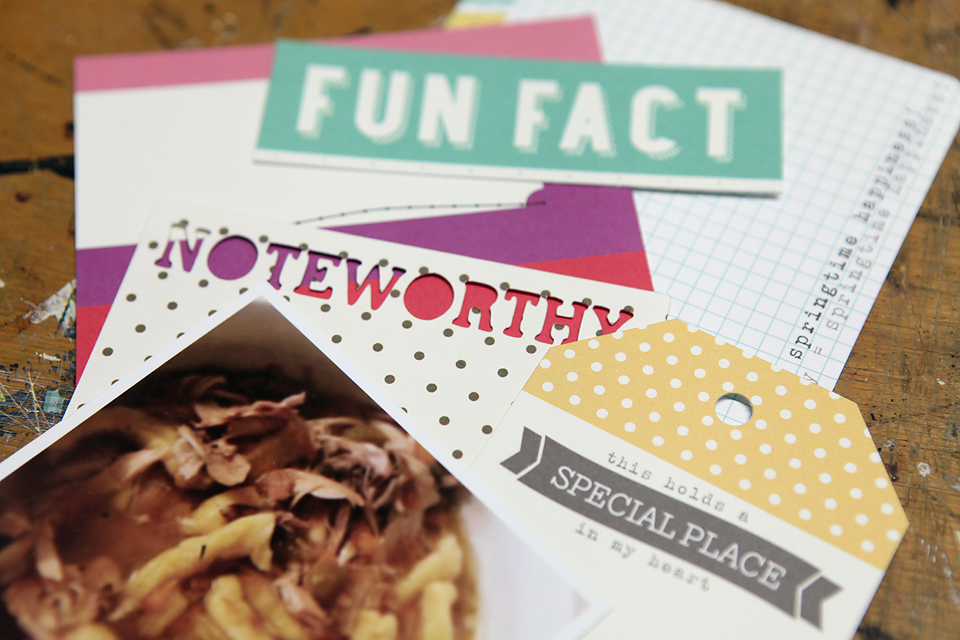 I’m going to use layers of the tags from the April Tag Kit and the Digital Cuts to create a pocket for my tag to slip into. This is the perfect way to add a bit more journaling where you may have ran out of room otherwise.
 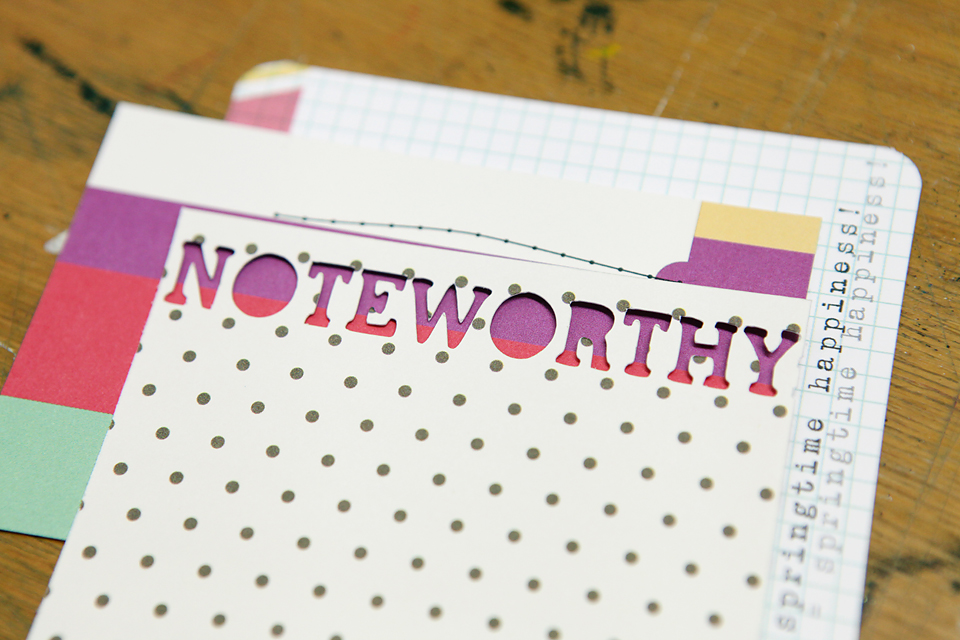 Simple machine stitching along the two sides creates the “pocket”.
 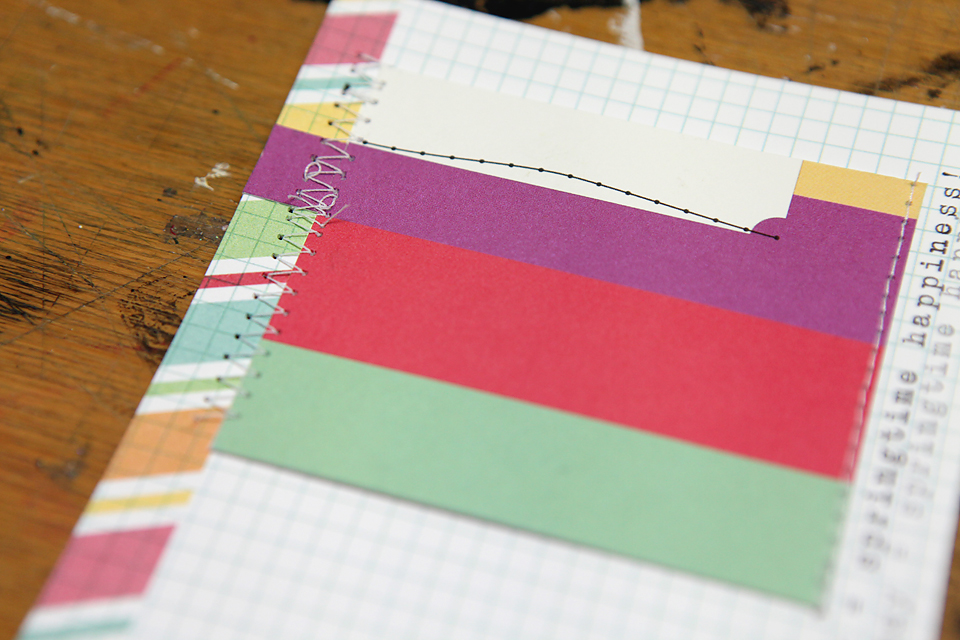 I leave the top and bottom unattached because the tag I am using is longer than the striped pocket piece.
 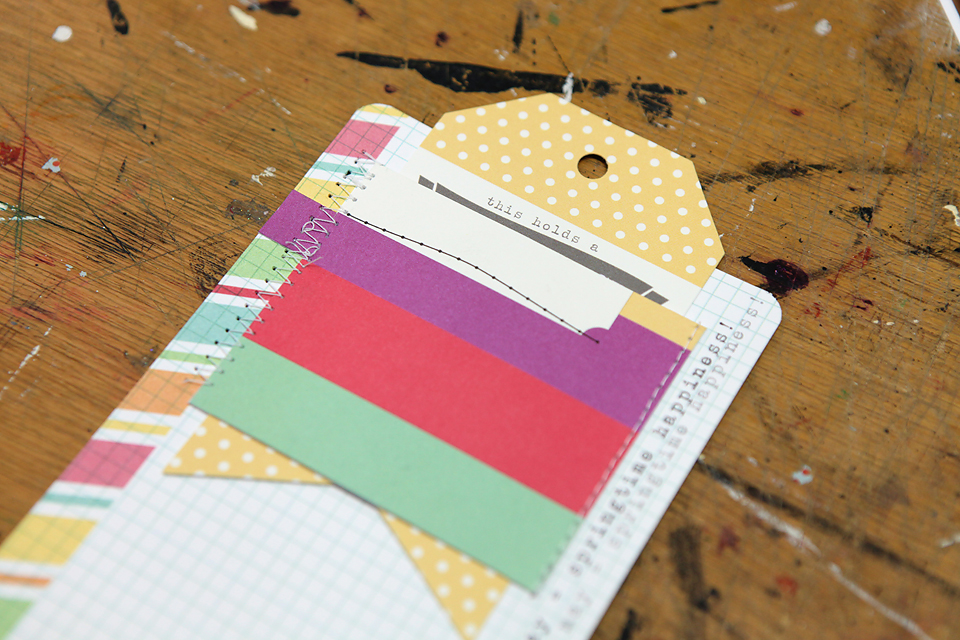 Now the fun layering begins! Just make sure the bottom portion of your layers stay unattached so you can freely move your journaling tag in and out.
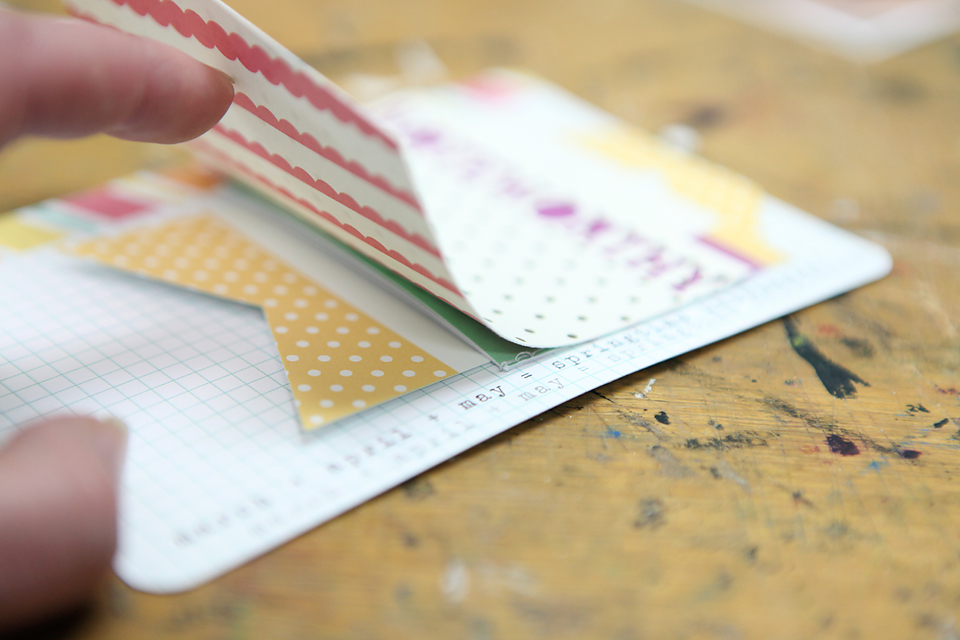
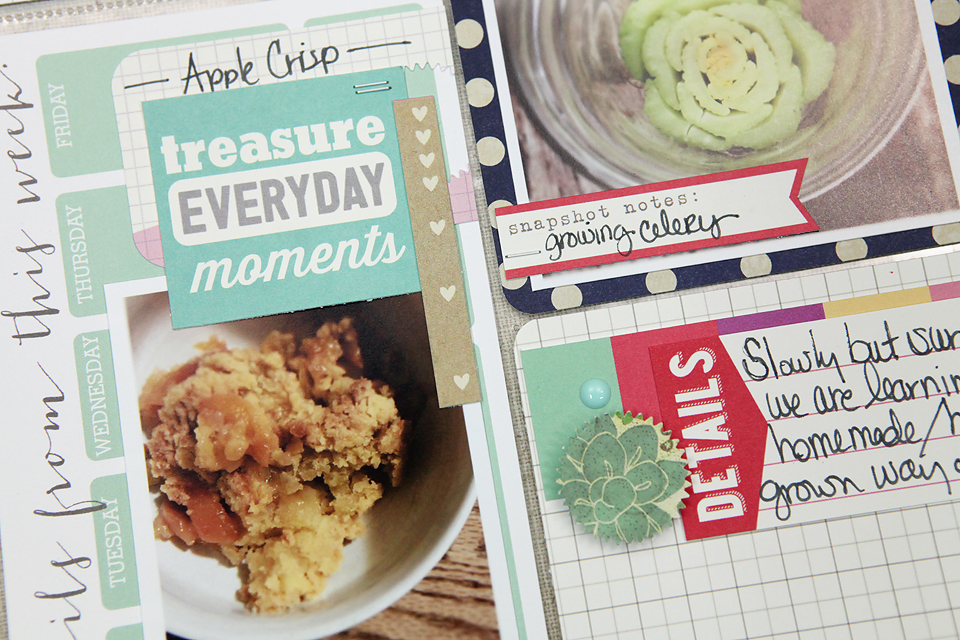
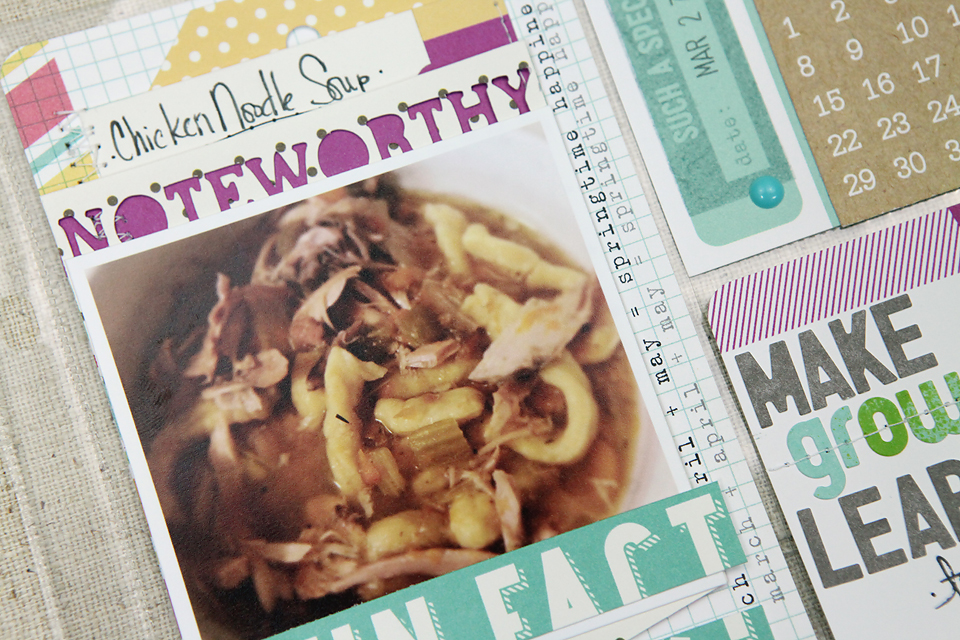
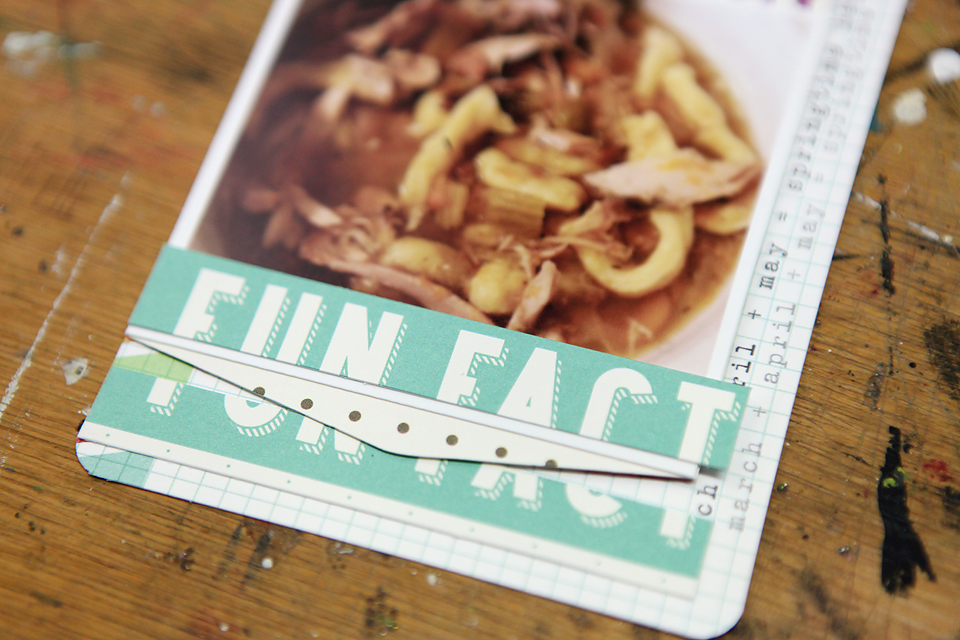 The Fun Fact piece was a bit to big but I really wanted it on here. So, I cut it in two and attached part on the top layer and part on the bottom layer. It’s still readable yet functional!
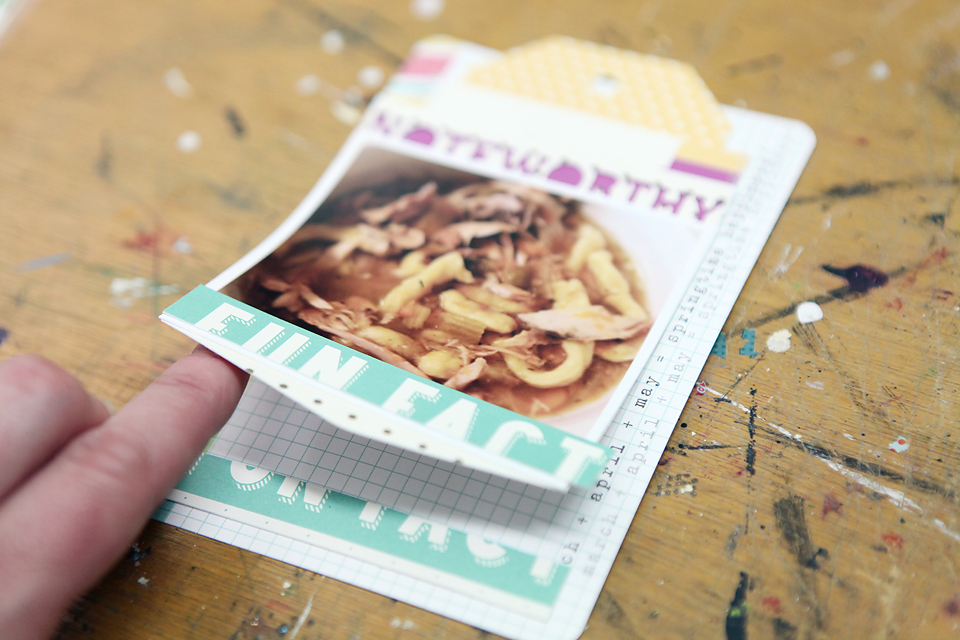
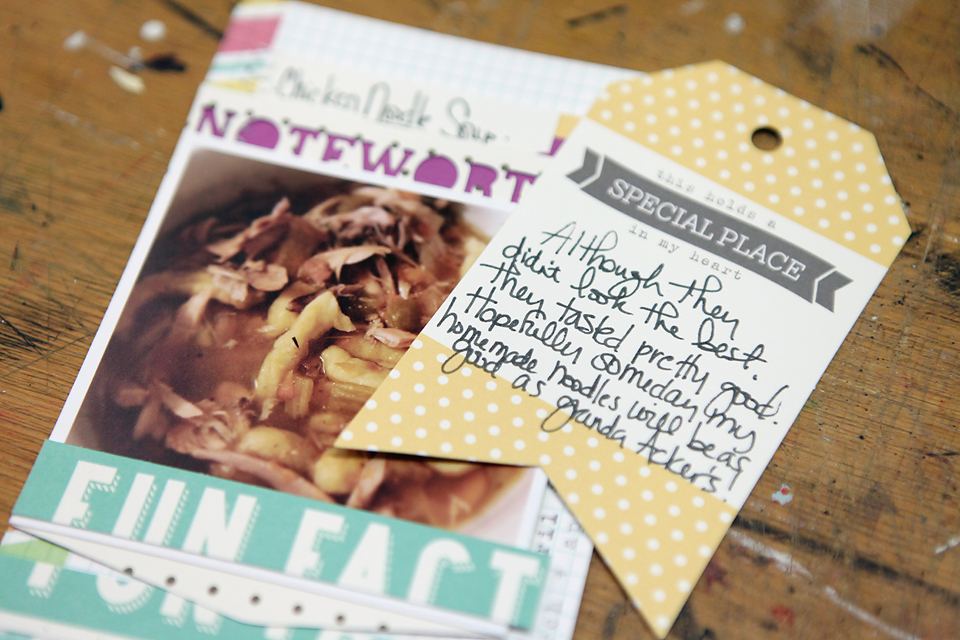 Once my tag is slipped into place I wrote “pull” so that hopefully as my family is going through the book many years from now they know that there is more to explore!
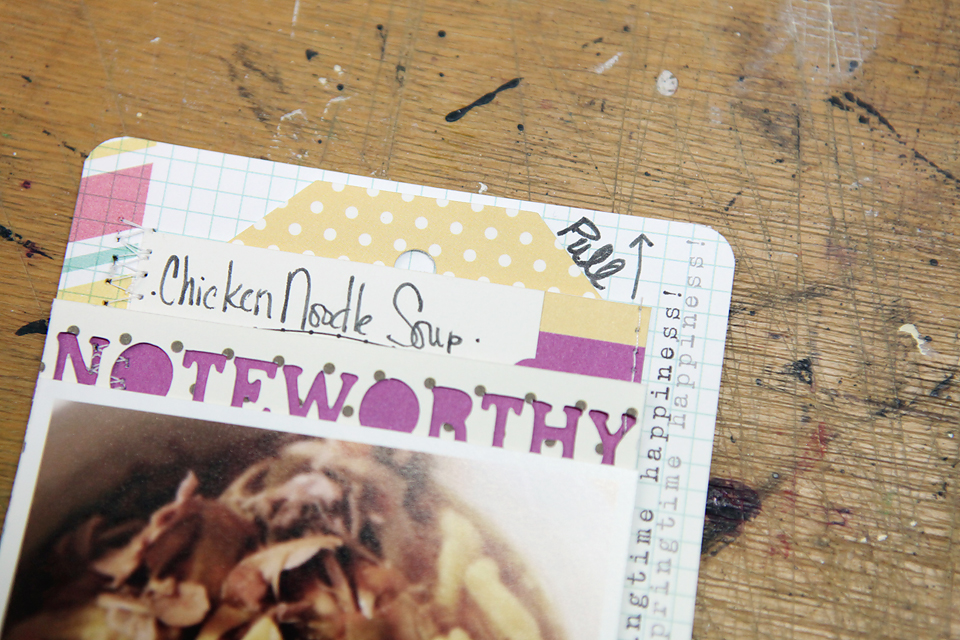 Again, I work one pocket at a time and then take a look at the completed page to see where I need to add a few embellishments or more journaling.
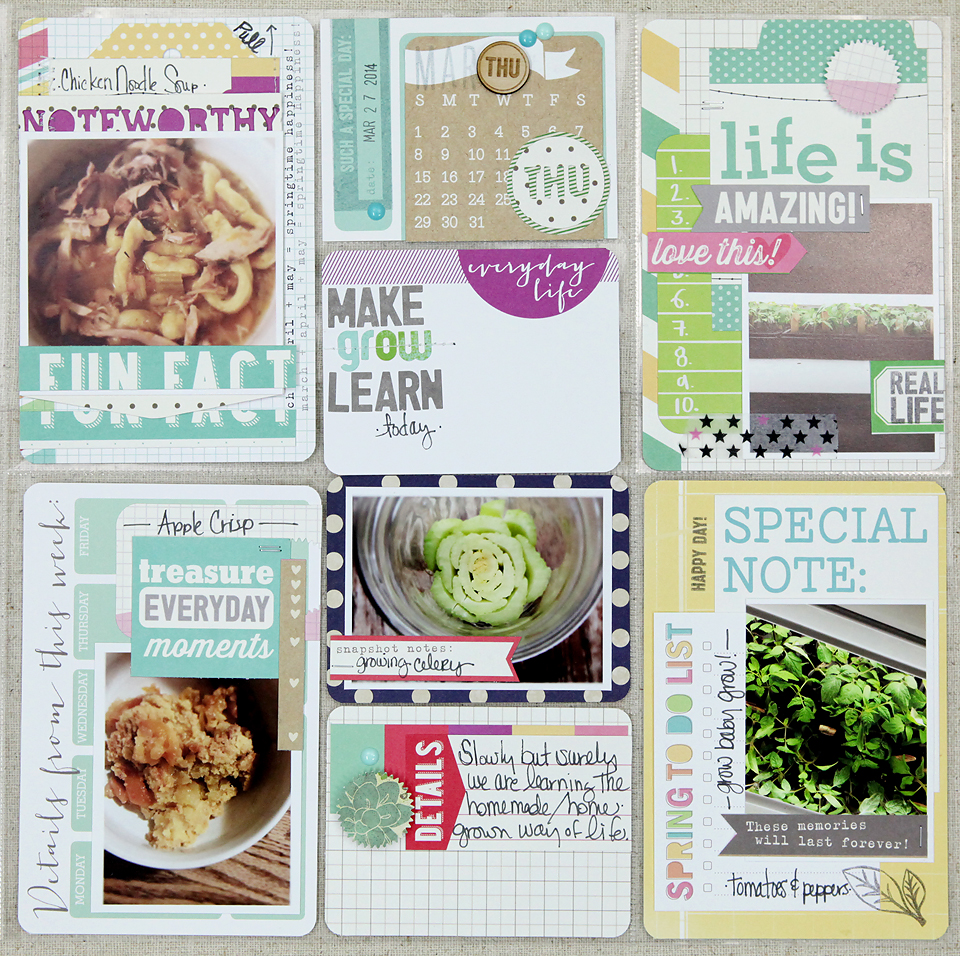
 I hope this inspires you to create a hidden journaling pocket on your next layout or Project Life page!
Happy Creating! ~Megan
Comments