 Welcome to day 1! We are so excited to get started! First thing to do is select or make a mini book! You can make one out of paper or chipboard scraps, binding it with a binder ring or even twine. Or, you can purchase one already made from your local scrapbook shop or online …and, don’t forget, Etsy has a ton of great ones, too! We love evalicious and Elise’s shops!
 When we saw the Chatterbox Wood Veneer Album we knew it would be perfect! It is made of real wood and is amazing! The inside pages are really nice and thick – they will hold up great!
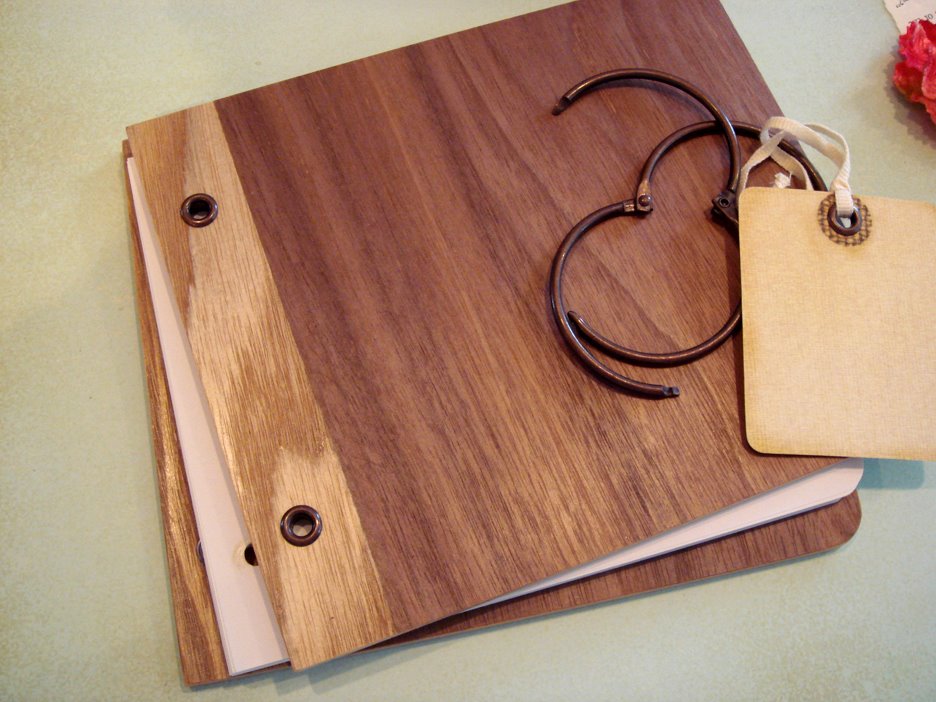 First thing, remove the rings and put them in a safe place for later. We like to work with everything taken apart and then put it all back together when we’re finished. It’s a lot easier working on a flat surface this way!
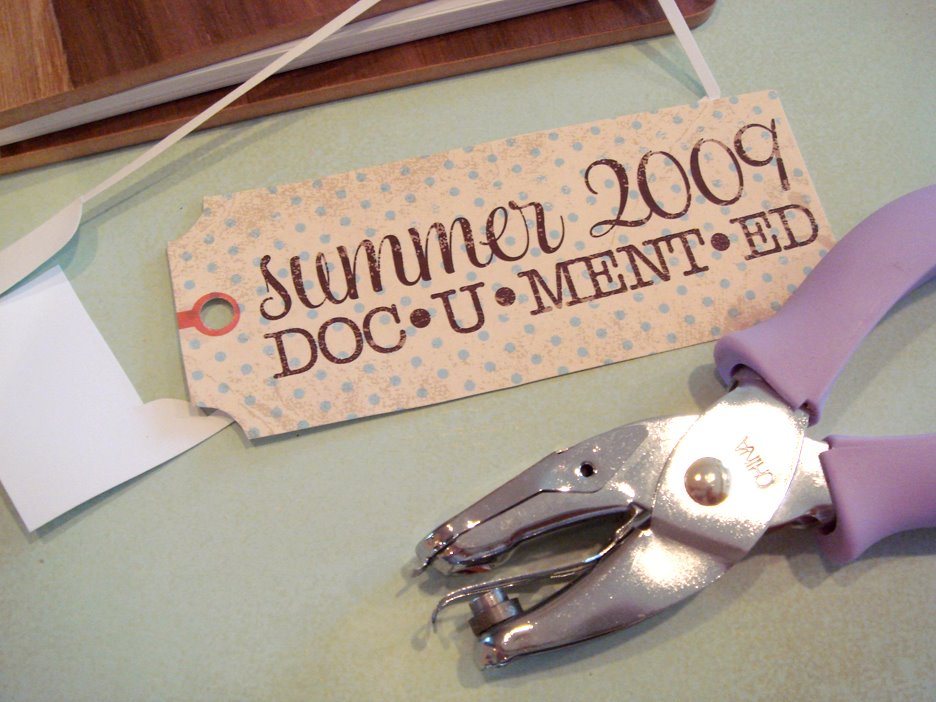 Print and cut out your title tag {full kit or free download}. Use a 1/4 hole puncher to punch a hole in the middle of the red circle. Then, string a ribbon through the hole and tie a bow if you’d like.
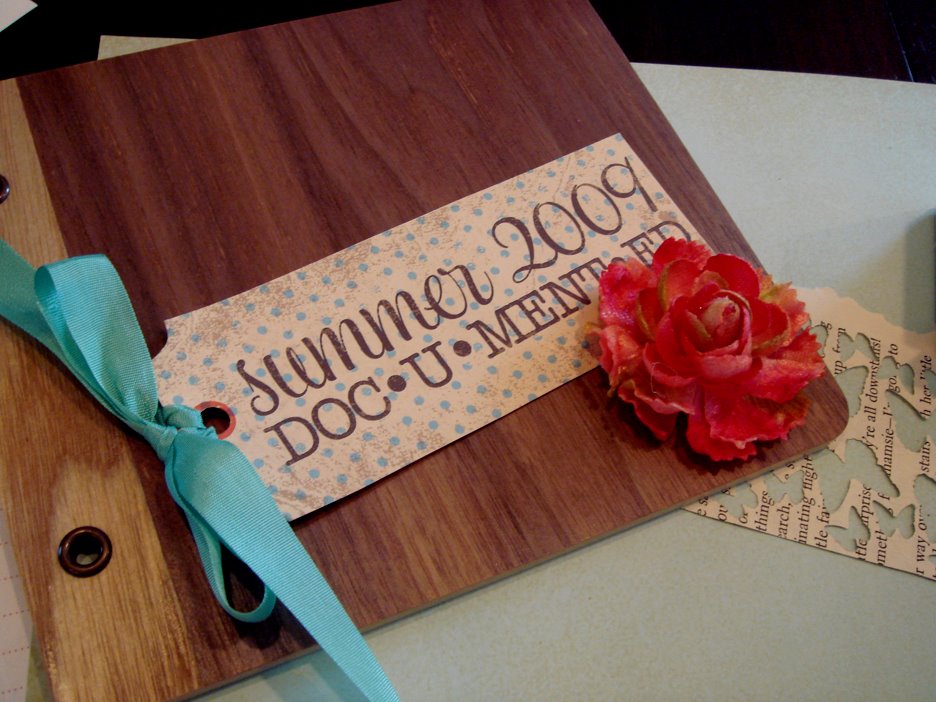 Place your tag on the cover of your mini book anywhere you’d like. And, add any extra embellishments! We chose a Prima Windsor Rose and some Martha Stewart butterfly punches!
 We have an old book that always use for scrapbooking around here. We took a page from it and punched a bunch of butterflies out of it. Our Martha Stewart punch as big and small butterflies in one punch and so far it is my favorite!
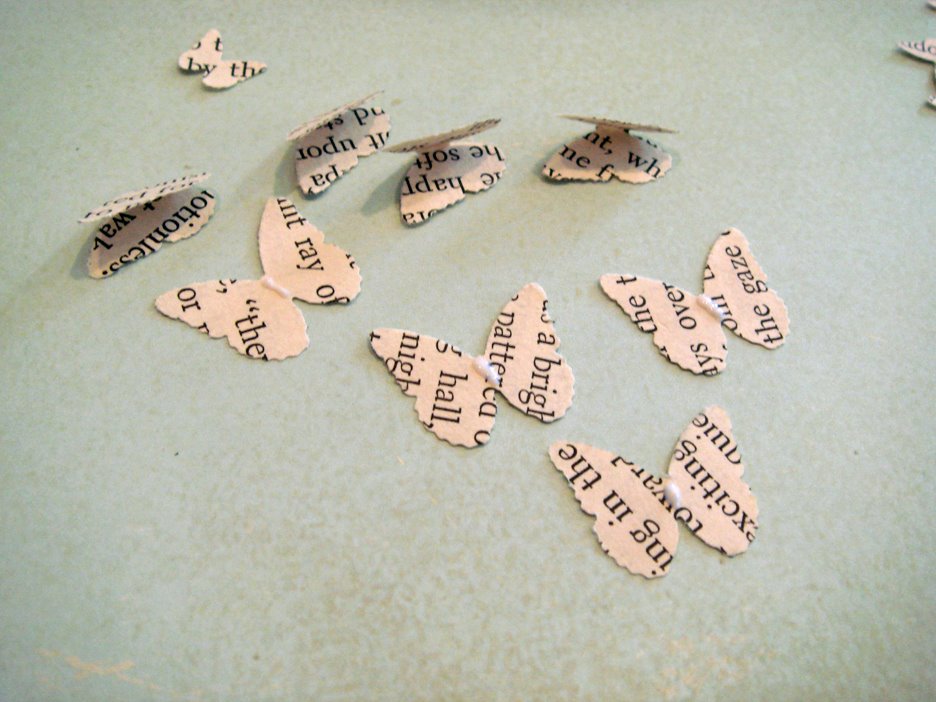 We wanted the butterflies to look three dimensional so for every butterfly we used two punched butterflies. First lay one down flat and add a drop of glue to the middle of the body. Then, take another butterfly, that is the same size, and fold it in half. Stick the middle of the folded butterflies body in the glue… it should look like this:
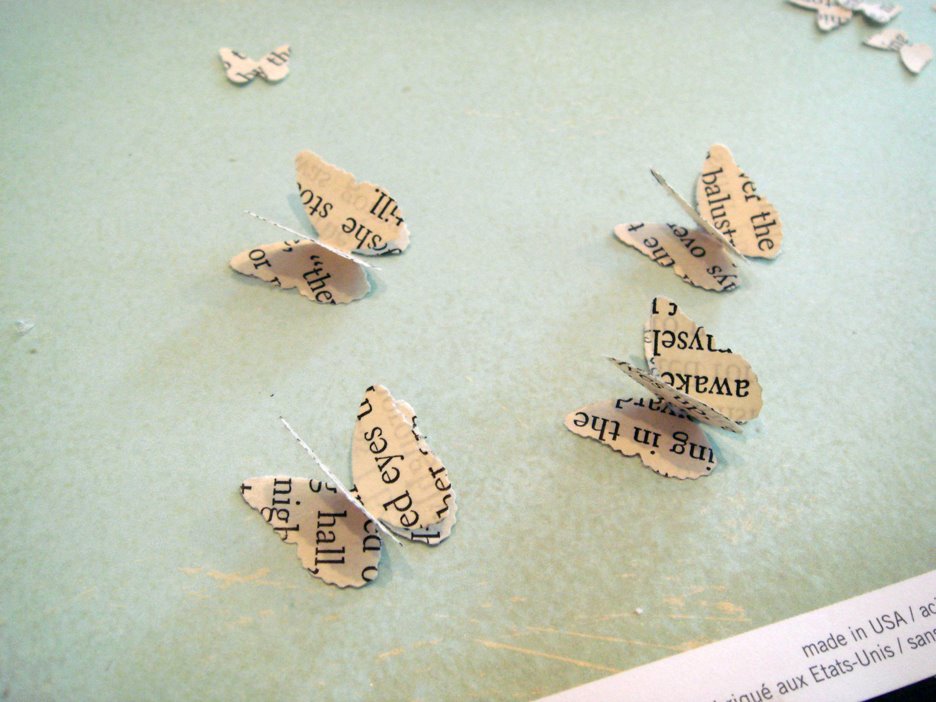
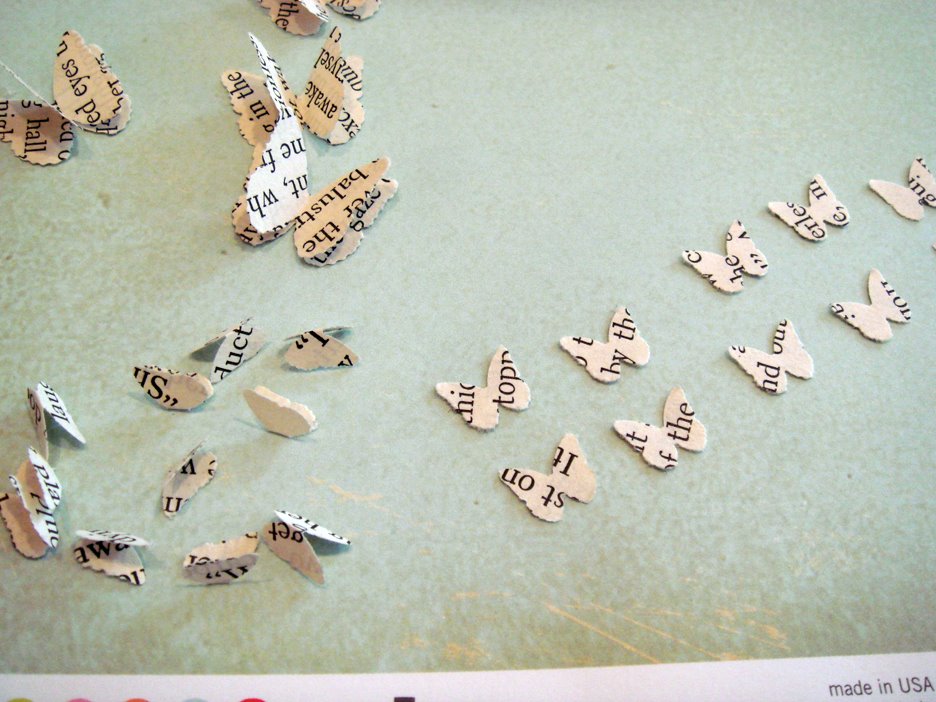 Do it again with the smaller ones. Warning!: The smaller ones are a lot harder to hold, but totally worth it!!
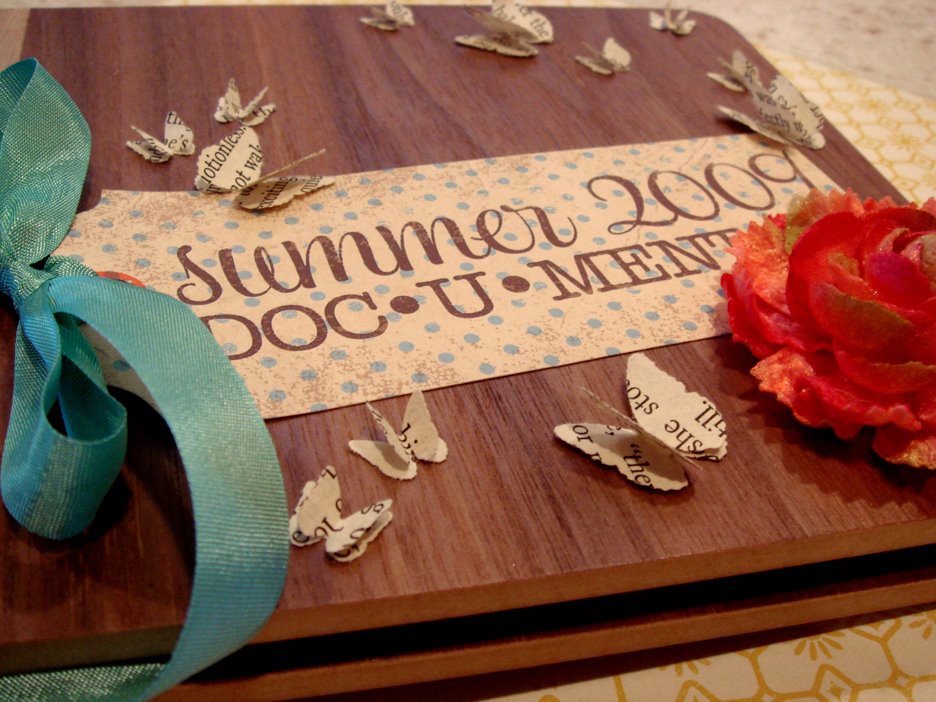
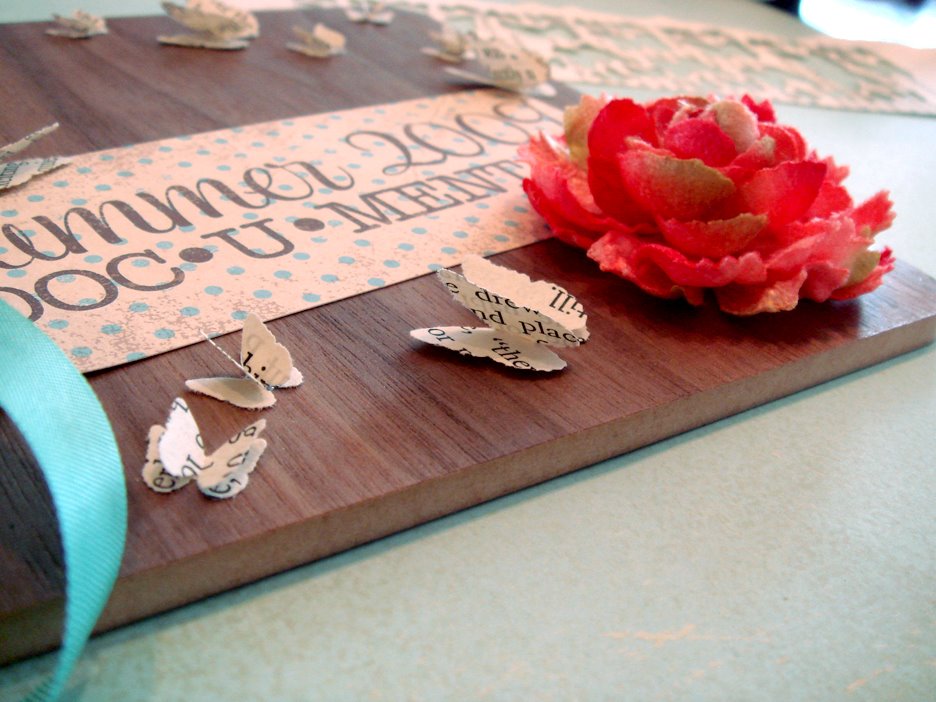 When your butterflies have dried, place them on your mini book. We didn’t glue them down right away, we played with the placement for awhile until it looked just perfect. Again, we only glued the center down because we didn’t want the butterfly to lay down perfectly. We loved the way both layers were “lifted” off the cover, appearing like it was ready to take flight!
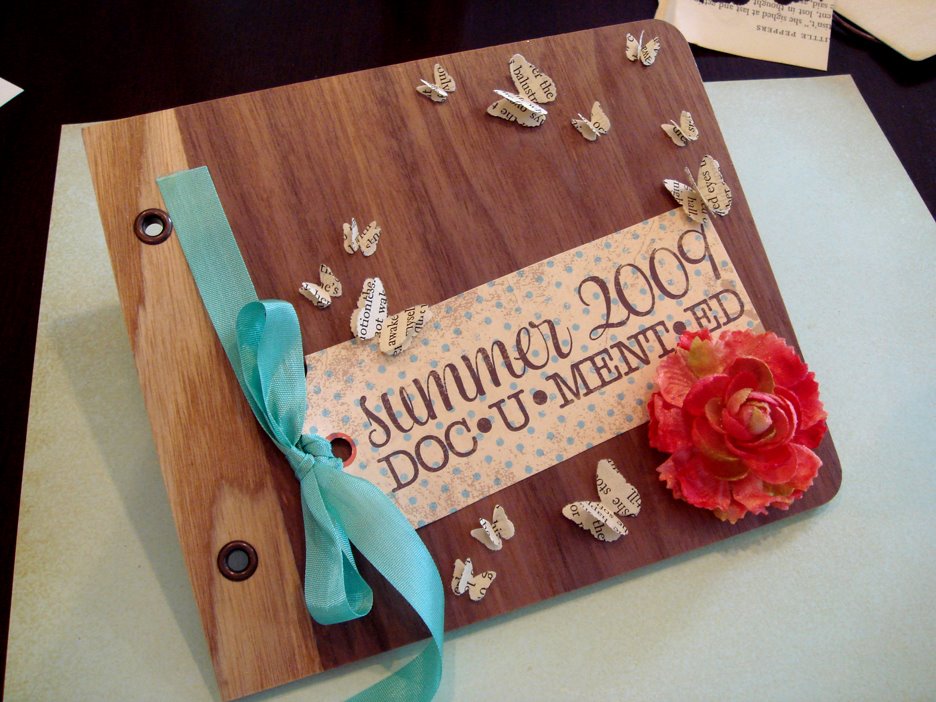 And, that’s it! Your cover is complete and ready for you to start on the inside!
Don’t forget, you can download the FREE title tag here or download the full .pdf file. The full .pdf file has 28 tags that you can incorporate into your mini book! There is also the Summer Pack of tags that we will be using, too! The Summer Pack is 15% off for the month of July, only!
We’ll be working on our first inside page in a couple of days – in the mean time, start thinking about how you start the summer. Is there something that always happens that marks the beginning? Maybe it’s your child’s last day of school… Or, that first hot summer day. For me, it’s my sister’s birthday! And, that will be our first page in our mini book!
Thanks for stopping by! Happy Creating!
xo, Elle
Comments